Server Push is a new performance enhancement feature for Web applications defined in HTTP/2 standards. It allows us to push images, CSS files, Javascript files, and other resources to the client before requests from the client are processed. So, as soon as the response from the server to the client, these resources are available in the browser cache and can be used. Server Push is included in the release of Java Servlet 4.x. In this tutorial, we will learn together about how Push Server in Java.
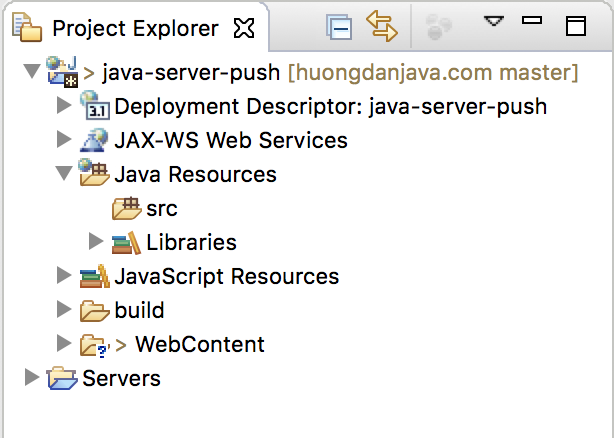
First, I will create a project for a web application in Eclipse as an example:
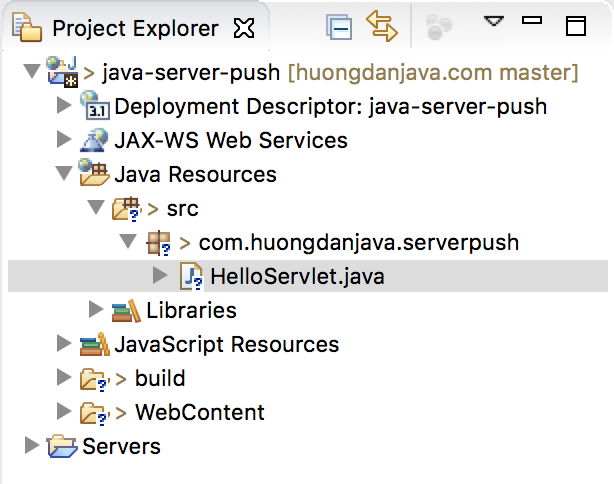
To see the benefits of Server Push in Java Servlet 4.x, now we will create a normal Servlet first:
with the following content:
|
1 2 3 4 5 6 7 8 9 10 11 12 13 14 15 16 17 18 19 20 21 22 23 24 25 26 27 |
package com.huongdanjava.serverpush; import java.io.IOException; import java.io.PrintWriter; import javax.servlet.ServletException; import javax.servlet.annotation.WebServlet; import javax.servlet.http.HttpServlet; import javax.servlet.http.HttpServletRequest; import javax.servlet.http.HttpServletResponse; @WebServlet("/hello") public class HelloServlet extends HttpServlet { private static final long serialVersionUID = 1L; @Override protected void doGet(HttpServletRequest req, HttpServletResponse resp) throws ServletException, IOException { // Setting up the content type of web page resp.setContentType("text/html"); // Writing the message on the web page PrintWriter out = resp.getWriter(); out.println("<img src='/java-server-push/logo.png'>"); out.println("<h1>Hello World from Huong Dan Java</h1>"); } } |
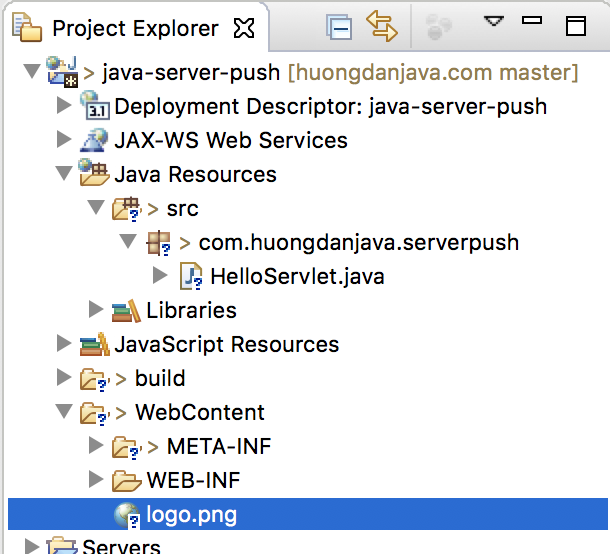
In the HelloServlet above, as you see, in addition to the “Hello World from Huong Dan Java”, I also return to the client a picture is the logo of the Huong Dan Java. This logo is located in the WebContent folder of the project:
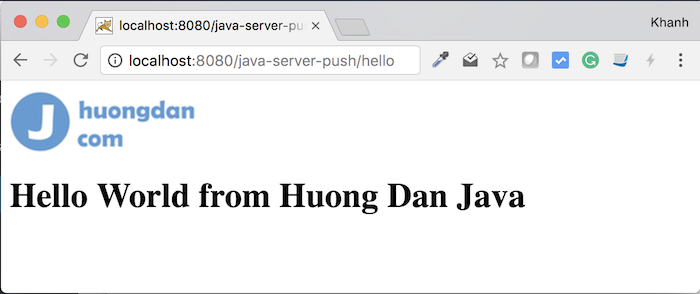
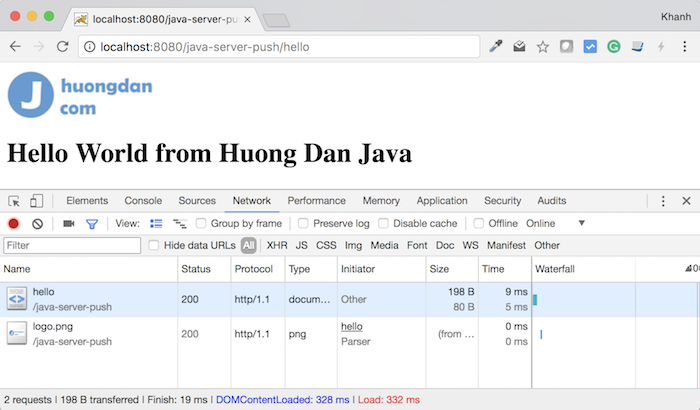
Now, if you run the application with Tomcat 9 or above, you will see the following results:
If you use Chrome Developer Tools by selecting More Tools, then select Developer Tools, then select the Networks tab. You will see the following:
Now, let’s take a look at the Server Push feature of Java Servlet 4.x.
In the Java Servlet 4.x, the PushBuilder interface is added to implement the HTTP/2 Server Push feature. The content of this interface is as follows:
|
1 2 3 4 5 6 7 8 9 10 11 12 13 14 15 16 |
public interface PushBuilder { public PushBuilder method(String method); public PushBuilder queryString(String queryString); public PushBuilder sessionId(String sessionId); public PushBuilder setHeader(String name, String value); public PushBuilder addHeader(String name, String value); public PushBuilder removeHeader(String name); public PushBuilder path(String path); public void push(); public String getMethod(); public String getQueryString(); public String getSessionId(); public Set getHeaderNames(); public String getHeader(String name); public String getPath(); } |
We can derive the PushBuilder object in our Servlet from the HttpServletRequest object using this object’s newPushBuilder() method:
|
1 |
req.newPushBuilder(); |
Once we have the PushBuilder object, we can use it to push all the resources in our web application such as images, CSS files, Javascript files to the client.
First, you need to declare the path of the resource that you want to push to the client using the path() method of the PushBuilder object:
|
1 2 |
req.newPushBuilder() .path("/java-server-push/logo.png"); |
You can call multiple path() methods to push multiple resources at the same time.
After declaring all the resources that need to be pushed, you should call the push() method of the PushBuilder object to start pushing the resource to the client.
|
1 2 3 |
req.newPushBuilder() .path("/java-server-push/logo.png") .push(); |
After you have pushed the resources, you can continue processing to return the entire content of the site. The HelloServlet instance can be rewritten as follows:
|
1 2 3 4 5 6 7 8 9 10 11 12 13 14 15 16 17 18 19 20 21 22 23 24 25 26 27 28 29 30 31 |
package com.huongdanjava.serverpush; import java.io.IOException; import java.io.PrintWriter; import javax.servlet.ServletException; import javax.servlet.annotation.WebServlet; import javax.servlet.http.HttpServlet; import javax.servlet.http.HttpServletRequest; import javax.servlet.http.HttpServletResponse; @WebServlet("/hello") public class HelloServlet extends HttpServlet { private static final long serialVersionUID = 1L; @Override protected void doGet(HttpServletRequest req, HttpServletResponse resp) throws ServletException, IOException { req.newPushBuilder() .path("/java-server-push/logo.png") .push(); // Setting up the content type of web page resp.setContentType("text/html"); // Writing the message on the web page PrintWriter out = resp.getWriter(); out.println("<img src='/java-server-push/logo.png'>"); out.println("<h1>Hello World from Huong Dan Java</h1>"); } } |
Before running our example with Server Push, one more thing I want to talk with you guys is that the Server Push only works with secure connections like HTTPS connection and if the client disables the server push the server, Server Push will not work. In these cases, if you use the HttpServletRequest object to get the PushBuilder object, the result will be null.
|
1 2 3 4 5 6 7 8 9 10 11 12 13 14 15 16 17 18 19 20 21 22 23 24 25 26 27 |
SEVERE: Servlet.service() for servlet [com.huongdanjava.serverpush.HelloServlet] in context with path [/java-server-push] threw exception java.lang.NullPointerException at com.huongdanjava.serverpush.HelloServlet.doGet(HelloServlet.java:20) at javax.servlet.http.HttpServlet.service(HttpServlet.java:634) at javax.servlet.http.HttpServlet.service(HttpServlet.java:741) at org.apache.catalina.core.ApplicationFilterChain.internalDoFilter(ApplicationFilterChain.java:231) at org.apache.catalina.core.ApplicationFilterChain.doFilter(.java:166) at org.apache.tomcat.websocket.server.WsFilter.doFilter(WsFilter.java:53) at org.apache.catalina.core.ApplicationFilterChain.internalDoFilter(ApplicationFilterChain.java:193) at org.apache.catalina.core.ApplicationFilterChain.doFilter(ApplicationFilterChain.java:166) at org.apache.catalina.core.StandardWrapperValve.invoke(StandardWrapperValve.java:199) at org.apache.catalina.core.StandardContextValve.invoke(StandardContextValve.java:96) at org.apache.catalina.authenticator.AuthenticatorBase.invoke(AuthenticatorBase.java:502) at org.apache.catalina.core.StandardHostValve.invoke(StandardHostValve.java:140) at org.apache.catalina.valves.ErrorReportValve.invoke(ErrorReportValve.java:81) at org.apache.catalina.valves.AbstractAccessLogValve.invoke(AbstractAccessLogValve.java:651) at org.apache.catalina.core.StandardEngineValve.invoke(StandardEngineValve.java:87) at org.apache.catalina.connector.CoyoteAdapter.service(CoyoteAdapter.java:342) at org.apache.coyote.http11.Http11Processor.service(Http11Processor.java:501) at org.apache.coyote.AbstractProcessorLight.process(AbstractProcessorLight.java:66) at org.apache.coyote.AbstractProtocol$ConnectionHandler.process(AbstractProtocol.java:754) at org.apache.tomcat.util.net.NioEndpoint$SocketProcessor.doRun(NioEndpoint.java:1376) at org.apache.tomcat.util.net.SocketProcessorBase.run(SocketProcessorBase.java:49) at java.util.concurrent.ThreadPoolExecutor.runWorker(ThreadPoolExecutor.java:1142) at java.util.concurrent.ThreadPoolExecutor$Worker.run(ThreadPoolExecutor.java:617) at org.apache.tomcat.util.threads.TaskThread$WrappingRunnable.run(TaskThread.java:61) at java.lang.Thread.run(Thread.java:748) |
So, to run this example, you have to configure Tomcat to support HTTP/2 with the HTTPS protocol. To do this, open the server.xml file in the Servers project:
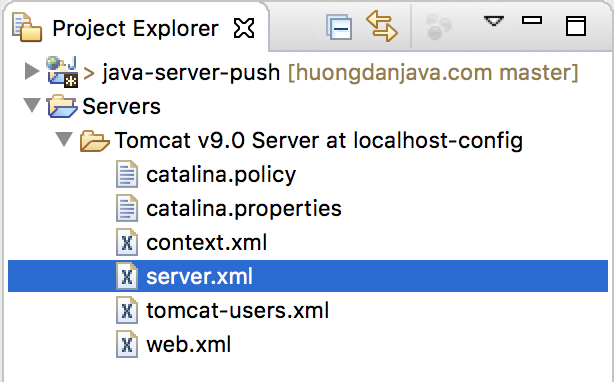
then add a Connector with the following content:
|
1 2 3 4 5 6 7 |
<Connector port="8443" protocol="HTTP/1.1" SSLEnabled="true" maxThreads="150" scheme="https" secure="true" clientAuth="false" sslProtocol="TLS" keystoreFile="/Users/Khanh/Documents/tomcat_https" keystorePass="123456"> <UpgradeProtocol className="org.apache.coyote.http2.Http2Protocol"/> </Connector> |
See also Configure Tomcat support HTTP/2.
Now, just run the example again to see the result.
Result:
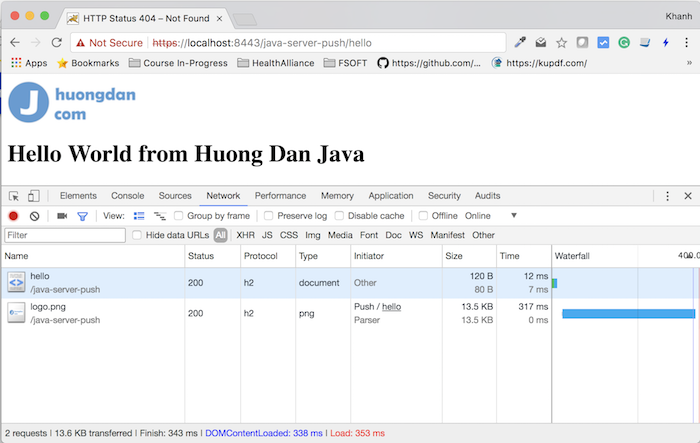
As you can see, at this time, the protocol is h2 (HTTP/2) and if you notice the Initiator column of the logo.png file, you will see it is using Server Push. My example uses only a small image so you will not see the difference, but for a real website, there are hundreds of thousands of resources, you will clearly see the benefits of Server Push.