In this tutorial, I will show you all how to remove a Container in Docker.
The first is the way to remove a Container.
To remove a Container in the Docker, the first thing you need to do is to determine the Container ID or Container Name of the Container, then use the following command to remove it:
|
1 |
docker rm <Container_ID_or_Name> |
For example, I currently have the following Containers in my Docker:
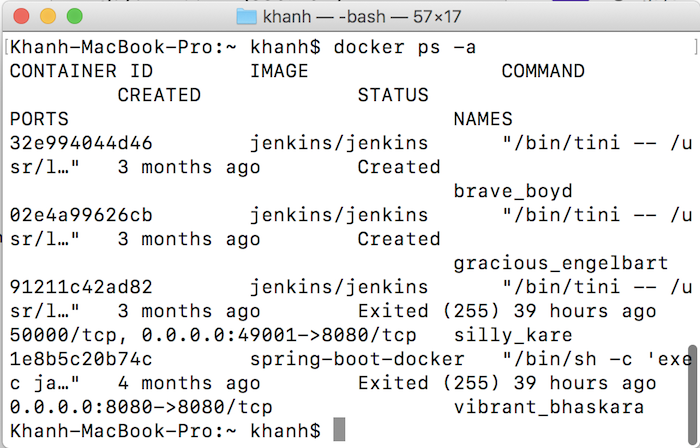
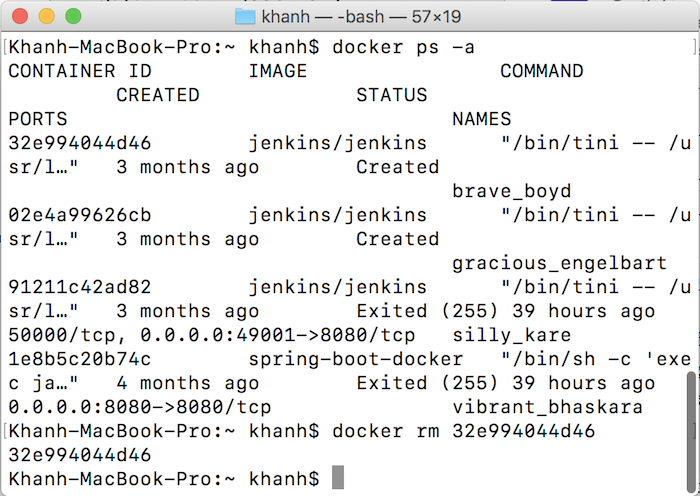
Now that I need to remove the Container with ID is 32e994044d46, we can use the following statement:
|
1 |
docker rm 32e994044d46 |
Result:
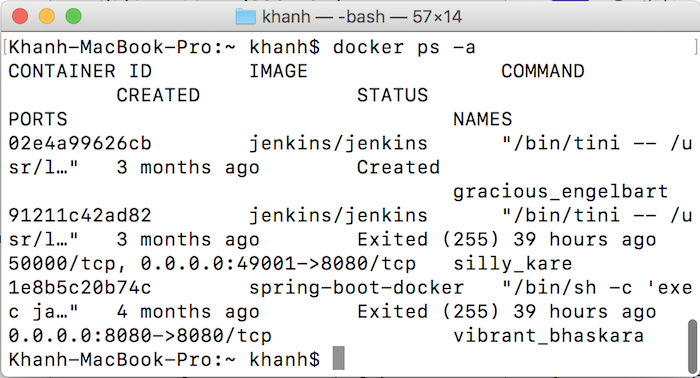
Now, if I check the existing Containers in my Docker, only three Containers as follows:
The second is that we will set it up when we exit a Container, it will be deleted automatically.
This way, when starting a Container with the statement:
|
1 |
docker run repository:version |
then you should add another parameter -rm.
Completing the statement as follows:
|
1 |
docker run --rm repository:version |
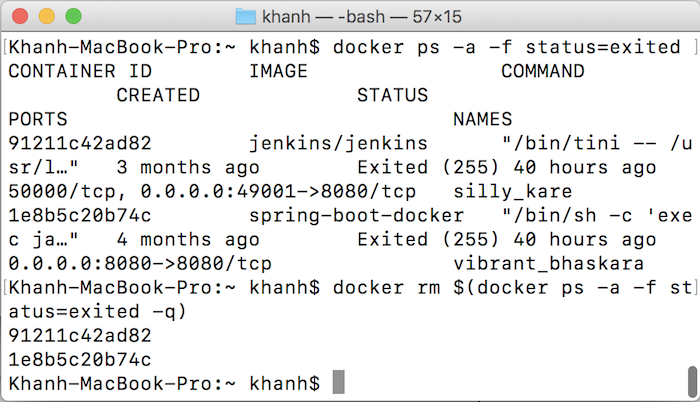
To remove Containers with status exited, you can use a flag of -f to filter exited Containers by status, then use the docker rm command to remove them.
For example:
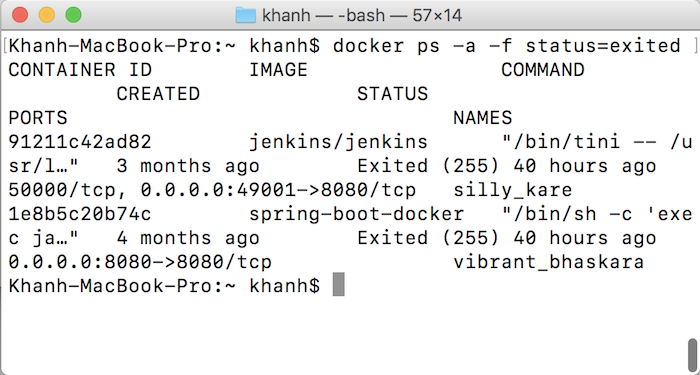
These are the Containers in my Docker with status = exited.
Now I will delete them as follows:
|
1 |
docker rm $(docker ps -a -f status=exited -q) |
The -q parameter is used to print out the IDs of deleted Containers.
Result:
You can also use multiple -f flags to add more filters.
For example:
|
1 |
docker rm $(docker ps -a -f status=exited -f status=created -q) |


