The container in Docker is like a virtual machine, so we can install whatever application in it we want. In this tutorial, I will guide you how to run a container in Docker!
OK, let’s get started.
As you all know, to initialize and run a Container in a Docker, the first thing we need to do is to have an Image. Defining the content of Image will determine what will be installed in our container.
When we use Image to run a container, the first Docker will find that Image on our machine first. If found, it will use this Image. In contrast, Docker will download Image from the Remote Registry, namely the Docker Hub, if available.
Currently, there is no image in our machine:

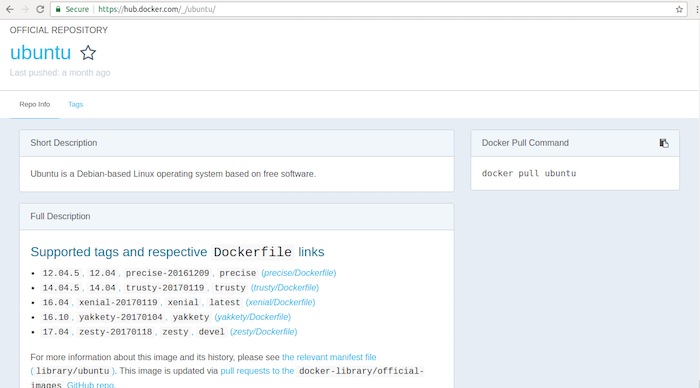
For convenience, we will use an image stored on the Docker Hub. For example, the Ubuntu operating system’s image.
This information on the Docker Hub is as follows:

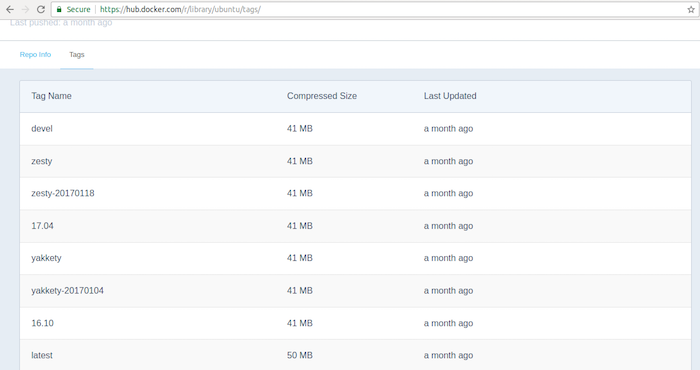
On this page, if you switch to the Tags tab next to the Repo Info tab, you will see all versions of Image Ubuntu.

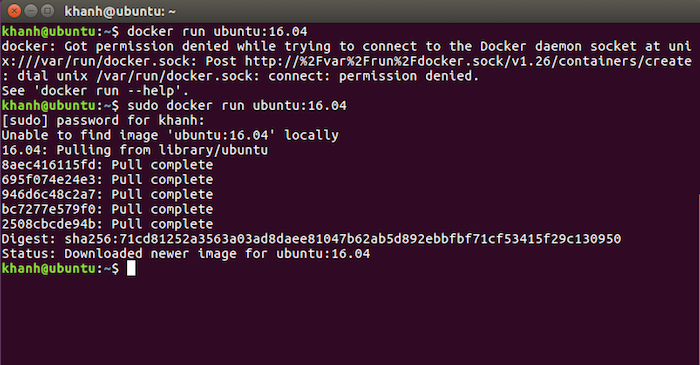
Now, let’s try to use this Image to run an Ubuntu 16.04 Container.
The syntax to run is as follows:
|
1 |
docker run repository:version |
In this example, I would run the following:
|
1 |
docker run ubuntu:16.04 |
Result:

By default, when running the command on the Docker, it will give us a new container and then turn off that container, we could not access to it. To check whether the Docker has run for us this container or not, use the following command:
|
1 |
sudo docker ps -a |
Result:

This command will list all the containers that we have created and run.
If you want to access the container after running the command above, then in the command “docker run”, you will need add 2 options “-i -t” to interact with the terminal of the container.
M example is as follows:

You see, after running the “docker run” command with options -i -t, we have access to the container.
To exit the container, enter the exit command.
After existing, our container will also shut off.


