In this tutorial, I will introduce to all of you a Maven plugin, which can help us run a web application in Jetty with some simple configurations. This is Maven Jetty Plugin.
First of all, we need a web project using Maven for example.
I use Spring Tool Suite to create an example Maven project for this tutorial.
If you don’t know how to create a web project in Spring Tool Suite IDE, you can look at this tutorial.
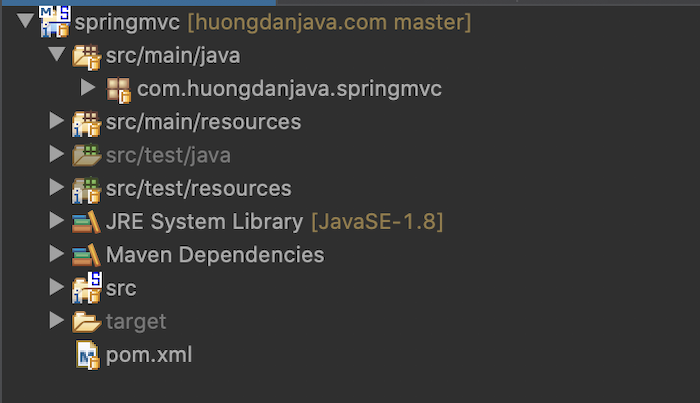
Our project structure as below:
Now, I will add Maven Jetty Plugin into our project. Currently, Jetty has 3 versions:
- A version running with Java 8 supports JavaEE 8, Servlet 3.1
- A version running with Java 11 supports JakartaEE 8, Servlet 4.0
- And a version running with Java 11 supports JakartaEE 9, Servlet 4.1
I am using Java 8 for this example so I will use Jetty to run with this Java version.
|
1 2 3 4 5 |
<plugin> <groupId>org.eclipse.jetty</groupId> <artifactId>jetty-maven-plugin</artifactId> <version>9.4.40.v20210413</version> </plugin> |
OK, now we can run our application.
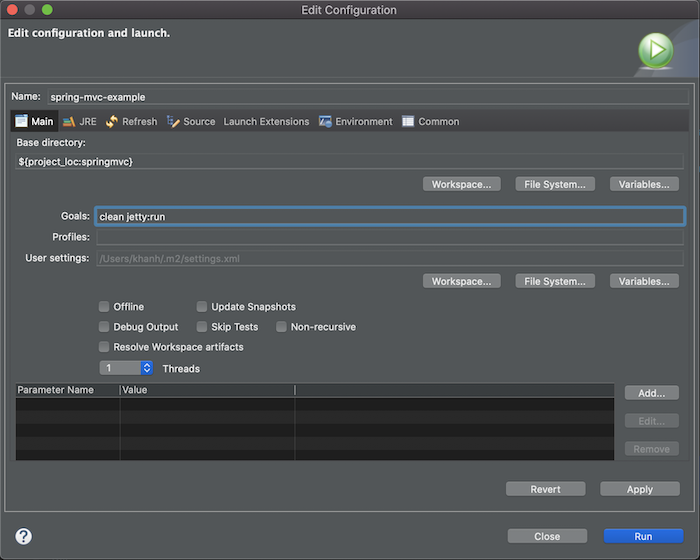
Let right-click on the project or the pom.xml file, then choose Run As and select Maven build…
The window Run Configurations will appear, let enter clean jetty:run into field Goals as below:
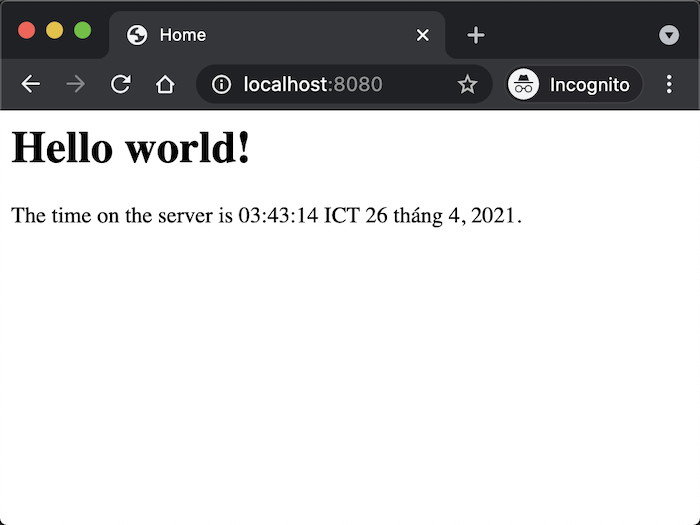
After that press Run button, Maven will build our project and run it on Jetty server with default port is 8080, root context path will be “/”, which means you only need to run http://localhost:8080 then you can see the web page.
Result:
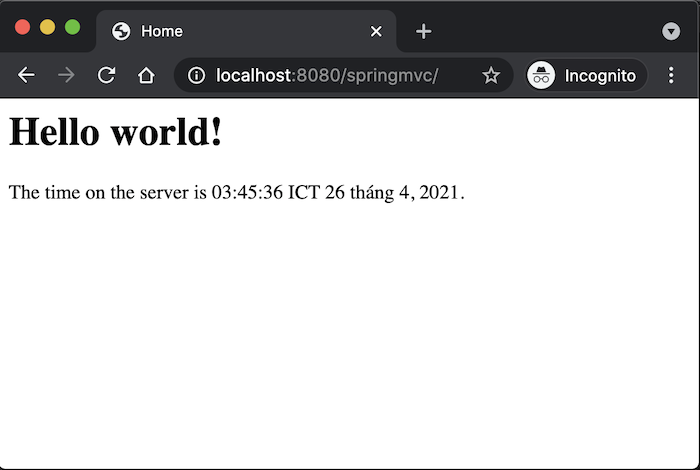
To change the root context path of our web application, you can add more configuration for Maven Jetty Plugin in the pom.xml file as below:
|
1 2 3 4 5 6 7 8 9 10 |
<plugin> <groupId>org.eclipse.jetty</groupId> <artifactId>jetty-maven-plugin</artifactId> <version>9.4.40.v20210413</version> <configuration> <webApp> <contextPath>/springmvc</contextPath> </webApp> </configuration> </plugin> |
Run again, result as below:
If you want to change the port number, you also can add more configuration for Maven Jetty Plugin as below:
|
1 2 3 4 5 6 7 8 9 10 11 12 13 |
<plugin> <groupId>org.eclipse.jetty</groupId> <artifactId>jetty-maven-plugin</artifactId> <version>9.4.40.v20210413</version> <configuration> <webApp> <contextPath>/springmvc</contextPath> </webApp> <httpConnector> <port>8585</port> </httpConnector> </configuration> </plugin> |
Result