
You already known how to install the Vaadin plugin in Eclipse in previous tutorial, so how we can use this plugin to create and run an application using Vaadin framework in Eclipse. In this tutorial, I will show you do that!
First of all, let start your Eclipse, then choose File -> New then select Other… A new window New will appear.
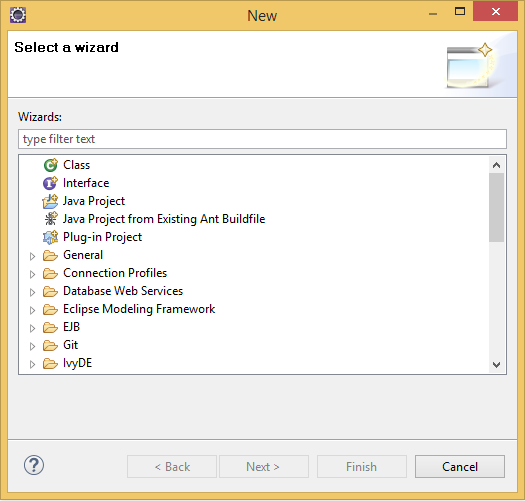
In this window, let scroll down, open the folder Vaadin then select Vaadin 7 Project (Maven).
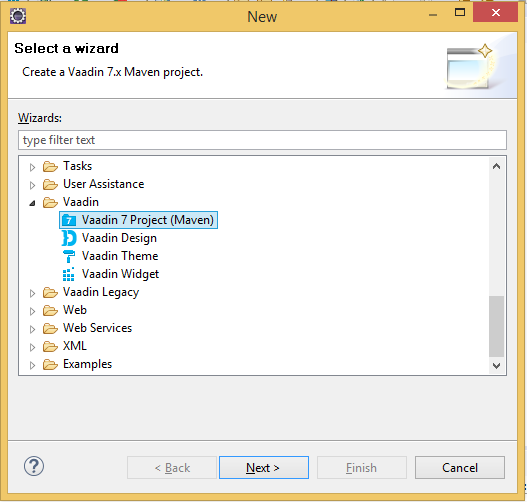
Then press Next button to continue.
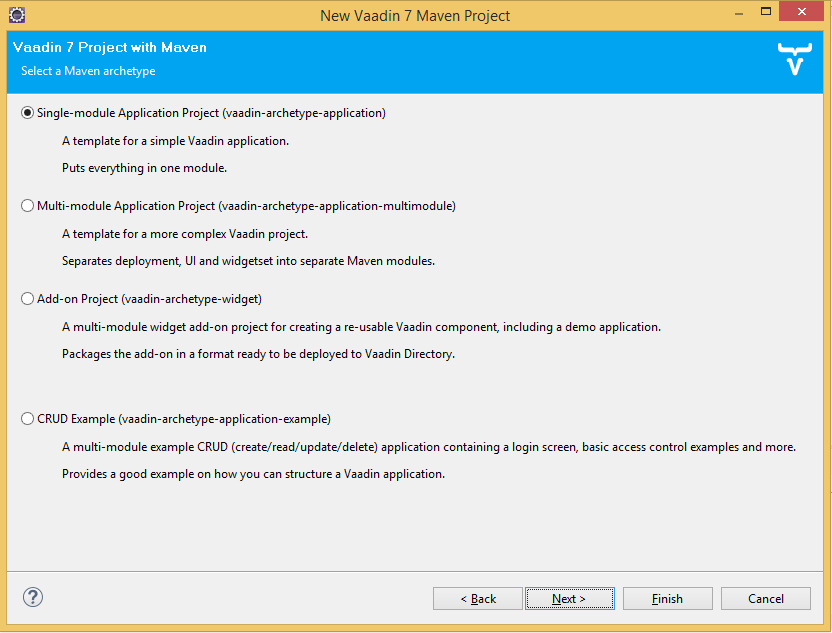
In this step, let leave it as default and press Next button.
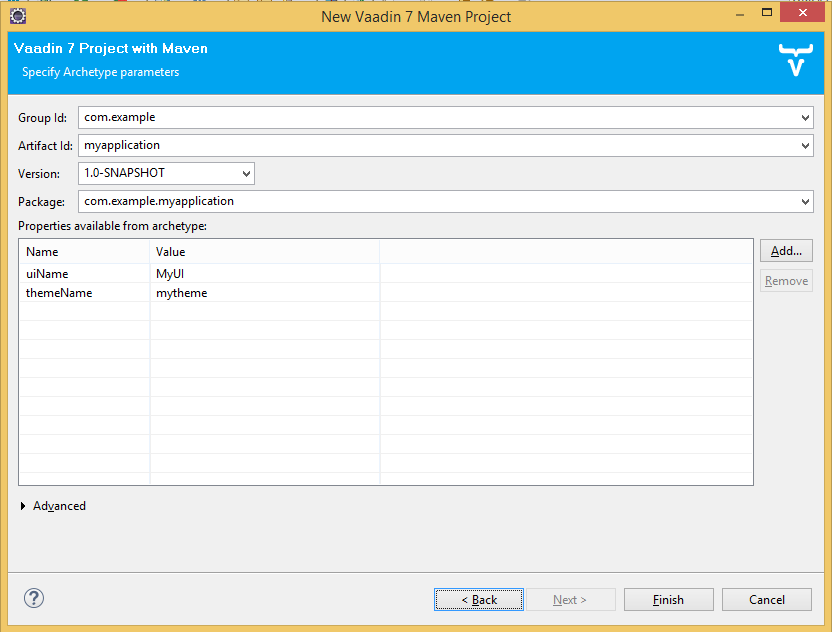
This window allow us change Group Id, Artifact Id, Version and Package in your Maven project. You can change them if you want. It also allow us add or delete some properties of our Vaadin application, but let it as default.
I only change something relative to my Maven project.
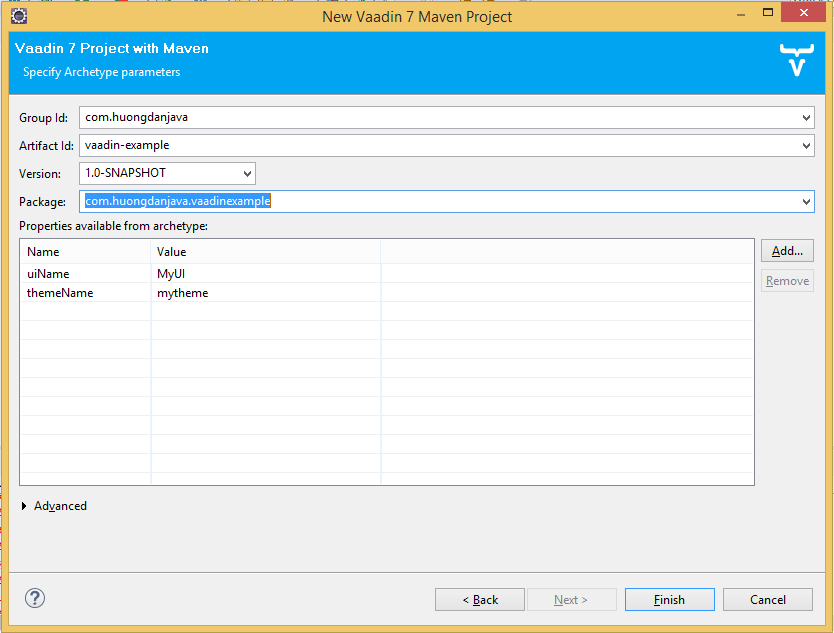
Finally, press Finish button.
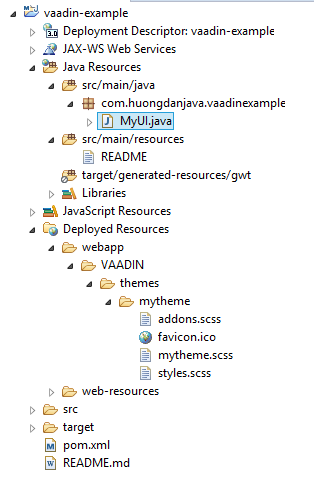
Result:
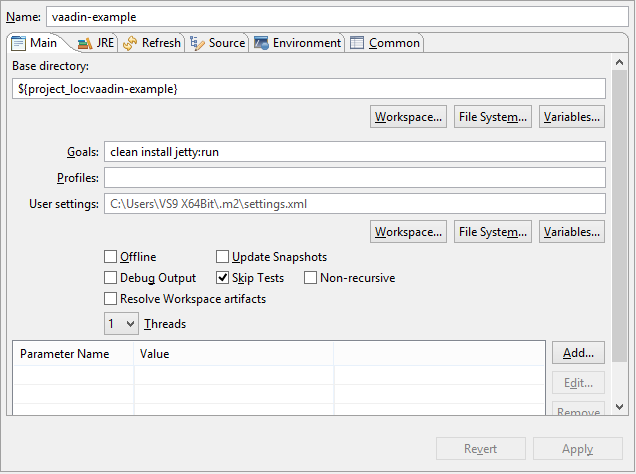
To run this application in Eclipse, we will use the Maven Jetty Plugin already added when we created the project.
If you don’t know about Maven Jetty Plugin, you can look at this tutorial!
My configuration for Run Configurations as below:
Result:

Let try to enter your name and click Click Me button! 😀
