In this tutorial, we will learn together about Label object in Vaadin!
To be clear, I’ve created a Vaadin project using the Vaadin plugin in Eclipse:
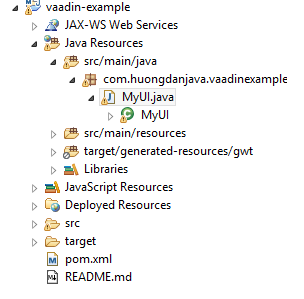
You do not know how to create a project, so you can refer to this tutorial!
OK, let’s get started!
First, remove all the code contained in the init() method of the MyUI class.
The Label in Vaadin is the object that when generated it will be the <label> tag in HTML, used to display some text. We can initialize the Label object and display it as follows:
|
1 2 |
Label label = new Label("Hello World!"); setContent(label); |
Result:
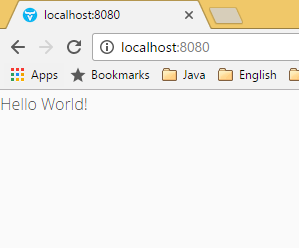
In addition, we can also have other operations with the Label object as follows:
Edit text:
|
1 2 3 |
Label label = new Label("Hello World!"); label.setValue("Hello 2017!"); setContent(label); |
Result:
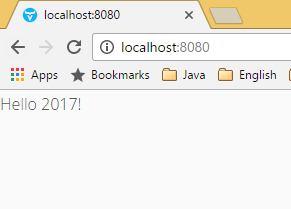
- We can define Label with regular text by declaring ContentMode.TEXT:
|
1 2 |
Label label = new Label("<p>Hello World!</p>", ContentMode.TEXT); setContent(label); |
Result:
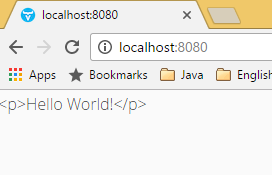
- Or as text formatted ContentMode.PREFORMATTED:
|
1 2 |
Label label = new Label("Hello\n World", ContentMode.PREFORMATTED); setContent(label); |
Result:
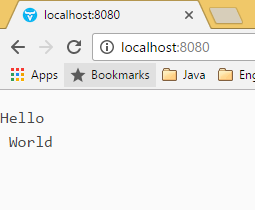
- Or as an HTML ContentMode.HTML:
|
1 2 |
Label label = new Label("<p>Hello World!</p>", ContentMode.HTML); setContent(label); |
Result:
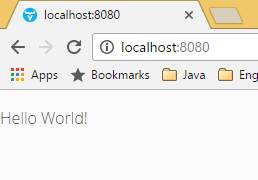
- By default, the width and height of a label is 100%, but you can also use the setWidth() and setHeight() methods of Label to set its width and height.
|
1 2 3 4 |
Label label = new Label("Hello World!"); label.setWidth("100%"); label.setHeight("100%"); setContent(label); |
Result:
Here are the basic operations of Label in Vaadin, you can further explore by using the Label object above, enter “label.” then Ctrl + Space 😀


