Usually, when deploying applications to a production environment, we will deploy to many different servers. Managing logs on many servers will cause a lot of difficulties, time, and inefficiencies. It would be better if we used a solution to centralize all of the logging files. This means that we will install so that the servers that are deploying the application can send all the application log messages to a primary server, on the primary server we will use the tools to make the log messages possible.
In the world of ELK (Elasticsearch-Logstash-Kibana), to realize the above idea, you can use Beats tools to do this. Beats are tools whose main task is data shipper, including Filebeat, Metricbeat, Packetbeat, Winlogbeat, Auditbeat, Heartbeat, Functionbeat. In this tutorial, I will guide you all to install Filebeat tools!
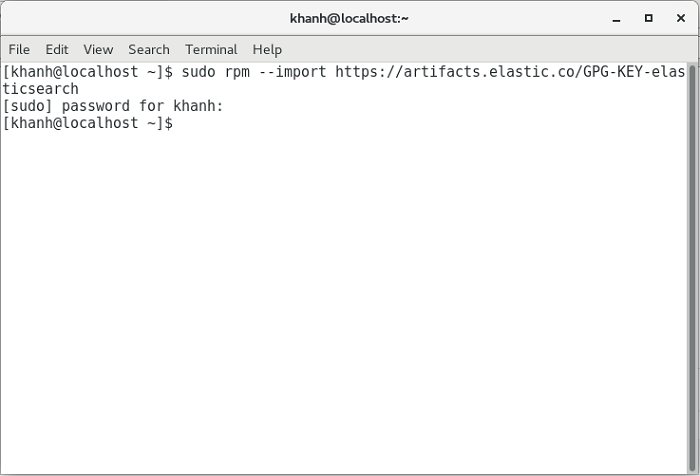
First, similar to when installing Elasticsearch or Kibana, if your server has not installed Elasticsearch or Kibana repository, then you need to add the Filebeat public signing key first by running the following command:
|
1 |
sudo rpm --import https://artifacts.elastic.co/GPG-KEY-elasticsearch |
My results are as follows:

Next, you need to create a new file to add a Filebeat repository:
|
1 |
sudo vi /etc/yum.repos.d/filebeat.repo |
then add the following content to this file:
|
1 2 3 4 5 6 7 8 |
[filebeat-7.x] name=Filebeat repository for 7.x packages baseurl=https://artifacts.elastic.co/packages/7.x/yum gpgcheck=1 gpgkey=https://artifacts.elastic.co/GPG-KEY-elasticsearch enabled=1 autorefresh=1 type=rpm-md |
Now, you can run the following command to install Filebeat:
|
1 |
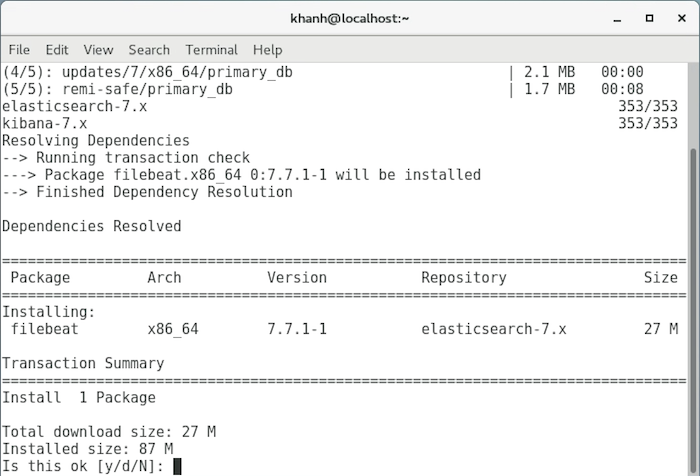
sudo yum install filebeat |

Enter “Y” to continue!
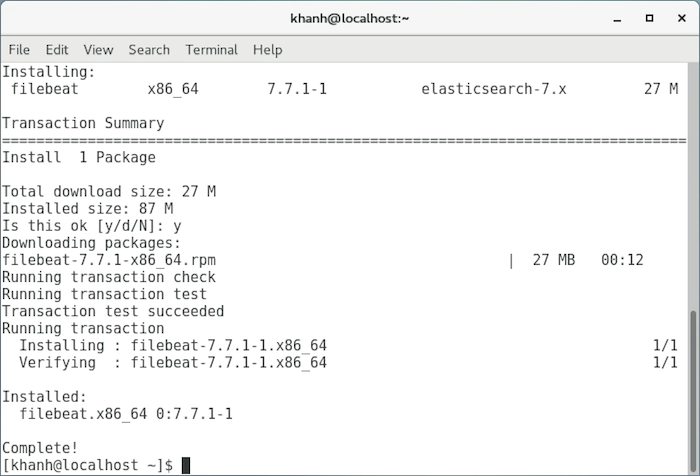
Installation results:

After the installation is complete, you can start configuring so that Filebeat can fulfill our needs. The configuration file of Filebeat is named filebeat.yaml is located in the /etc/filebeat directory of CentOS!
In the next tutorial, I will show you how to configure Filebeat.


