I introduced you to the “create” command of the Kubernetes Controller to create new objects such as Pods, Deployments in the Kubernetes cluster. We can also do this using the “apply” command.
For example, I have a configuration file to create a new Pod with the following content:
|
1 2 3 4 5 6 7 8 |
apiVersion: v1 kind: Pod metadata: name: node-hello spec: containers: - name: node-hello image: gcr.io/google-samples/node-hello:1.0 |
You can use the “apply” command to create this new Pod, with the following syntax:
|
1 |
kubectl apply -f <path_to_configuration_file> |
Where <path_to_configuration_file> is the path to the file that defines the information about the Kubernetes object that we need to initialize.
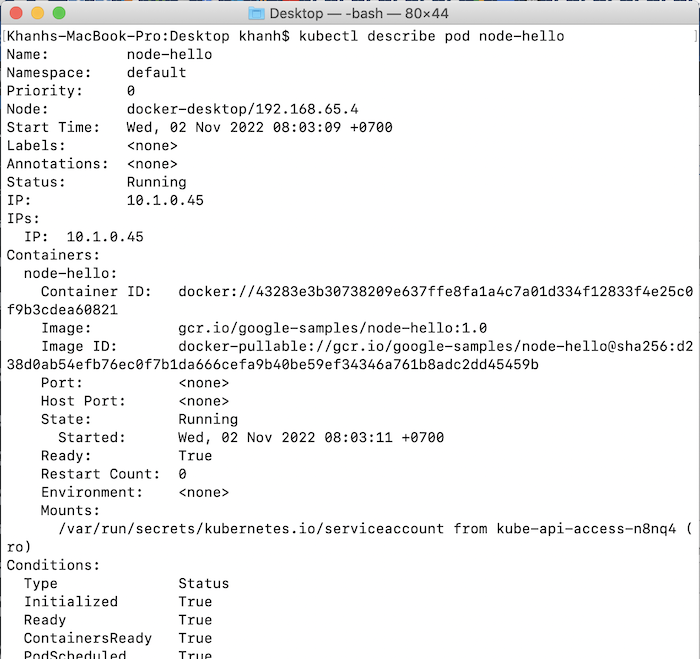
My results when running the command “apply” with the above configuration file:
|
1 |
kubectl apply -f k8s.yaml |

as follows:

The difference between the “create” command and the “apply” command is: the “create” command can only be run once for a Kubernetes object of the same name, and the “apply” command if we have some changes to the Kubernetes object that we have created, we can use this command to update those changes.
For example, if you now run the above command again with the “create” command:
|
1 |
kubectl create -f k8s.yaml |
You will see the following error:

If I update the above configuration file as follows:
|
1 2 3 4 5 6 7 8 9 10 11 |
apiVersion: v1 kind: Pod metadata: name: node-hello labels: env: test purpose: blog spec: containers: - name: node-hello image: gcr.io/google-samples/node-hello:1.0 |
then when running the command “apply” again:
|
1 |
kubectl apply -f k8s.yaml |
this command still succeeds:

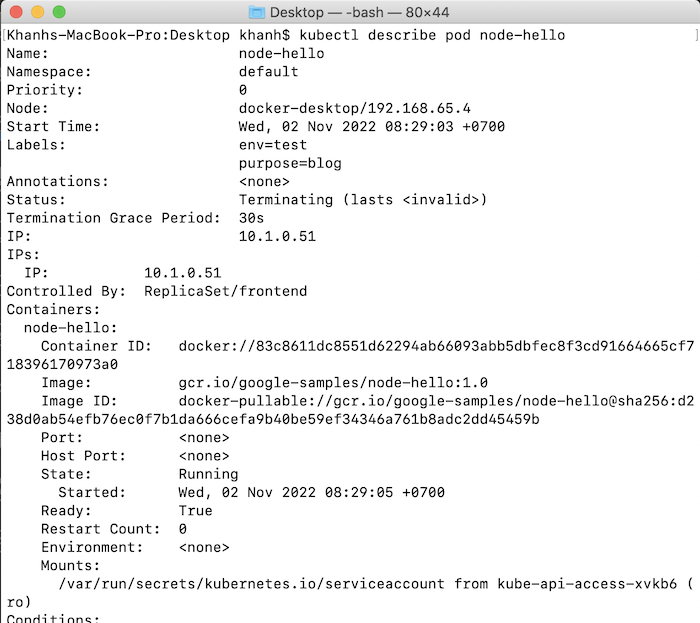
and when checking the information of the Pod, you will see that this Pod is updated with Labels information as follows:


