After you have installed Nginx, you can deploy your application to be able to access it using the browser. Access by browser here means we only use domain or IP address with the default port of HTTP is 80 or HTTPS 443 without having to add the port! By default, Ngnix supports us to run applications written in Go, Node.js, Perl, PHP, Python, and Ruby. Of course, applications that only use HTML, CSS, and Javascript are also supported. In this tutorial, I will show you how to configure a basic web application to be able to run with Nginx on CentOS!
To configure a basic web application with Nginx, there are 2 steps you must do:
- Copy the entire source code of your web application into any directory on the server where Nginx is installed.
- Create a new .conf file in the /etc/nginx/conf.d directory that defines the information for your web application.
For the first step, let me tell you something first. You can see that after installing Nginx, a default page is displayed when we access the address http://<domain_or_ip_server>:
The content of this default page is stored in /usr/share/nginx/html directory:

You can also copy the source code into a new directory in /usr/share/nginx/html directory as well.
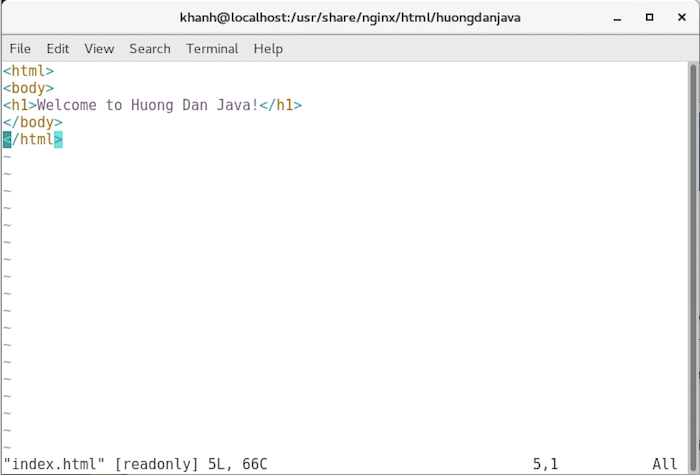
For example, I have a website with simple content as follows:
|
1 2 3 4 5 |
<html> <body> <h1>Welcome to Huong Dan Java!</h1> </body> </html> |
hen I will create a new directory named huongdanjava in /usr/share/nginx/html directory and create a new index.html file with the content as above:
Now, we are going to configure our source code directory with Nginx to gain access to our web application.
To do this, as I said, we need to create a new .conf file in the /etc/nginx/conf.d directory to define the information to your web application.
The configuration of the default website that when you install Nginx, you see, is in the nginx.conf file in that /etc/nginx folder! This is the main configuration file of Nginx, the contents of this file are as follows:
|
1 2 3 4 5 6 7 8 9 10 11 12 13 14 15 16 17 18 19 20 21 22 23 24 25 26 27 28 29 30 31 32 33 34 35 36 37 38 39 40 41 42 43 44 45 46 47 48 49 50 51 52 53 54 55 56 57 58 59 60 61 62 63 64 65 66 67 68 69 70 71 72 73 74 75 76 77 78 79 80 81 82 83 84 85 86 87 88 |
# For more information on configuration, see: # * Official English Documentation: http://nginx.org/en/docs/ # * Official Russian Documentation: http://nginx.org/ru/docs/ user nginx; worker_processes auto; error_log /var/log/nginx/error.log; pid /run/nginx.pid; # Load dynamic modules. See /usr/share/doc/nginx/README.dynamic. include /usr/share/nginx/modules/*.conf; events { worker_connections 1024; } http { log_format main '$remote_addr - $remote_user [$time_local] "$request" ' '$status $body_bytes_sent "$http_referer" ' '"$http_user_agent" "$http_x_forwarded_for"'; access_log /var/log/nginx/access.log main; sendfile on; tcp_nopush on; tcp_nodelay on; keepalive_timeout 65; types_hash_max_size 2048; include /etc/nginx/mime.types; default_type application/octet-stream; # Load modular configuration files from the /etc/nginx/conf.d directory. # See http://nginx.org/en/docs/ngx_core_module.html#include # for more information. include /etc/nginx/conf.d/*.conf; server { listen 80 default_server; listen [::]:80 default_server; server_name _; root /usr/share/nginx/html; # Load configuration files for the default server block. include /etc/nginx/default.d/*.conf; location / { } error_page 404 /404.html; location = /40x.html { } error_page 500 502 503 504 /50x.html; location = /50x.html { } } # Settings for a TLS enabled server. # # server { # listen 443 ssl http2 default_server; # listen [::]:443 ssl http2 default_server; # server_name _; # root /usr/share/nginx/html; # # ssl_certificate "/etc/pki/nginx/server.crt"; # ssl_certificate_key "/etc/pki/nginx/private/server.key"; # ssl_session_cache shared:SSL:1m; # ssl_session_timeout 10m; # ssl_ciphers HIGH:!aNULL:!MD5; # ssl_prefer_server_ciphers on; # # # Load configuration files for the default server block. # include /etc/nginx/default.d/*.conf; # # location / { # } # # error_page 404 /404.html; # location = /40x.html { # } # # error_page 500 502 503 504 /50x.html; # location = /50x.html { # } # } } |
There is a lot of information in this configuration file, right? To understand them, you need to know that these configuration information are called directives in Nginx. These directives are grouped into blocks corresponding to different contexts for different purposes. You can find details about each of Nginx’s directives here.
In the nginx.conf file above, we have the outermost directives, they are considered to be in the main context:
|
1 2 3 4 5 6 7 8 9 10 11 12 13 14 |
user nginx; worker_processes auto; error_log /var/log/nginx/error.log; pid /run/nginx.pid; include /usr/share/nginx/modules/*.conf; events { ... } http { ... } |
To configure your website, you need to know the http directive!
The Http directive contains other directives to handle requests from users to your site. The main directive to do this inside the http directive is the server directive.
|
1 2 3 4 5 6 7 8 9 10 11 12 13 14 15 16 17 18 19 20 21 22 23 24 25 26 27 28 29 30 31 32 33 34 35 36 37 38 39 40 41 42 |
http { log_format main '$remote_addr - $remote_user [$time_local] "$request" ' '$status $body_bytes_sent "$http_referer" ' '"$http_user_agent" "$http_x_forwarded_for"'; access_log /var/log/nginx/access.log main; sendfile on; tcp_nopush on; tcp_nodelay on; keepalive_timeout 65; types_hash_max_size 2048; include /etc/nginx/mime.types; default_type application/octet-stream; # Load modular configuration files from the /etc/nginx/conf.d directory. # See http://nginx.org/en/docs/ngx_core_module.html#include # for more information. include /etc/nginx/conf.d/*.conf; server { listen 80 default_server; listen [::]:80 default_server; server_name _; root /usr/share/nginx/html; # Load configuration files for the default server block. include /etc/nginx/default.d/*.conf; location / { } error_page 404 /404.html; location = /40x.html { } error_page 500 502 503 504 /50x.html; location = /50x.html { } } } |
In this http directive, as you can see, we have a directive named include, which will load all the configurations of the websites we want in the /etc/nginx/config.d/ directory. Every time you want to add a new website with Nginx, just create a new file with the file name in the format <domain_or_ip> .conf in /etc/nginx/config.d/ folder and then configure the information for it. The content we need to declare in the configuration file of each website is the content of that server directive. This information basically consists of the following:
|
1 2 3 4 5 6 7 8 9 |
server { listen 80 default_server; listen [::]:80 default_server; server_name _; root /usr/share/nginx/html; location / { } } |
Inside:
- The listen directive configures the port number that Nginx will listen for users to request to your web application
- The server_name directive defines the domain name information that is pointed to your server’s IP address. If you use IP to access your application, you can skip this directive.
- The root directive defines the path to the source code of your application
- The location directive defines the directory and file that will be processed from the user’s request.
Imagine, root directive defining mapping from domain or server’s ip to the root of your source code. The location directive defines the requests your application will handle. Corresponding to each location we can define additional root directives to specify which file directory to handle for a given request.
In the server directive definition above, we are configuring the request with the “/” context path in the location directive to the application’s root directory.
With the current configuration, I can access my web application with the following URL request: http://localhost/huongdanjava
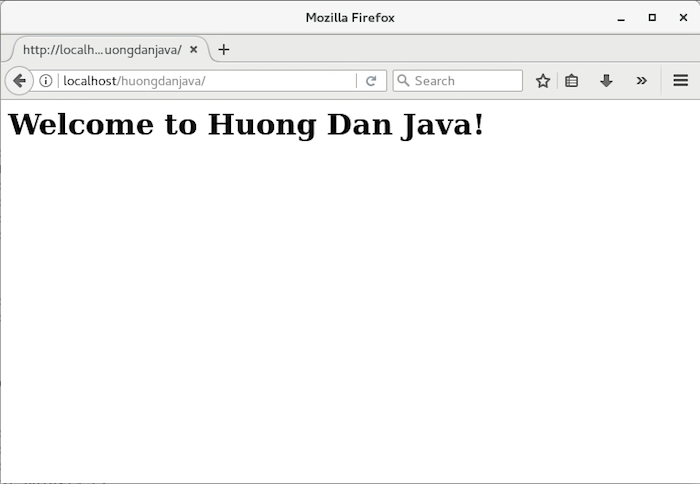
That’s because our application’s code is located in /usr/share/nginx/html directory and the location in the above configuration is mapping to this directory. Another note for you is that, by default, if you do not specify the file of the web application to access, by default Ngnix will display the contents of the index.* file. “*” here means there are many other extensions that Nginx supports.
To configure the example web application above, you can access it directly from http://localhost/, first I will open the file /etc/nginx/nginx.conf and comment server directive in http directive.
|
1 2 3 4 5 6 7 8 9 10 11 12 13 14 15 16 17 18 19 20 21 22 23 24 25 26 27 28 29 30 31 32 33 34 35 36 37 38 39 40 41 42 |
http { log_format main '$remote_addr - $remote_user [$time_local] "$request" ' '$status $body_bytes_sent "$http_referer" ' '"$http_user_agent" "$http_x_forwarded_for"'; access_log /var/log/nginx/access.log main; sendfile on; tcp_nopush on; tcp_nodelay on; keepalive_timeout 65; types_hash_max_size 2048; include /etc/nginx/mime.types; default_type application/octet-stream; # Load modular configuration files from the /etc/nginx/conf.d directory. # See http://nginx.org/en/docs/ngx_core_module.html#include # for more information. include /etc/nginx/conf.d/*.conf; # server { # listen 80 default_server; # listen [::]:80 default_server; # server_name _; # root /usr/share/nginx/html; # # # Load configuration files for the default server block. # include /etc/nginx/default.d/*.conf; # # location / { # } # # error_page 404 /404.html; # location = /40x.html { # } # # error_page 500 502 503 504 /50x.html; # location = /50x.html { # } # } } |
Then, I will create a new file named huongdanjava.com.conf in /etc/nginx/config.d/ directory with the following content:
|
1 2 3 4 5 6 7 8 9 |
server { listen 80; root /usr/share/nginx/html/huongdanjava; location / { } } |
Restart Nginx:
|
1 |
sudo service nginx restart |
Then access to http: // localhost, you will see the following results:
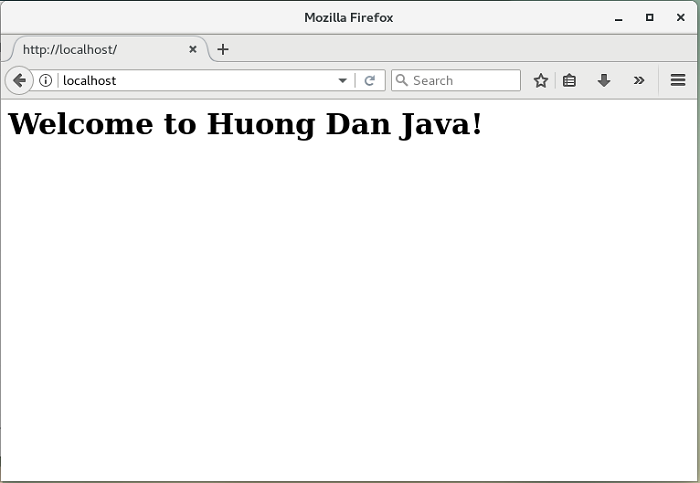
So we have successfully configured our web application with Nginx!