
To be able to build Java projects in Jenkins, the first thing we need to do that is: configure the JDK information. In this tutorial, I will guide you all how to configure JDK in Jenkins.
First, just login into your Jenkins with the admin account, then go to Manage Jenkins and select Global Tool Configuration. Here, you will see many configurations for many different tools, the configuration for the default JDK as follows:
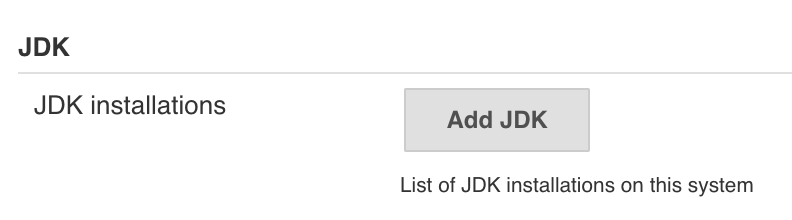
To configure the JDK installations, click the Add JDK button:
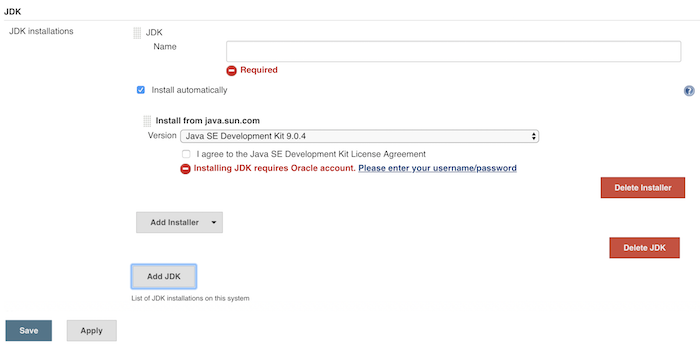
By default, Jenkins allows us to install the JDK automatically by downloading the Oracle installation file directly. But to do this, you must have a new Oracle account.
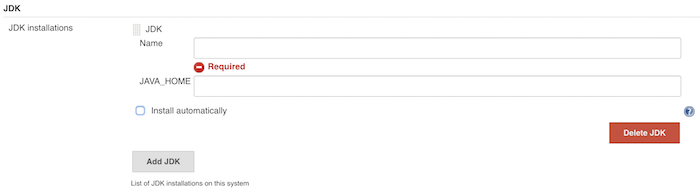
We can also use the JDK installed on our machine by unchecking Install automatically. Then the configuration for JDK installations will have the following interface:
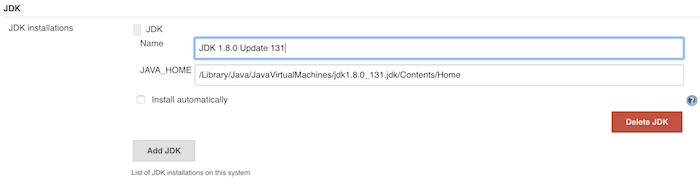
In this tutorial, I will use the JDK which was installed on my machine.
Field Name, because we can configure many JDKs, many Java versions, so field Name is used to name the current JDK that you want to install.
The JAVA_HOME section is used to point to the Java installation directory.
Here, I configure as follows:
That’s it. Click the Apply button if you want to save this configuration and want to configure other sections or click the Save button to return to the Manage Jenkins page.
