Nexus Repository Manager is a tool which is used to store the dependency libraries that we need to use in projects. It supports repository for many different programming languages from Java to .NET, from Python to Ruby. In this tutorial, I will guide you how to install Nexus Repository Manager.
First, please go to https://help.sonatype.com/repomanager3/download to download the latest version of Nexus Repository Manager. Depending on the operating system that you are using, please download the appropriate version.
Here, I’m using macOS so I will choose to download OSX archive.
After downloading, please unzip this file.
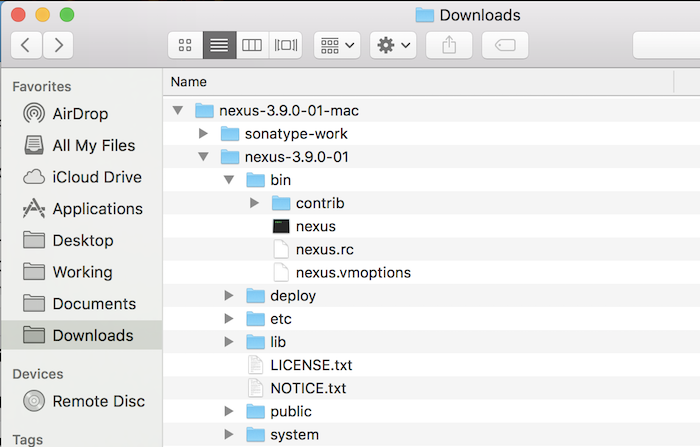
To install the Nexus Repository Manager, we simply need to go to the bin directory of the Nexus folder and then use the following command to start it:
|
1 |
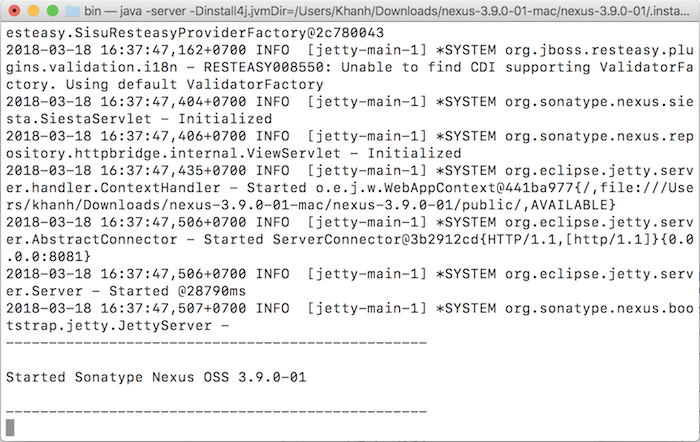
./nexus run |
Result:
If you want to run the Nexus Repository Manager underground, you can use the start command with nohup, like this:
|
1 |
nohup ./nexus run & |
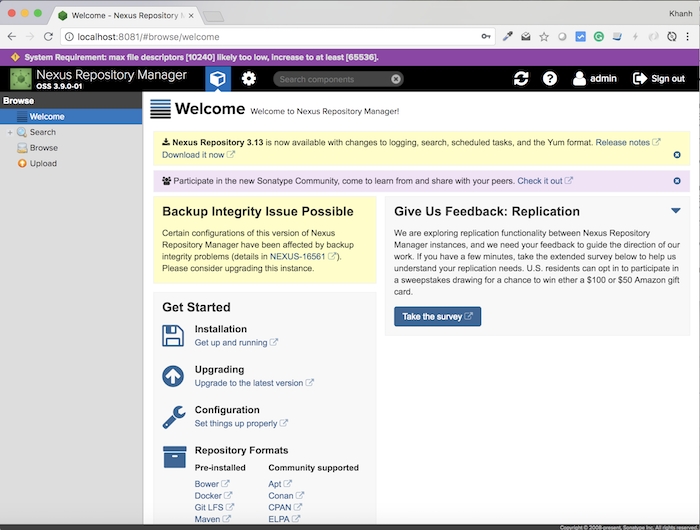
After booting up, you can access the Nexus Repository Manager with the following URL:
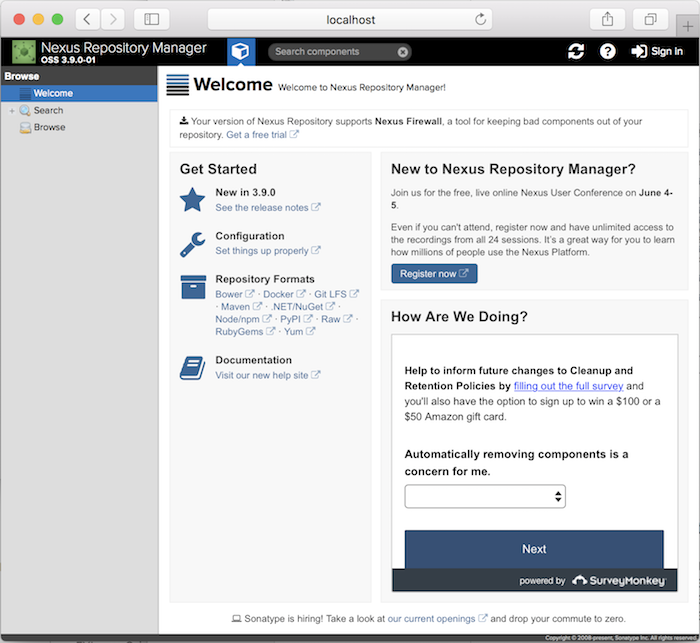
This is the welcome page of the Nexus Repository Manager. To start working with it, you need to login to it using the default admin account with the user “admin” and password as “admin123”.
Please click on the “Sign in” button at the top right corner of the welcome page and then enter the default account.
Result:
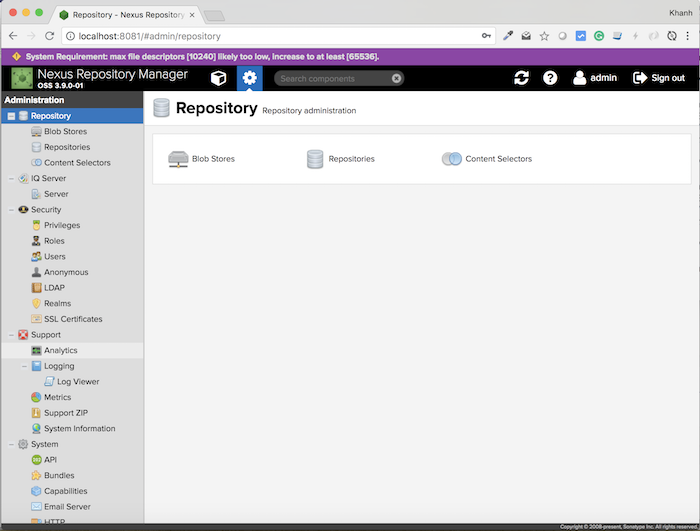
To go to the “Server administration and configuration” section, click on the button next to the “Search components” box.