While working with Maven projects, you can face the case that the library we need does not exist in any Remote Maven Repository. In that case, to be able to use this library in your Maven project, you need to either install it to the Local Maven Repository or use Maven’s relativePath. However, in case anyone in your team needs to use that library also, installing it on each machine will be time consuming and ineffective, not to mention the need to build your Maven project with Jenkins. The solution here is that we can upload the library to the Nexus Repository Manager, once and will solve all the problems. In this tutorial, I instructed you to upload an artifact to Nexus Repository Manager!
As an example of this tutorial, I will take the WebLogic Server’s wlthint3client library. You will not see this library in any Remote Maven Repository. We will now use the Nexus Repository Manager to upload it and use it!
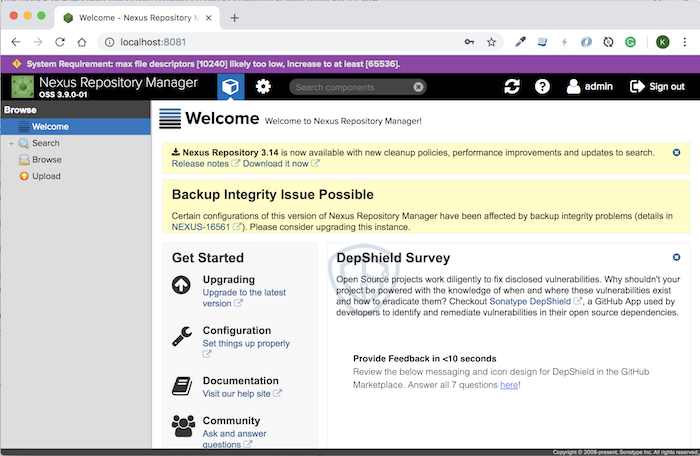
First, of course, you need a Nexus Repository Manager Server:
To upload an artifact to the Nexus Repository Manager, go to its Upload page by clicking on the Upload link on the left of the homepage. A new page will be displayed to help you select the Repository that you want to upload the artifact to:
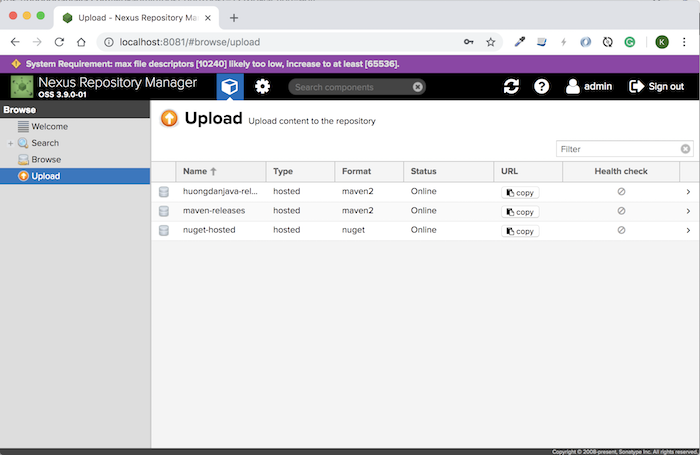
Choose the appropriate Repository according to your needs. Here, I choose the huongdanjava-releases repository:
An artifact in Maven normally we have 2 files to upload that are .jar file and .pom file. Now I will upload the .jar file first.
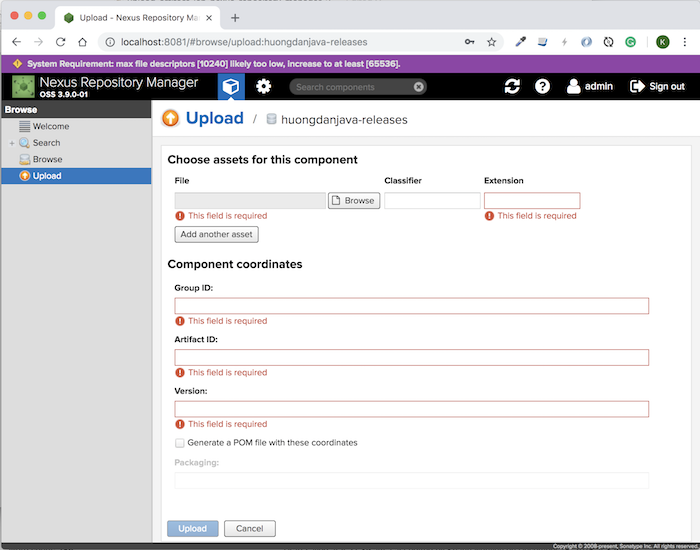
Here, we have a total of 5 fields to enter information, including:
- File: The path to the file to upload
- Extension is the type of file. This field is automatically filled in based on the file we are trying to upload.
- Group ID is the Artifact Group Id.
- Artifact ID is the Artifact Id of the artifact.
- Version is the version of artifact.
Click on the Browse button to select the .jar file that you need to upload, then fill in the Group ID information, Artifact ID and Version! Myself is as follows:
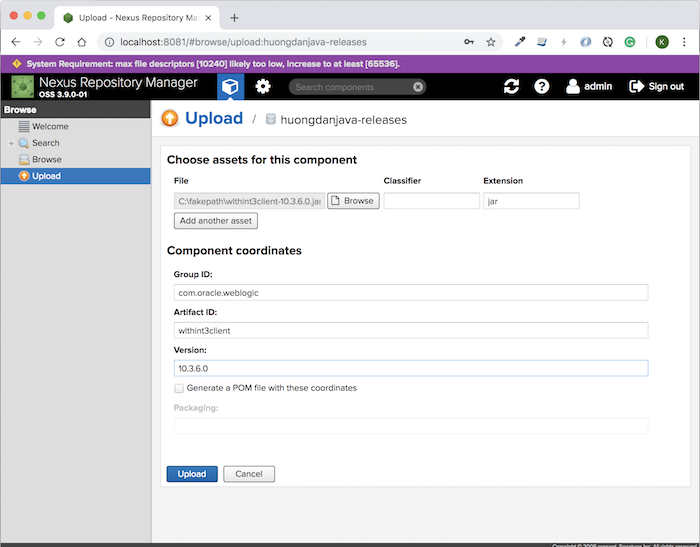
As you can see, here we have another field called “Generate a POM file with these coordinates”. This field means that if your artifact does not have the pom.xml file attached then you can use it to generate a default pom file. At this time we do not need to upload the pom file for this artifact anymore.
In the example of this tutorial, I will check this field because I do not have the pom.xml file of the wlthint3client library.
Then click the Upload button!
My results are as follows:
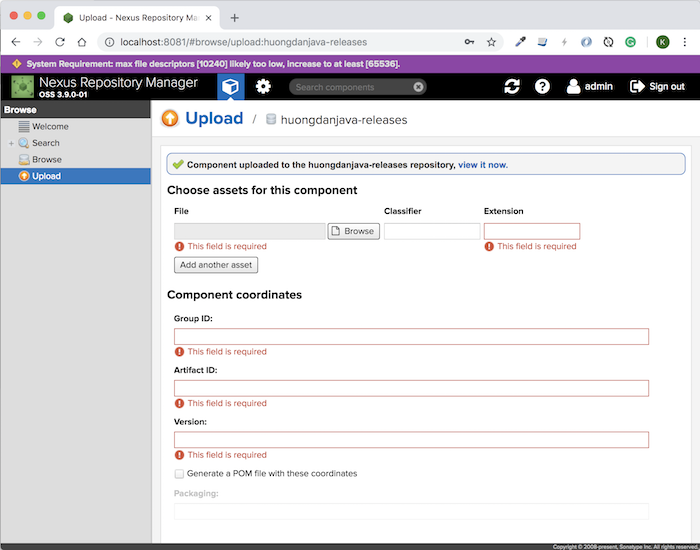
You can click on the “view it now” link to view our artifact after upload.
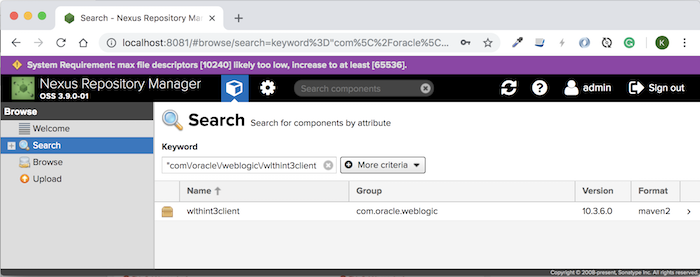
Now you can use this artifact in your Maven project.
For .pom file of the artifact, you also upload the same as the .jar file, the only thing here is after selecting the pom.xml file of the library, the information about Extension, Group ID, Artifact ID, Version will be automatically filled based on the information in the file pom.xml, so you will not need to do anything, just click the Upload button.