As I said in my previous post, the Nexus Repository Manager is a tool that makes us possible to create repositories that manage the dependencies which we need to use in our projects. For Java, we often use Maven Repository to manage dependencies. In this tutorial, I will show you how to create Maven Repository in Nexus Repository Manager.
First, you need to log into the admin account and navigate to the “Server administrator and configuration” section:
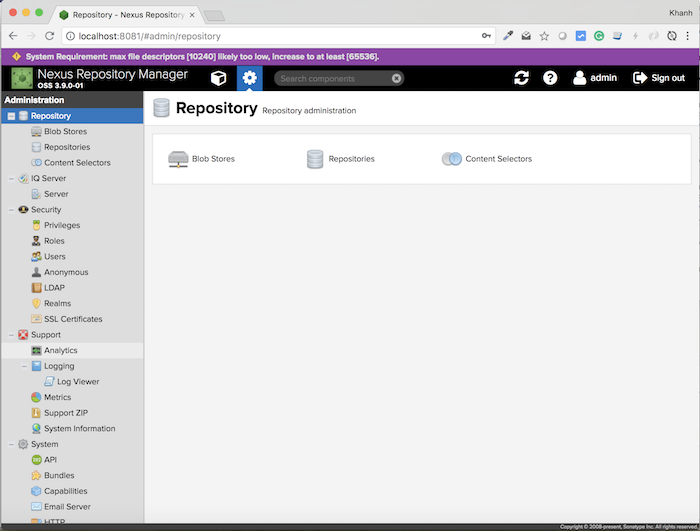
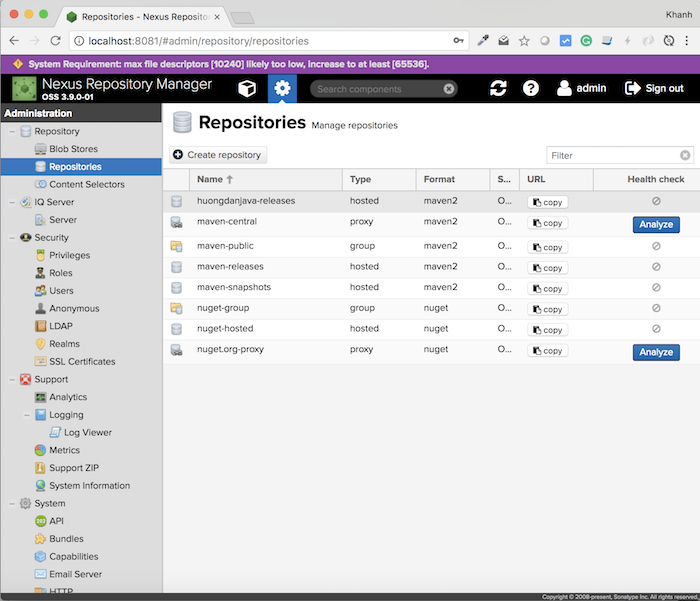
In the menu on the left, please click on the menu item “Repositories”.
Here you will find some default repositories that the Nexus Repository Manager has created including the Maven Repository such as:
- maven-central: http://localhost:8081/repository/maven-central/
- maven-public: http://localhost:8081/repository/maven-public/
- maven-releases: http://localhost:8081/repository/maven-releases/
- maven-snapshots: http://localhost:8081/repository/maven-snapshots/
In the information for each of the Maven Repository listed above, you need to pay attention to the Repository Type column. This is the column that specifies how a repository will work, including: proxy repository, hosted repository, and repository group.
The differences between these repository types are:
Proxy repositories are repositories that act as proxies that allow us to access other external public repositories, such as https://repo1.maven.org/maven2/.
When we request a dependency to a proxy repository, first, Maven Repository will verify whether this dependency we need is already available locally, otherwise it will request to the remote repository which proxying to retrieve and store the dependency. In incoming requests for this dependency, the Maven Repository only works locally and return this dependency without having to request to the remote repository. This helps us save bandwidth, time and if we unfortunately do not have access to the remote repository then there is also something to use.
Hosted repositories are repositories that will contain internal dependencies, project-based, and non-public.
This is understandable if your project has dependencies that are needed for everyone in the team, so we can publicly add this dependency to the hosted repository, then everyone can request to use it.
For a hosted repository, you need to distinguish two types of release or snapshot dependencies: release is the dependency that has been approved for use with a certain version, and the snapshot is an only temporary version, not yet test and verify thoroughly. Dependency with release version cannot be stored in a snapshot repository and vice versa.
You will see clearly this distinction when we go to create a new Maven Repository.
The repository group is a collection of other repositories, where you can combine multiple repositories with different types into a single repository.
This will help you to simplify the Repository URL need to use.
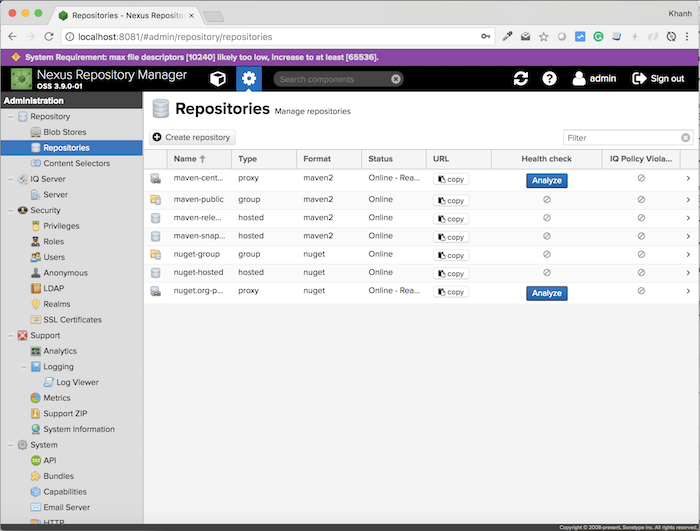
OK, now let’s try creating a new Maven Repository!
On the Repositories page, click the “Create repository” button:
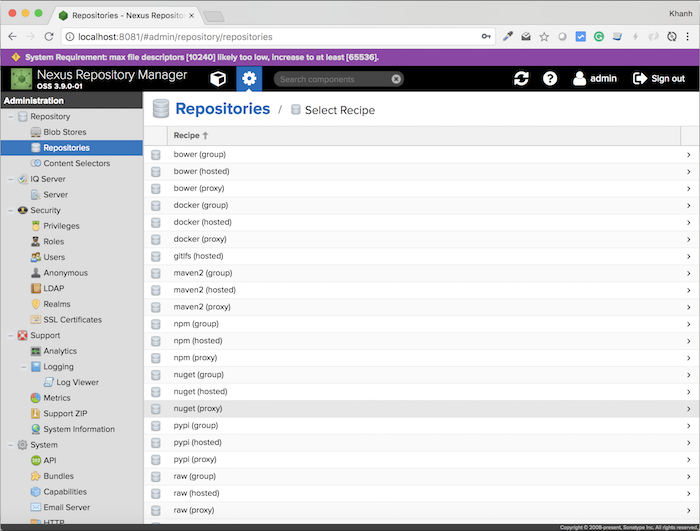
As you can see, the Nexus Repository Manager supports many different types of repositories. For the Maven Repository, we can create three types of repositories with the types mentioned above: group, hosted and proxy. You can select the type you need, in this example, I will select type is hosted by clicking on the item “maven2 (hosted)”.
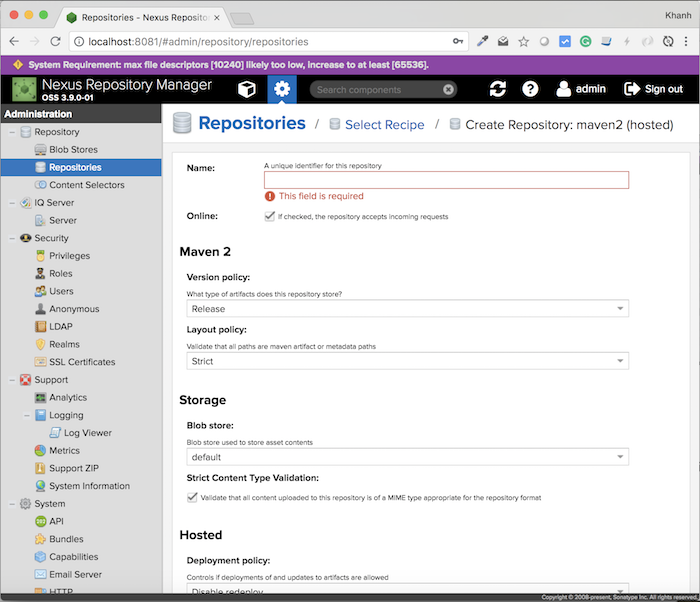
Here, we need to configure the following information:
Name: the name of the repository, please fill in the name of your needs.
Online “If checked, the repository accepts incoming requests” allows us to disable or enable this repository.
Version policy: We have three types: release, snapshot and mixed. Release and snapshot are the same as mentioned above, and mixed allows us to store both release and snapshot.
Layout policy: conform to Maven repository format or not? Strict is fully compliant, while permissive allows for violation. You should choose strict.
For storage, let’s leave it by default.
The Deployment policy can be configured for deployment, re-deploying, or just read-only for this repository.
In this example, I configure the following:
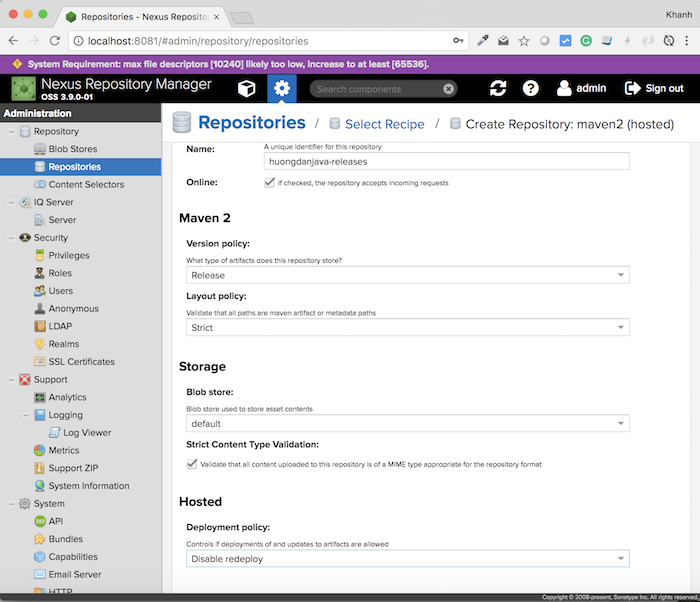
After you have finished configuration, then click “Create repository” to complete.
Result: