Creating an Angular Project using the Angular CLI is nothing easier. You only need (after installing Angular CLI):
- Navigate to the directory where you want to create the Angular project
- Open terminal in macOS, Linux or command-line in Window
- Enter the following statement:
|
1 |
ng new <project_name> |
with project_name is the name of the Angular project, then we can create an Angular project.
For example, run the following command:
|
1 |
ng new angular-example |
First of all, Angular CLI will ask you about the style sheet format you want to use, including CSS, SCSS, Sass or Less.

You want to use which format, let press the up and down button to select it.
I will choose default CSS and press Enter.
Angular CLI will also ask you if you want to enable Server Side Rendering and Static Site Generation, as follows:

Depending on your needs, choose Yes (y) or No (N)! Here I will choose No, then Enter.
At this point, Angular CLI will generate an Angular project for us as follows:
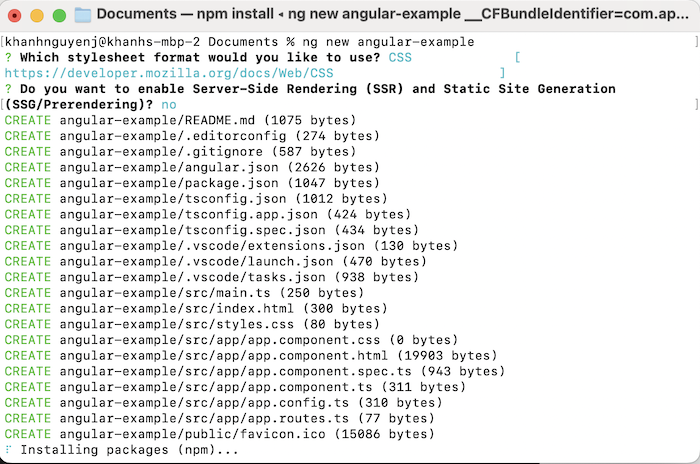
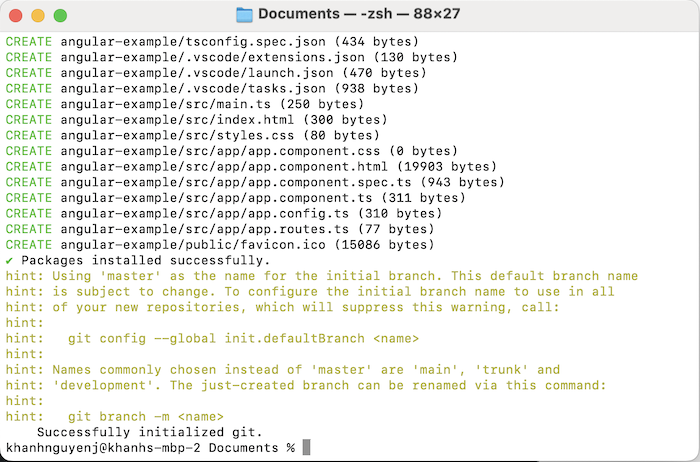
As you can see, after generating the Angular project, Angular CLI will automatically run the command to install the Node packages that will be used for the project.
Result:
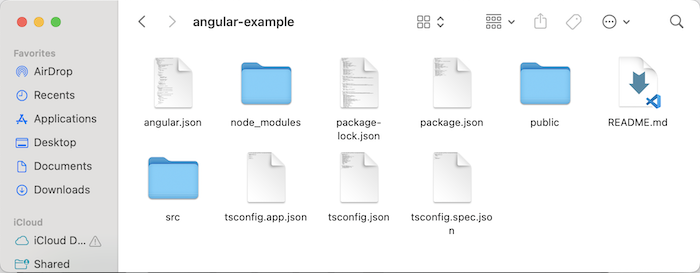
At this point, if you check the directory of the Angular project, you will see the results as follows:
To run this project, just go to the root of the project and run the following command:
|
1 |
ng serve |
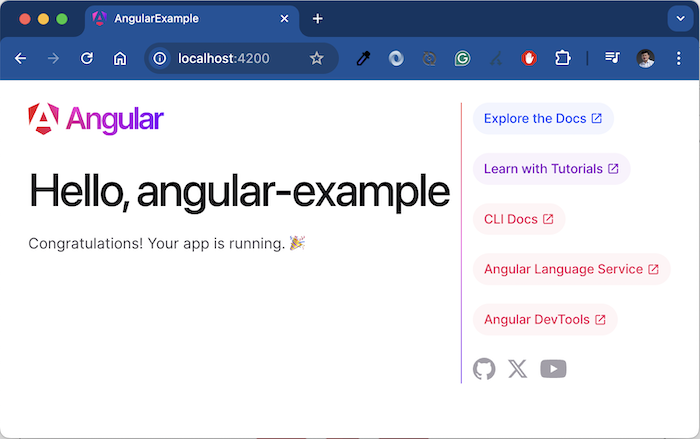
By default, Angular CLI will start our application at port 4200. So if you have access to http://localhost:4200/, you will see the following result:
If you try to modify the file app.component.ts in the src/app of the Angular project from:
|
1 2 3 4 5 6 7 8 9 10 11 12 13 |
import { Component } from '@angular/core'; import { RouterOutlet } from '@angular/router'; @Component({ selector: 'app-root', standalone: true, imports: [RouterOutlet], templateUrl: './app.component.html', styleUrl: './app.component.css' }) export class AppComponent { title = 'angular-example'; } |
into:
|
1 2 3 4 5 6 7 8 9 10 11 12 13 |
import { Component } from '@angular/core'; import { RouterOutlet } from '@angular/router'; @Component({ selector: 'app-root', standalone: true, imports: [RouterOutlet], templateUrl: './app.component.html', styleUrl: './app.component.css' }) export class AppComponent { title = 'Huong Dan Java'; } |
the browser will automatically refresh to:
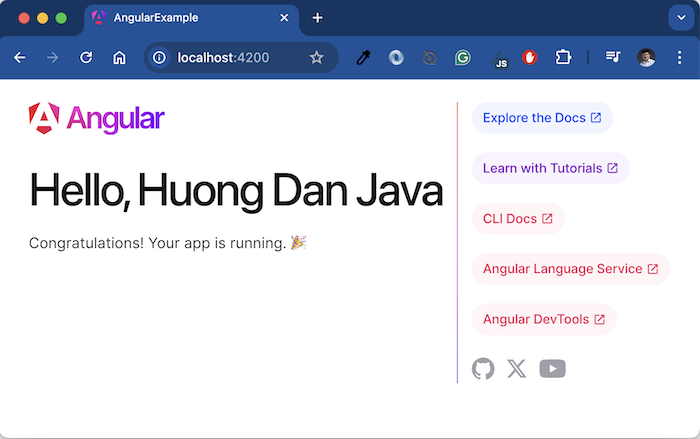
Now, you can start building an Angular application.