Compare plugin in Notepad++ is a plugin that allows us to compare any two files that are opened in Notepad++, to see the difference between them clearly. In this tutorial, I will guide you how to install and use the basic with this plugin.
Installation
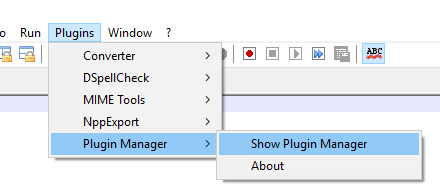
To install the Compare plugin in Notepad++, go to Plugins, select Plugin Manager and select Show Plugin Manager:
The Plugin Manager window will appear. In the Available tab, click on the Compare plugin as follows:
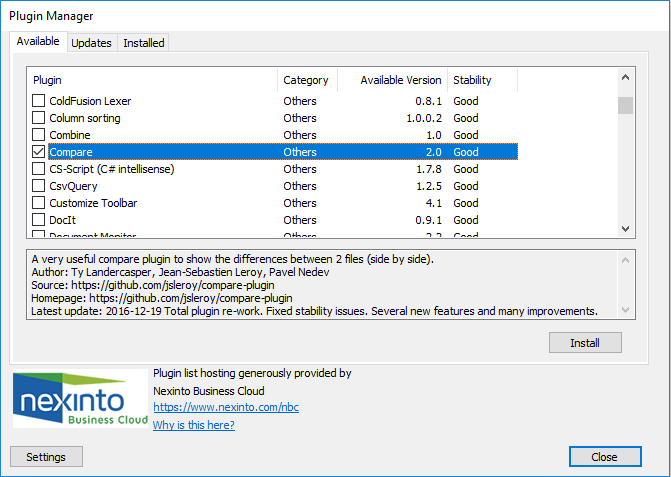
Then press the Install button.
Once installed, we will need to restart Notepad++ for the installation to take effect.
Result:
Used
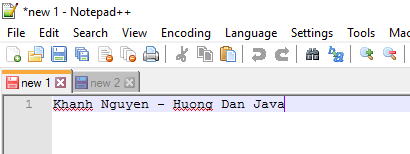
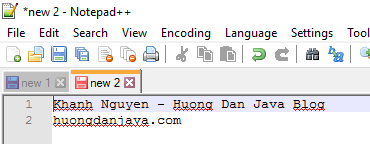
To use Compare plugin to compare any two files, first you need to open those 2 files in Notepad++. Suppose I have 2 files as follows:
and
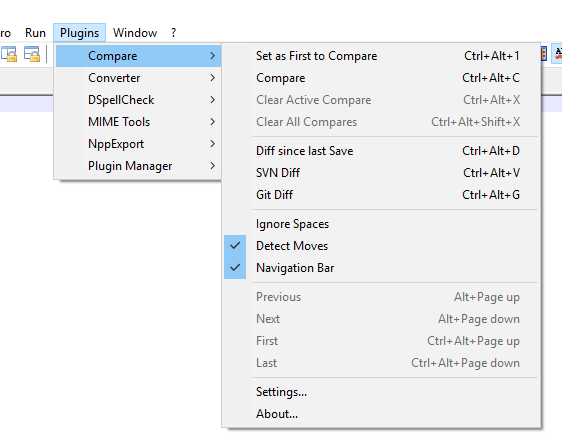
Now, to compare these two files, you can go to the Plugins menu, select Compare and then select Compare:
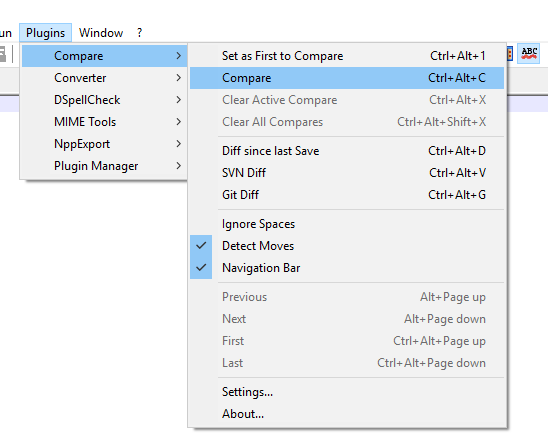
Or you can also use the keyboard shortcut: Ctrl + Alt + C.
The results will look like this:
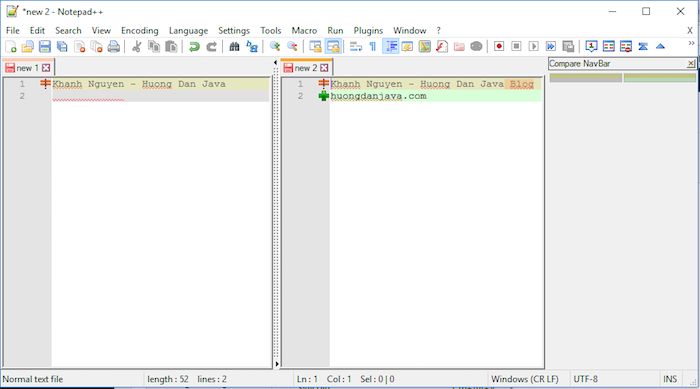
As you can see, we will easily see the difference between the two files that we need to compare, right?
To exit the comparison window, go to Plugins, select Compare, and select Clear Active Compare:
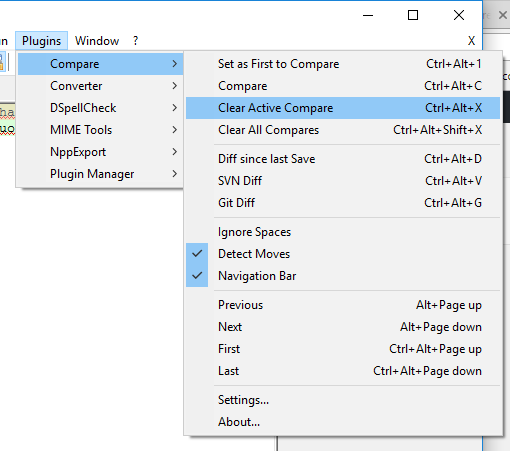
Or use the keyboard shortcut Ctrl + Alt + X.