I have a tutorial that instructs you all how to install Git on Ubuntu using the “apt-get install” command but one drawback of this command is that: it can only install Git from the Ubuntu repository. Sometimes, the version of Git on Ubuntu’s repository is not the newest. If you want to install the latest version of Git, the only way is to install from its source. In this tutorial, I would like to guide you to install Git from the source code on Ubuntu!
The installation steps are as follows:
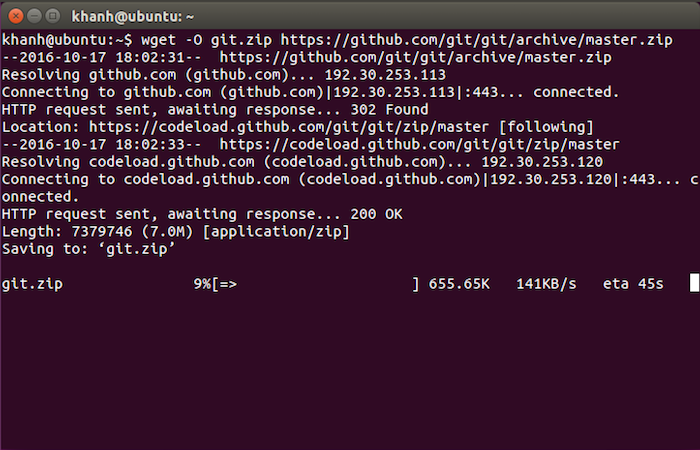
First, let’s open the Ubuntu Terminal and use the wget command to download the latest Git source code at: https://github.com/git/git/archive/master.zip as follows:

Once downloaded, unzip the git.zip file using the following command:
|
1 |
unzip git.zip |
Then move to the directory you just extracted using the following command:
|
1 |
cd git-* |
Next, let’s install the necessary libraries to install Git first, as follows:
|
1 |
sudo apt-get install make autoconf libcurl4-gnutls-dev gettext gcc zlib1g-dev |
After installing the necessary libraries, run the following commands in turn to install Git:
|
1 2 3 4 |
make configure ./configure --prefix=/usr --without-tcltk make all sudo make install |
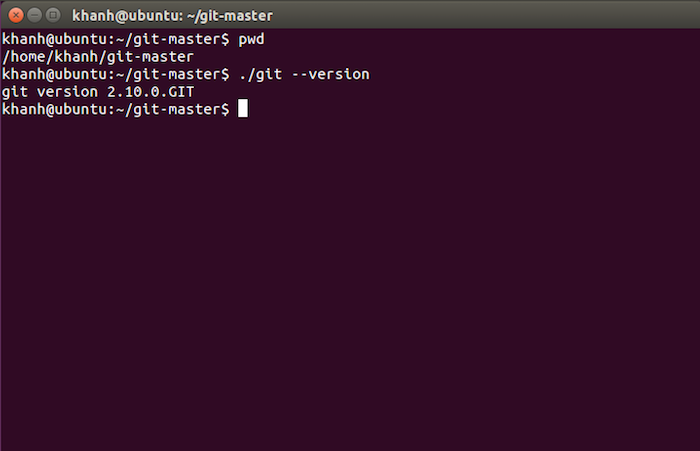
By default, Git will be installed in the folder which you have unzipped the git.zip file. In this example, it will be installed in /home/khanh/git-master.
Result:

In order to use Git anywhere, you need to add the environment variable to it.
To do this, open the .bashrc file in the user directory, and then add the following line to the end of the file.
|
1 |
export PATH = /home/khanh/git-master/:$PATH |
Please replace /home/khanh/git-master/ with the path that you just installed Git!
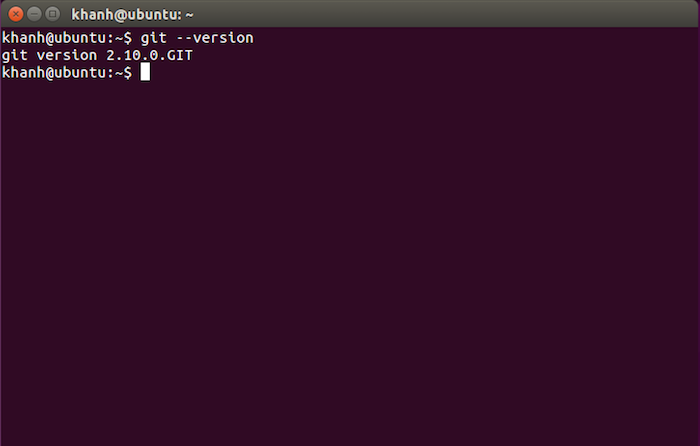
Result:


