Unlike CVS or Subversion, Git is now in widespread use for its advantage. In this tutorial, I will guide you through the steps to install a GIT server on the Ubuntu environment!
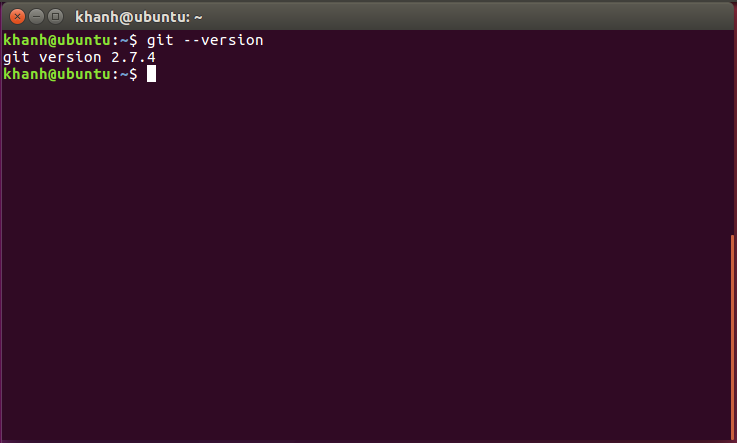
First, let’s open the Ubuntu Terminal and install the Git with the following command:
|
1 |
sudo apt-get install git |
Result:
After installation, you need to configure your username and email for Git to be able to start working with it.
Git supports two commands so that we can easily configure username and email, specifically as follows:
For username:
|
1 |
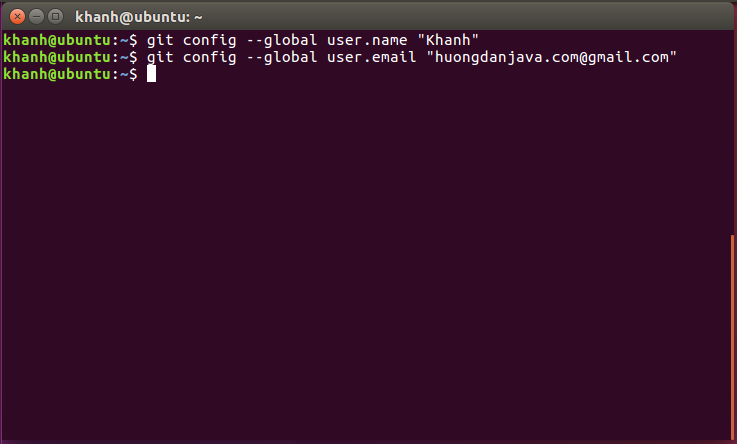
git config --global user.name "<username>" |
For email:
|
1 |
git config --global user.email "<email>" |
For example, I will configure my username and email as “Khanh” and “huongdanjava.com@gmail.com” as follows:
To test the results, you can use the following statement:
|
1 |
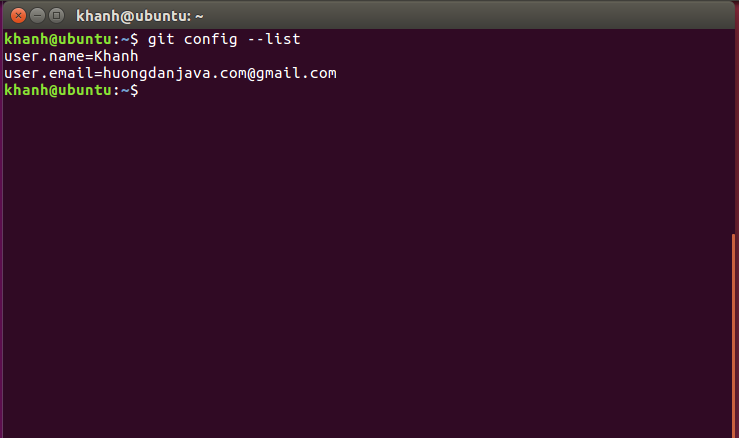
git config --list |
to see the current configuration of the Git..
My current configuration is as follows:
Here you can start creating a Git repository!
If you want to create a Git repository in a folder you want, then create that folder and move to this folder. Then, use the following command to create a Git repository.
|
1 |
git init |
If you want to create a Git repository in the user directory, use the following command:
|
1 |
git init repos |
With this statement, it will give us a Git repository in the repos directory in the user directory.
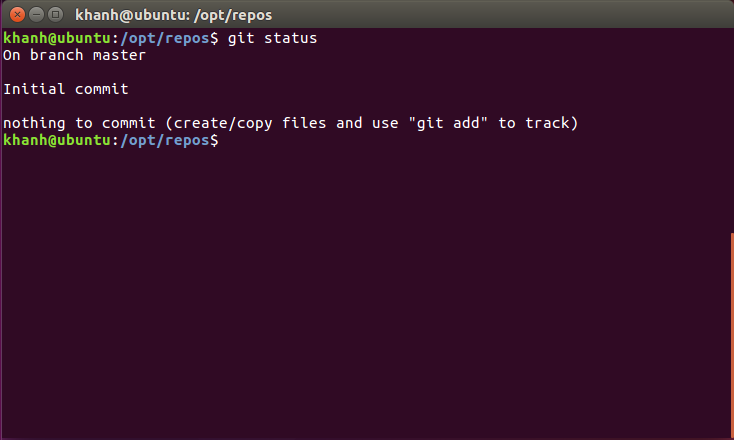
Here, I need to create a Git repository located in /opt/repos so I would do the following:
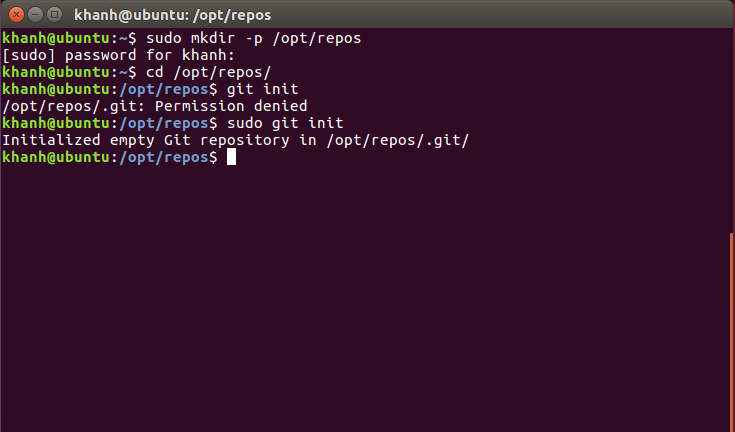
Result: