Keycloak is an open-source software for managing access for any application. It supports many different authentication and authorization standards such as Single Sign-On (basically, we can use our login information for many different applications), OpenID Connect, LDAP, and more … In this tutorial, I will show you how to install Keycloak!
First, go to the download page of Keycloak to download its installation file, at https://www.keycloak.org/downloads.html.
Please download the Keycloak server (Distribution powered by Quarkus) file in .zip or .tar.gz format on this page and extract it!
Myself is as follows:
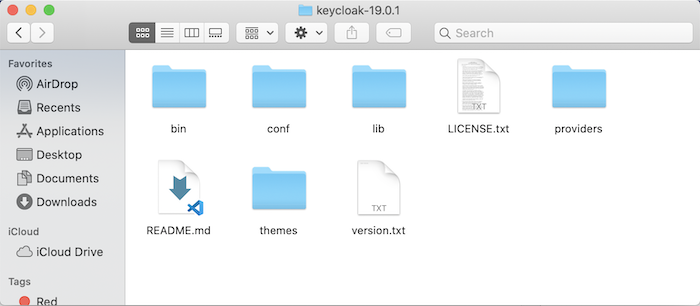
To start the Keycloak server for development, open the Console on Windows or Terminal on Linux and macOS, go to the Keycloak bin folder and then run the following command::
|
1 |
./kc.sh start-dev |
For the production environment, please use the following command!:
|
1 |
./kc.sh start |
The result when I start in development mode is as follows:
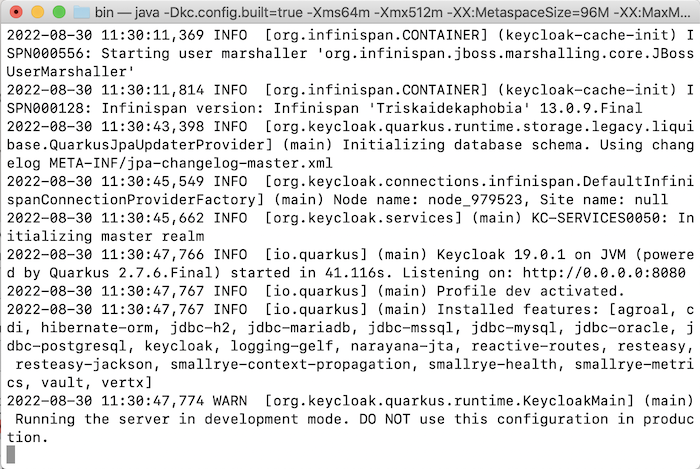
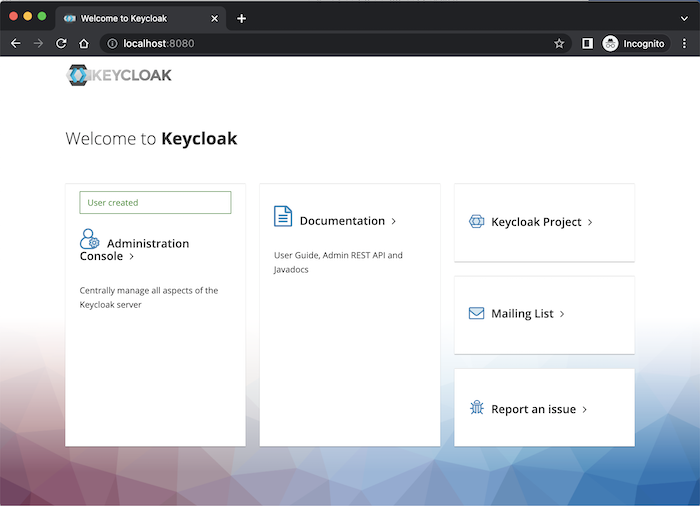
After starting the Keycloak server, you need to access the address http://localhost:8080
to create a new admin user for Keycloak.
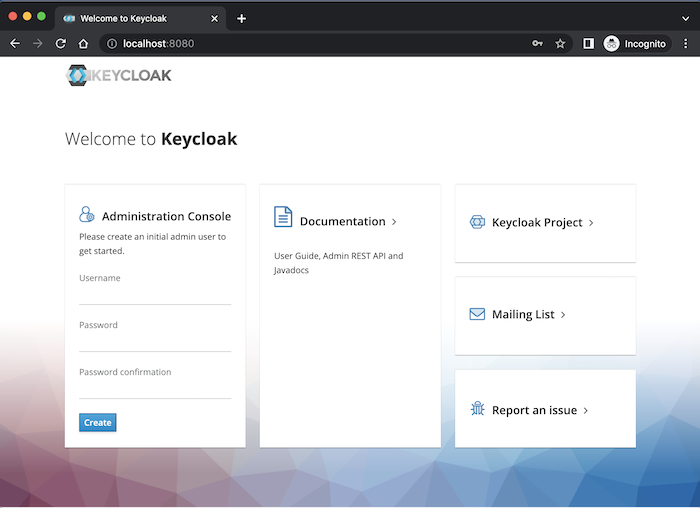
You need to create a new user admin by filling in the Administration Console and then clicking Create button.
I will create a new user “khanh”, password “123456”, the result after clicking the Create button will be as follows:
Now you can log in to the Admin Console page of Keycloak!
You go to the address http://localhost:8080/admin/, the login window will display the following:
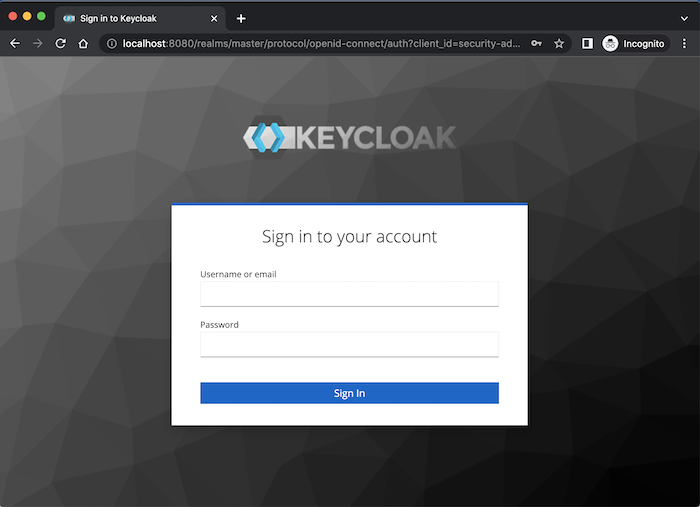
Enter the user admin information you just created above and click the Login button. You will see the following results:
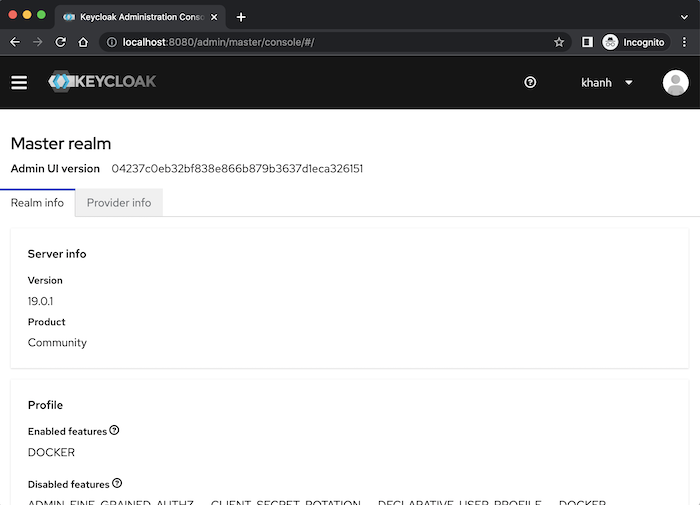
At this point, we have successfully installed Keycloak already!