In this tutorial, I will show you how to install MySQL Community Server on macOS.
Installation
First, you need to go to https://dev.mysql.com/downloads/mysql/ to download the MySQL installation file for macOS:
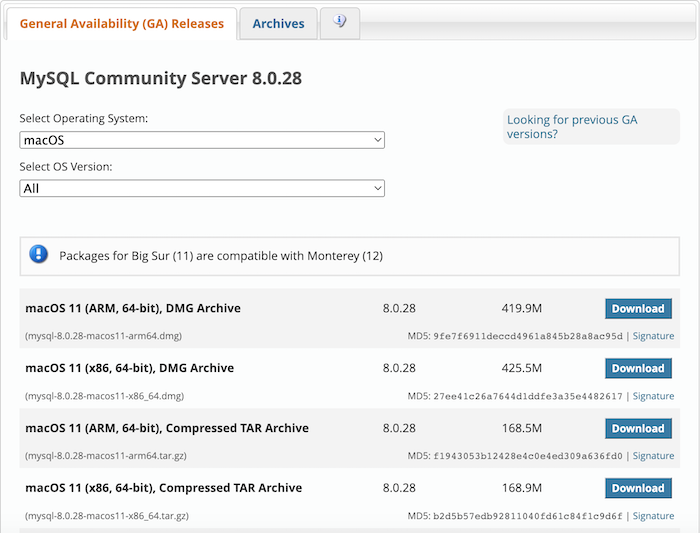
There are many different options, but you should choose the .dmg file to install because it has an UI, it will be easier.
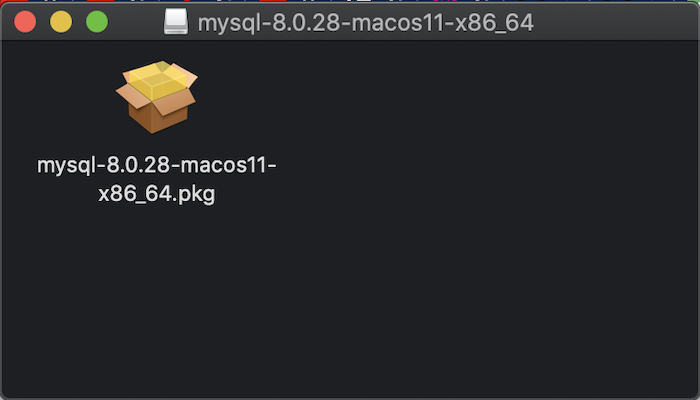
After the download is complete, click on the download file to start installing MySQL.
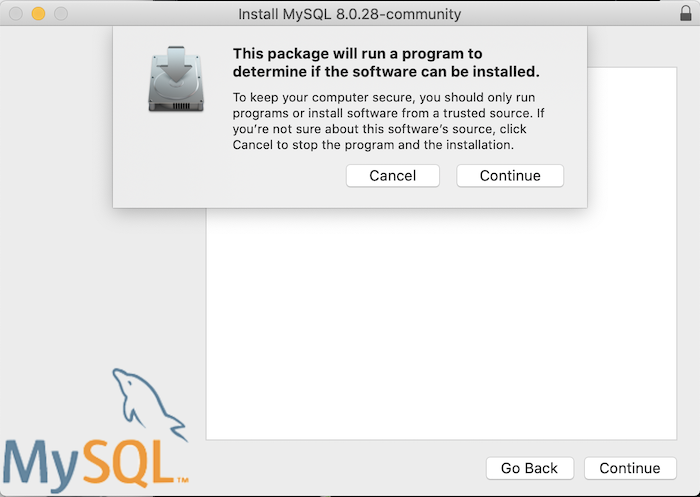
Click on the icon in the window above to continue.
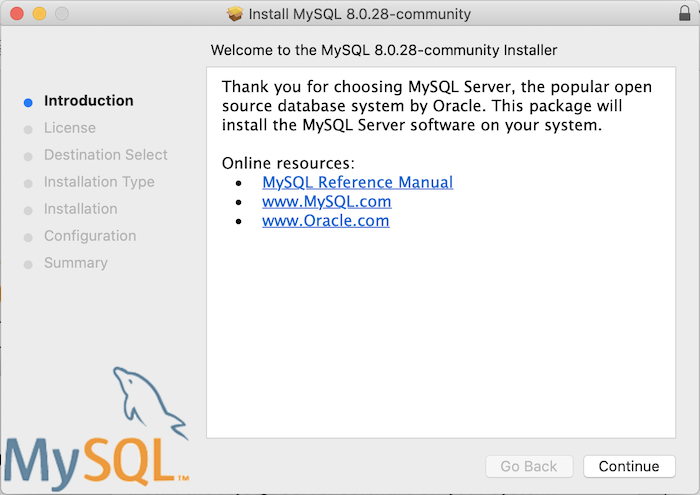
Click Continue.
Continue.
Continue.

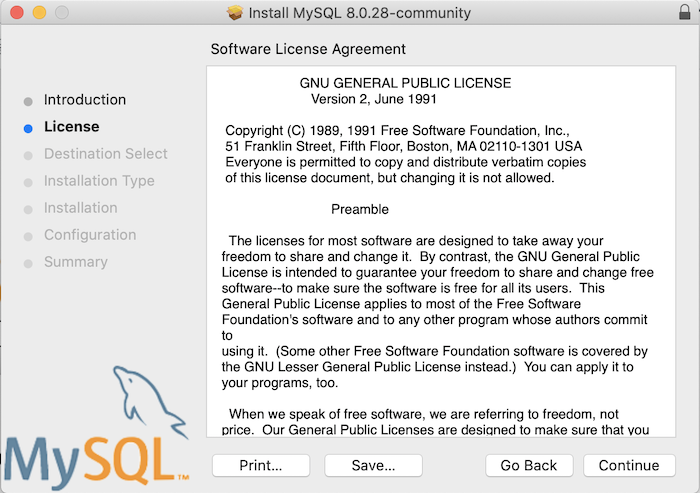
Agree.

At this point, you can press the Install button to begin installing MySQL on your computer.
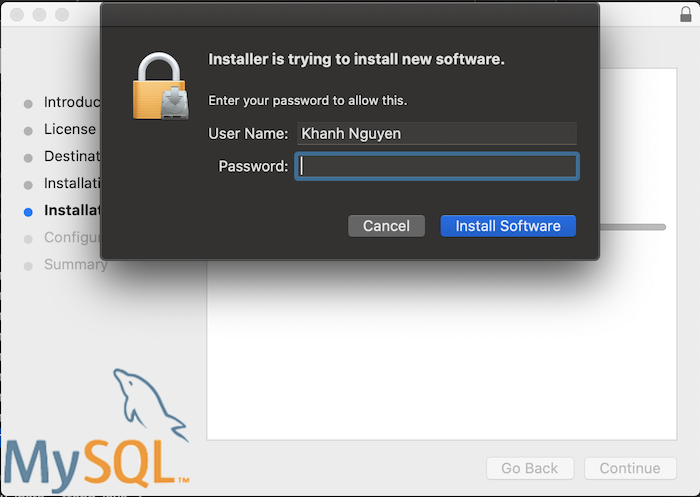
Enter the password to install new software in macOS.
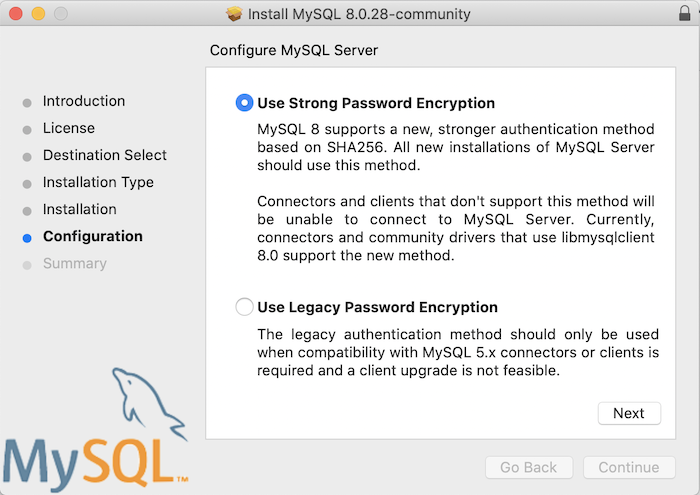
During the installation process, you need to configure the password of the root user who logs in to MySQL. Please choose how you set up the password in the picture above. We should choose “Use Strong Password Encryption” and click Next.
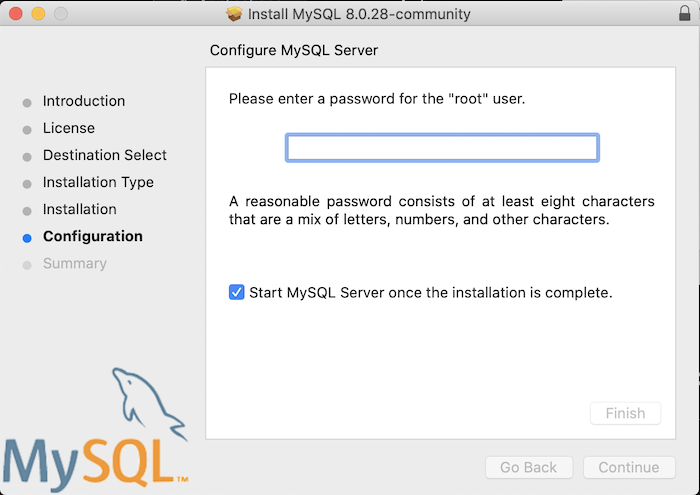
With this option, you are required to set a password with at least 8 characters, including letters, numbers, and some special characters.
After you have set the password, click Finish!
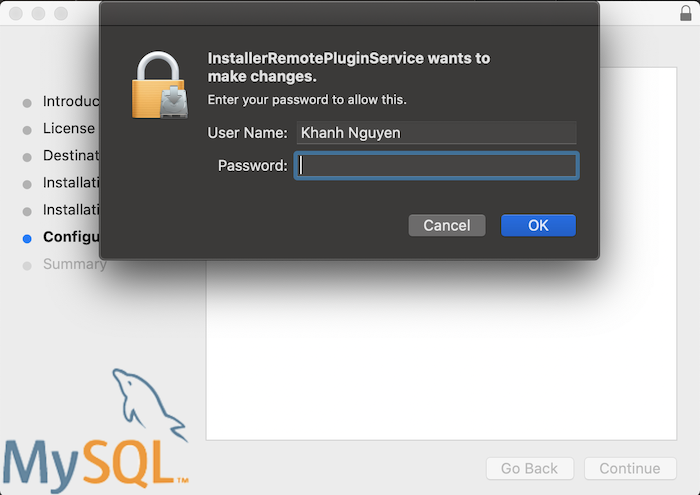
The macOS user password is required to complete the password setting for this root user.
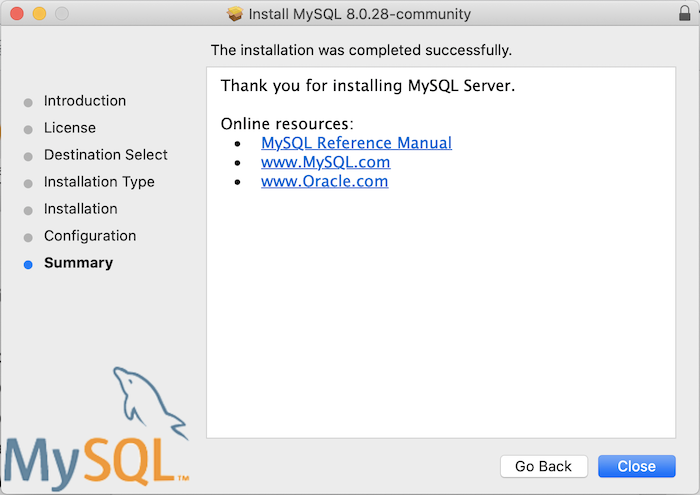
Click the Close button to finish!
You can go to System Preferences
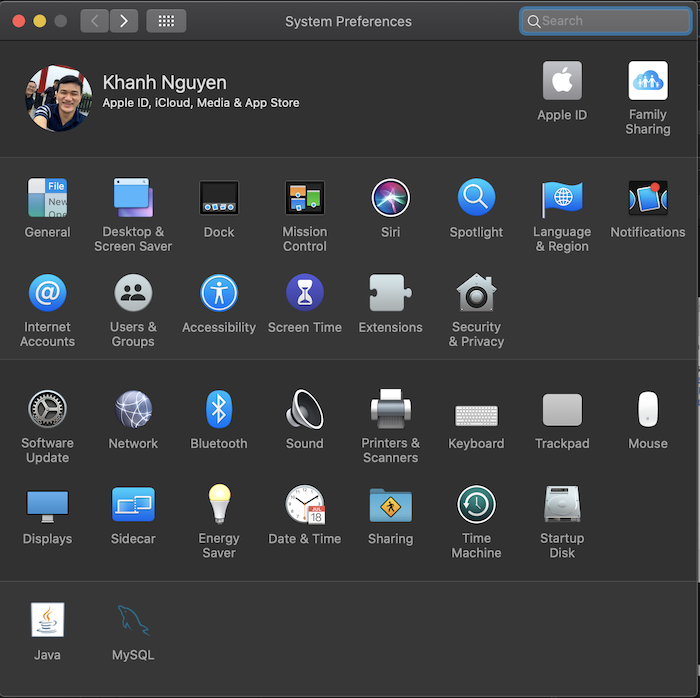
to manage to start and stop MySQL!
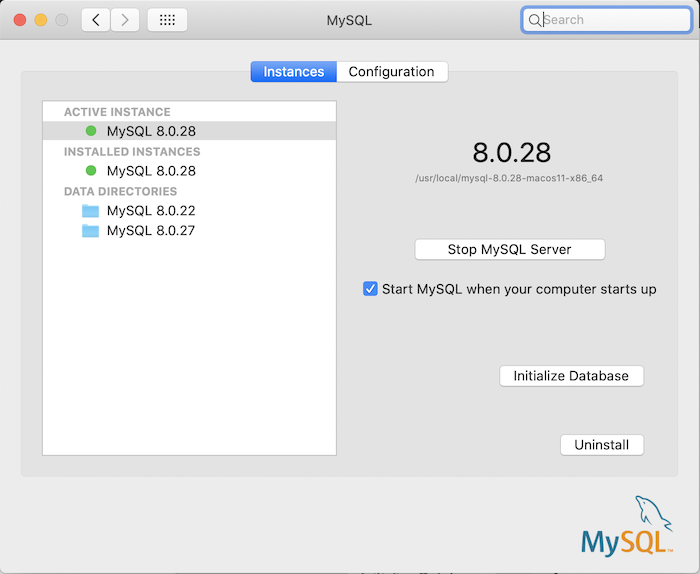
The directory where MySQL has been installed is /usr/local/mysql!
Configuration
After the installation is complete, to be able to access the MySQL server using the command line anywhere on your machine, please open the .bash_profile file in the user directory and add the following line to this file:
|
1 |
export PATH=/usr/local/mysql/bin:$PATH |
Save this file and then execute the command:
|
1 |
. . bash_profile |
for this configuration to take effect immediately. Now you can access MySQL from the command line!
To be able to start using MySQL, you need to configure its security.
Let’s run the command mysql_secure_installation to do this! You will see the configuration section displayed as follows:
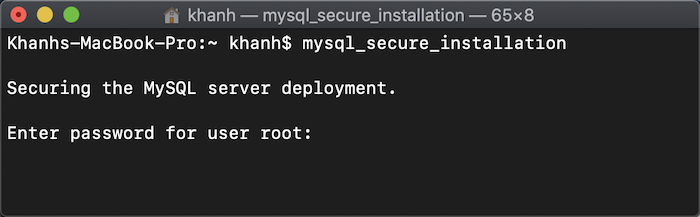
Enter the password of the root user you entered above. MySQL will ask if you need to validate that the password is secure:
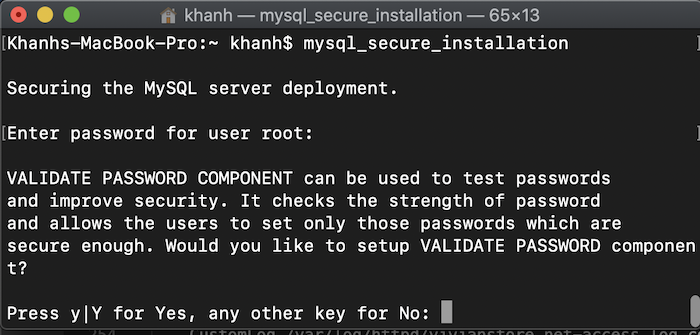
Depending on your needs, you can choose Yes to validate or No to skip this step!
I will choose No to continue:
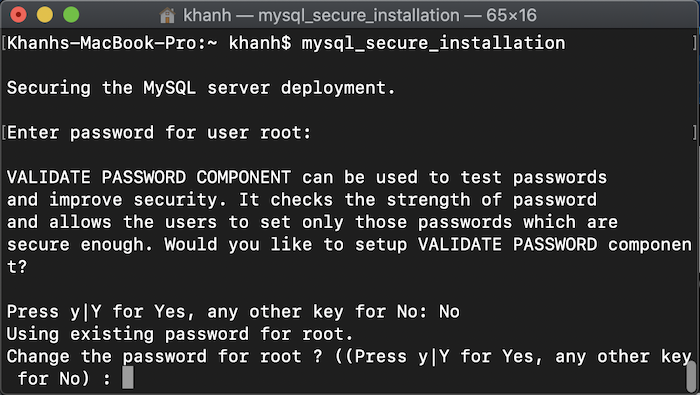
Do you want to change the password for the root user? I will choose No:
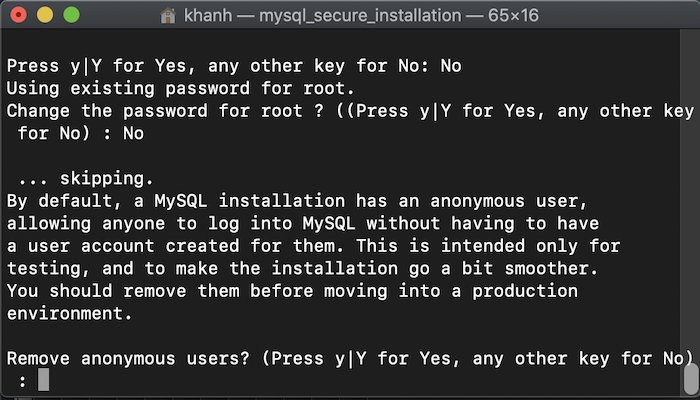 I will remove the anonymous user:
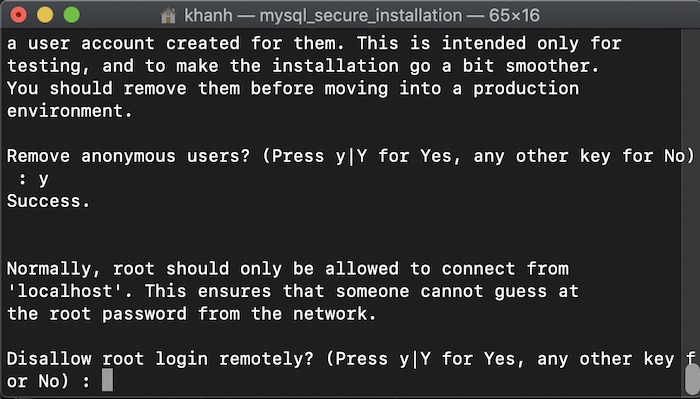 I will disable remote login for root user:
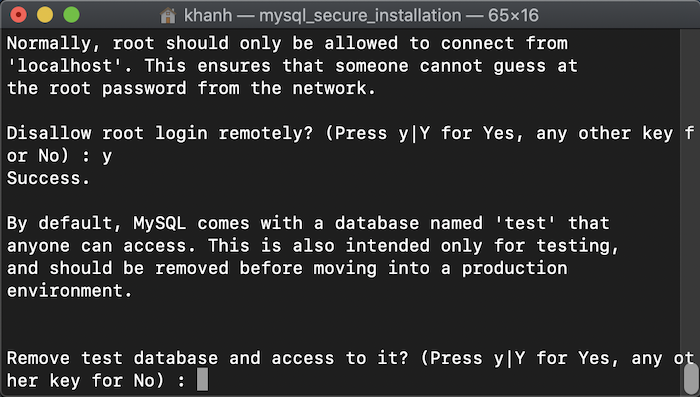 I will remove the test database and access it:
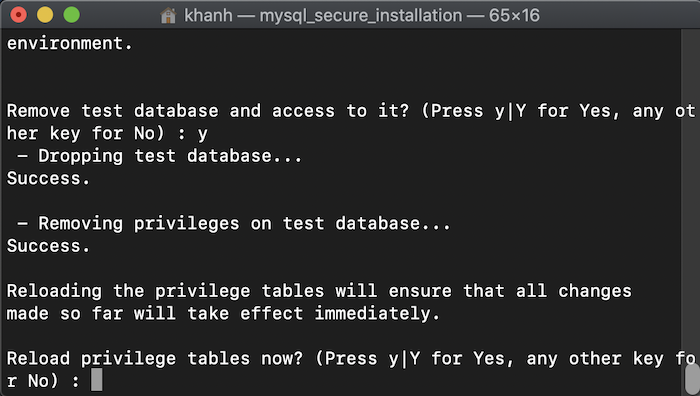 I will reload privilege tables.
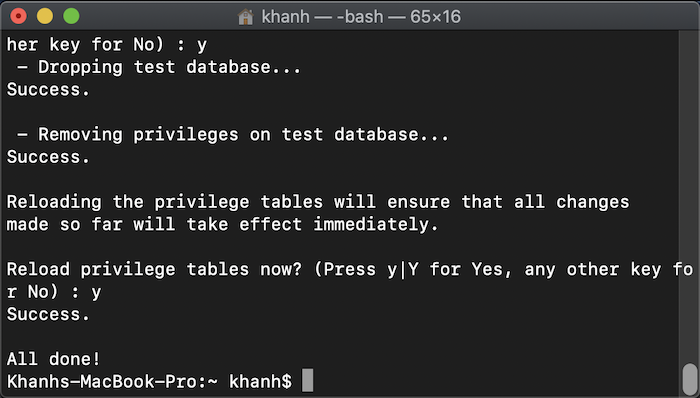 Done, guys! Now you can use your MySQL server.