I showed you how to install the PostgreSQL server. Once the PostgreSQL server is installed, you can also work with it using the command line with the psql tool. But here we have a tool that makes us easier to work with PostgreSQL, with an intuitive interface called pgAdmin. In this tutorial, I will show you how to install this pgAdmin tool on macOS!
First, you need to go to the download site of pgAdmin at https://www.pgadmin.org/download/ to download the latest version of it. Depending on the operating system, download the installation file accordingly. I am using macOS so I will download the file of pgAdmin for this operating system.
After downloading, on macOS, double click on this download file, the following window will appear:
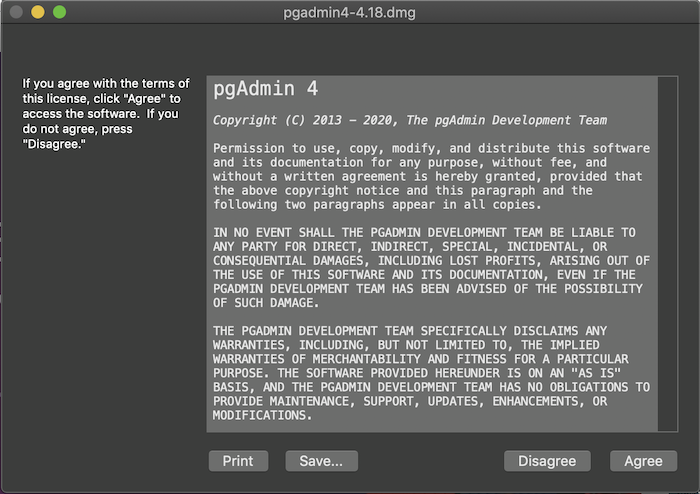
This window is related to the terms of use of pgAdmin, please click the Agree button to continue. The following window will appear:
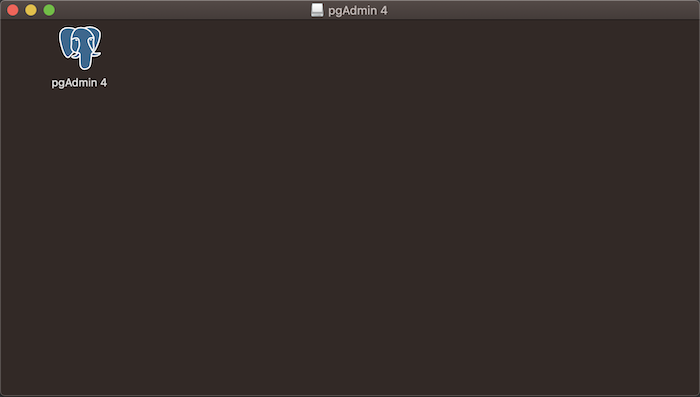
Right-click on the icon of pgAdmin and copy it.
Then open the Application folder of macOs to paste into this folder.
Now you can start pgAdmin by clicking its icon in Application.
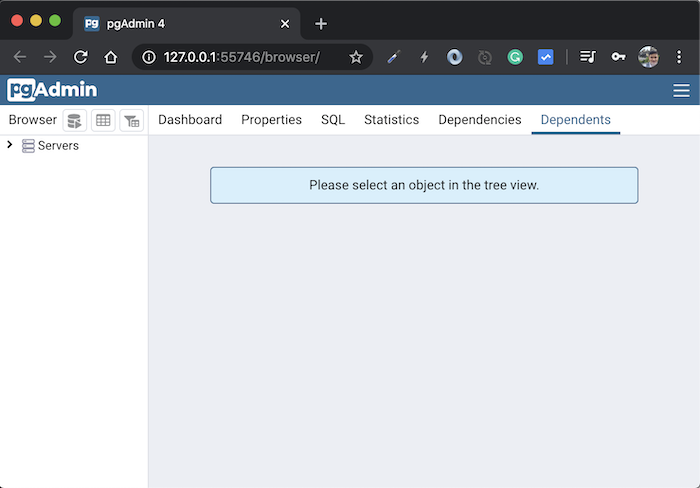
PgAdmin will start and you will see the browser will open a new tab as follows:
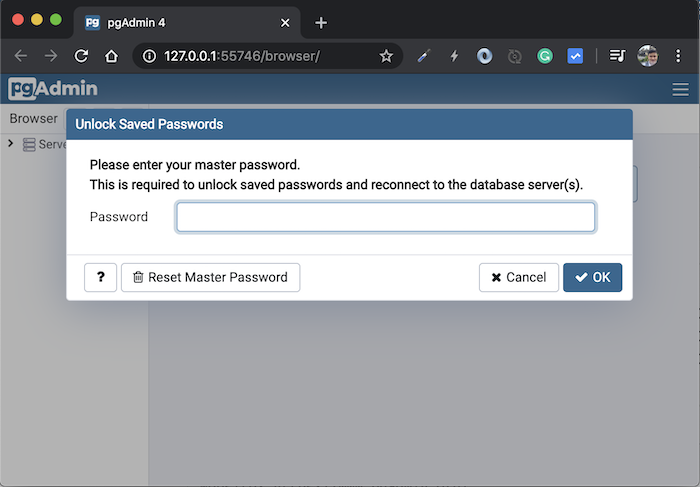
We need to set a master password to unlock the passwords stored in pgAmin every time we connect to a database server. Please set the password to your liking, then press the OK button!
Now you can start using pgAmin to manipulate the PostgreSQL server and that’s it!