PostgreSQL is an open-source object-relational database system. We have different ways to install PostgreSQL server on many different environments, as well on macOS. In this tutorial, I will show you a way to install PostgreSQL server on macOS using Postgres.app!
First, you need to go to the download page of Postgres.app https://postgresapp.com/downloads.html to download its installation file.
After you have downloaded the installation file, click on it to start installing Postgres.app.
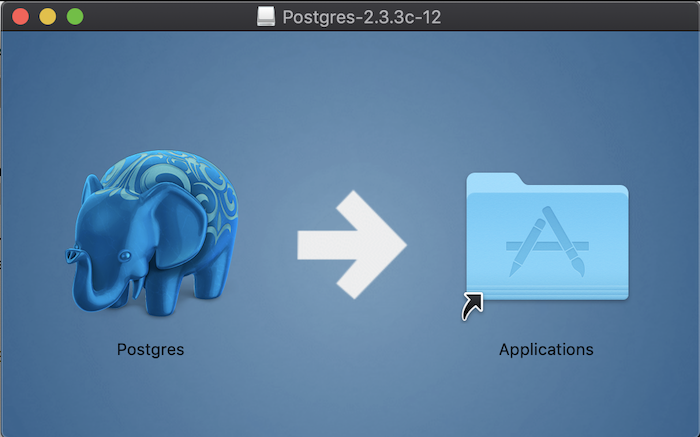
Very simply, you just drag and drop the elephant icon above into the Applications folder of macOS.
Now you can open the Postgres application, you will see the following interface:
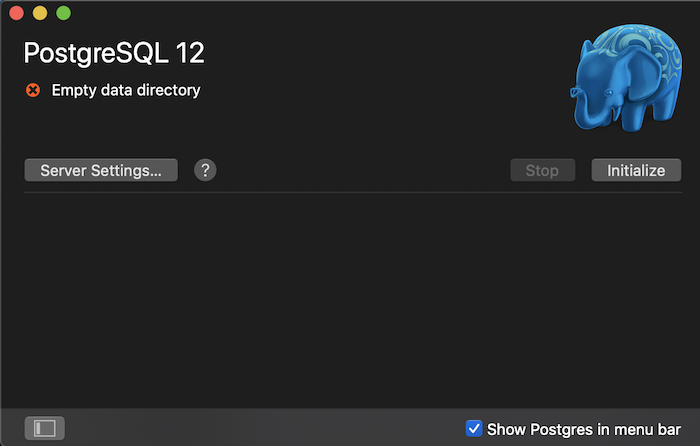
You need to click on the Initialize button to create a new server for PostgreSQL. The result is as follows:
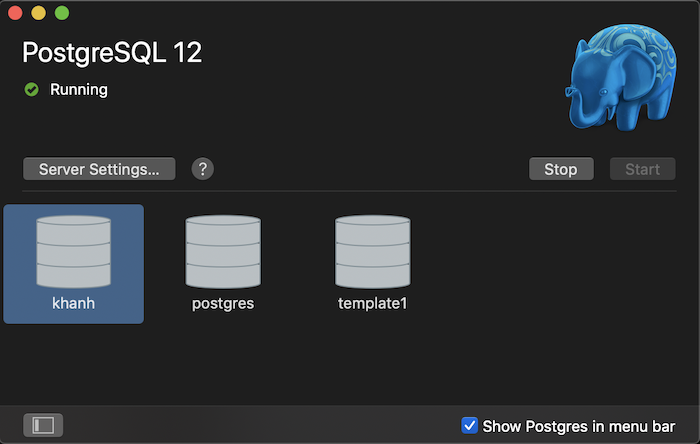
As you can see, by default Postgres.app will create 3 databases in the PostgreSQL server which has a database called the username of the system. You can start using this PostgreSQL server with the following default information:
- Host: localhost
- Port: 5432
- User: the user logs into the system
- Pass: no need to pass
- Database: the user logs into the system
- Connection URL: postgresql://localhost
So we have installed the PostgreSQL server! You can click on the database icon to start working with PostgreSQL: