Internationalization is a feature of modern web applications, capable of displaying interfaces in multiple languages from different countries. For example, if your web application can display English, Vietnamese, German, Korean, Japanese, then users who know one of these languages can choose the language they are most familiar with. If you are using Spring MVC for your web application, you can read this tutorial. I will show you how to implement Internationalization in Spring MVC!
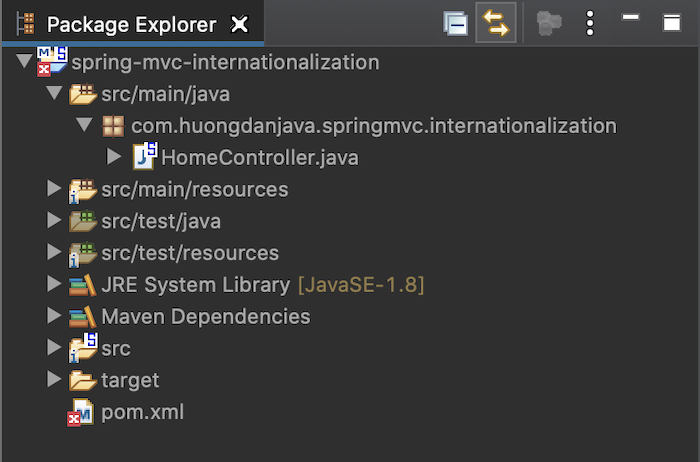
First, I will create a new Spring MVC project using Spring Tool Suite 3 as an example:
Result:
I will use Maven Jetty Plugin to run this project.
|
1 2 3 4 5 6 7 8 9 10 |
<plugin> <groupId>org.eclipse.jetty</groupId> <artifactId>jetty-maven-plugin</artifactId> <version>9.4.40.v20210413</version> <configuration> <webApp> <contextPath>/springmvc-internationalization</contextPath> </webApp> </configuration> </plugin> |
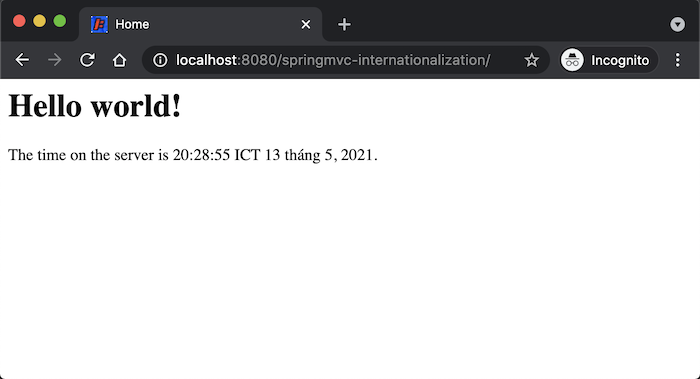
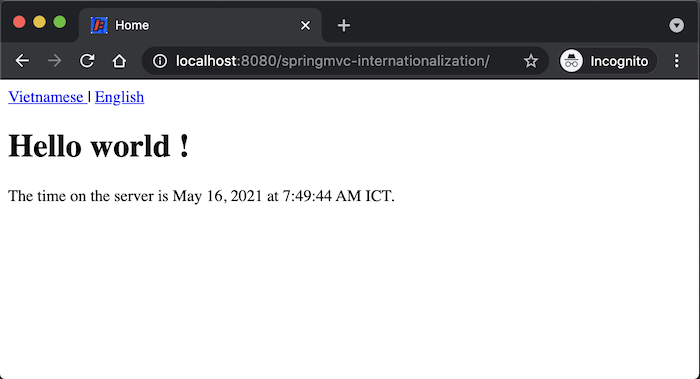
The result when I run this project will be as follows:
To implement internationalization in Spring MVC, you need to configure the relevant information about messageSource, localeResolver and localeChangeInterceptor. In a nutshell, the messageSource is where we will define the path to the files containing the strings that will be displayed in the web application in many different languages (if you have worked with Java’s internationalization using the ResourceBundle class then messageSource is similar), localeResolver will determine what language the user is using and localeChangeInterceptor will help us detect if the user is changing the language they want to use?
messageSource
Spring provides us with the MessageSource interface to implement the purpose of messageSource. This MessageSource interface has a sub-interface called HierarchicalMessageSource with 2 implementations, ReloadableResourceBundleMessageSource and ResourceBundleMessageSource!
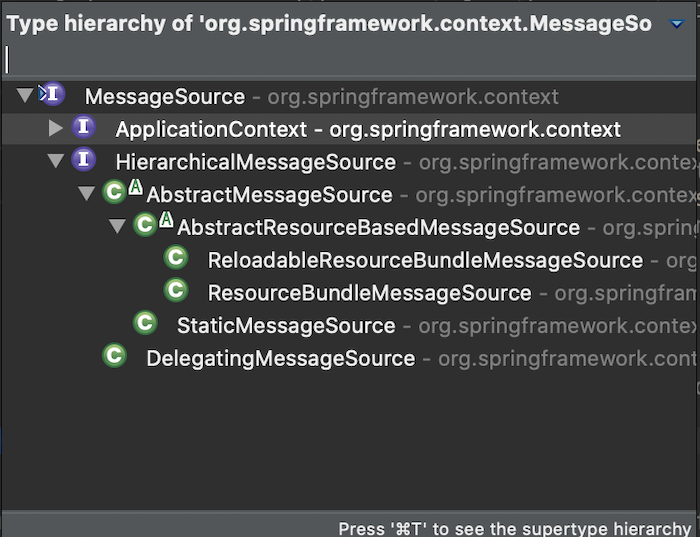
ResourceBundleMessageSource implementation uses Java’s ResourceBundle, it will load all defined strings and we can’t change the content of these strings during application run. The ReloadableResourceBundleMessageSource implementation is similar to the ResourceBundleMessageSource but we can further configure it to reload the contents of the defined strings after a certain period of time.
To configure MessageSource, I will define .properties files containing strings in many different languages like when we work with ResourceBundle in Java!
I will add 2 new files message.properties and message_vi.properties in the src/main/resources folder to define the default language of my example is English, in addition, this application also supports Vietnamese.
In the example application above, I will internationalize the two sentences “Hello World” with “The time on the server is”, so I will define the content of the message.properties and message_vi.properties files as follows:
message.properties
|
1 2 3 4 |
app.lang.vi=Vietnamese app.lang.en=English app.welcome=Hello world app.time=The time on the server is |
message_vi.properties
|
1 2 3 4 |
app.lang.vi=Ti\u1EBFng Vi\u1EC7t app.lang.en=Ti\u1EBFng Anh app.welcome=Xin chào app.time=Gi\u1EDD c\u1EE7a server lúc này là |
Now, I will use the ReloadableResourceBundleMessageSource implementation and define it in the Spring container (file src/main/webapp/WEB-INF/spring/appServlet/servlet-context.xml) as follows:
|
1 2 3 |
<beans:bean id="messageSource" class="org.springframework.context.support.ReloadableResourceBundleMessageSource"> <beans:property name="basename" value="classpath:i18n/messsage" /> </beans:bean> |
As you can see, the basename property of the ReloadableResourceBundleMessageSource class is used to declare the path to the .properties files.
localeResolver
As I said, localeResolver is used to determine what language the user is using to display correctly for that language. Spring uses the LocaleResolver interface to do this.
The LocaleResolver interface has many different implementations:
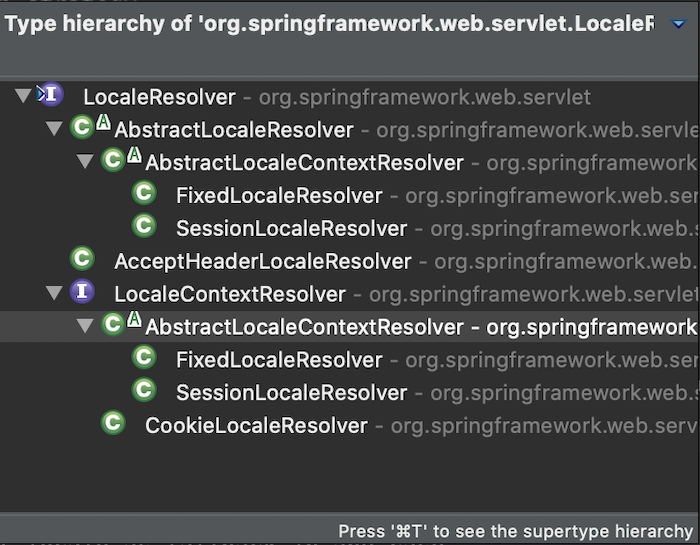
- AcceptHeaderLocaleResolver: This resolver will detect the language the user is using based on the “accept-language” header of the HTTP request.
- FixedLocaleResolver: we use this resolver when we fix the locale for our application.
- SessionLocaleResolver: This resolver uses the locale attribute in the user session, without this attribute it will fallback using the HTTP request’s “accept-language” header like AcceptHeaderLocaleResolver.
- CookieLocaleResolver: uses the locale stored in the cookie of the browser the user is using.
We will use CookieLocaleResolver for our example in this tutorial.
|
1 |
<beans:bean id="localeResolver" class="org.springframework.web.servlet.i18n.CookieLocaleResolver"/> |
localeChangeInterceptor
When the user wants to change the display language on the web application, we must have a mechanism to handle this request. LocaleChangeInterceptor is a Spring class that allows us to handle these requests.
The LocaleChangeInterceptor class implements the HandlerInterceptor interface that allows us to intercept all user requests to add processing logic. The LocaleChangeInterceptor class will take the value of a request parameter that we configure to handle the user’s request to change the language.
You can read more code of the preHandle() method in the LocaleChangeInterceptor class to see this:

We will configure the LocaleChangeInterceptor in the src/main/webapp/WEB-INF/spring/appServlet/servlet-context.xml file as follows:
|
1 2 3 4 5 |
<interceptors> <beans:bean class="org.springframework.web.servlet.i18n.LocaleChangeInterceptor"> <beans:property name="paramName" value="lang" /> </beans:bean> </interceptors> |
Here, I am configuring the request parameter that the LocaleChangeInterceptor will take the language value of “lang”.
At this point, we have finished configuring the beans, the necessary interceptors in the Spring container to implement internationalization in Spring MVC. Now, we are going to edit the view files so that they can be displayed in different languages!
I will edit the home.jsp file in the src/main/webapp/WEB-INF/views/home.jsp directory as follows:
|
1 2 3 4 5 6 7 8 9 10 11 12 13 14 15 16 17 18 19 20 21 22 23 24 |
<%@ taglib uri="http://java.sun.com/jsp/jstl/core" prefix="c"%> <%@ taglib uri="http://www.springframework.org/tags" prefix="spring"%> <%@ page session="false"%> <html> <head> <title>Home</title> </head> <body> <a href="<c:url value="?lang=vi"/>"> <spring:message code="app.lang.vi" /> </a> | <a href="<c:url value="?lang=en"/>"> <spring:message code="app.lang.en" /> </a> <h1> <spring:message code="app.welcome" /> ! </h1> <P> <spring:message code="app.time" /> ${serverTime}. </P> </body> </html> |
Here, I added a new Spring framework taglib to work with internationalization:
|
1 |
<%@ taglib uri="http://www.springframework.org/tags" prefix="spring"%> |
If you do not know about taglib, I can say it roughly like this, it is JSP Standard Tag Library or JSTL for short, a set of HTML tags that help us do many things with JSP files. As you can see, by default, the home.jsp file defines JSTL core tags:
|
1 |
<%@ taglib uri="http://java.sun.com/jsp/jstl/core" prefix="c"%> |
This JSTL core tag makes it possible for us to loop data to be passed from the Controller to display them in the JSP page. We can also add logical conditions, catch exceptions, forward or redirect, define the URL as we did above with the <c:url /> tag, …
Spring support taglib above, one of the tags in this taglib that helps us to display information in many different languages is <spring:message />. The <spring:message /> tag has many attributes, we can declare the attribute code with the value as the property key in the message properties files to implement internationalization. In case the property key that we declared in the attribute code does not exist, you can set the default value by declaring the attribute text in this <spring:message /> tag. Eg:
|
1 |
<spring:message code="app.welcome" text="Welcome"/> |
If both of these attributes do not exist, the output will be null.
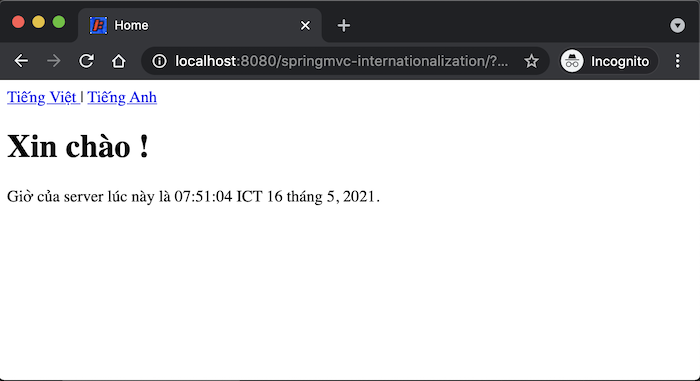
Now, run the example again and you will see the following output:
Click on the Vietnamese link, you will see the following results: