When creating a Spring MVC project using the Spring Tool Suite 3 IDE, you can see, we have a web.xml file that defines the configuration for the DispatcherServlet, the root-context.xml and the servlet-context.xml files define bean configuration in Spring container including ViewResolver, a Controller handle request from the user and .jsp files to display information to the user. If you want to do all of this entirely with Java code, you can use the WebApplicationInitializer and WebMvcConfigurer interfaces. How is it in detail? In this tutorial, I will guide you to configure Spring MVC with WebApplicationInitializer and WebMvcConfigurer!
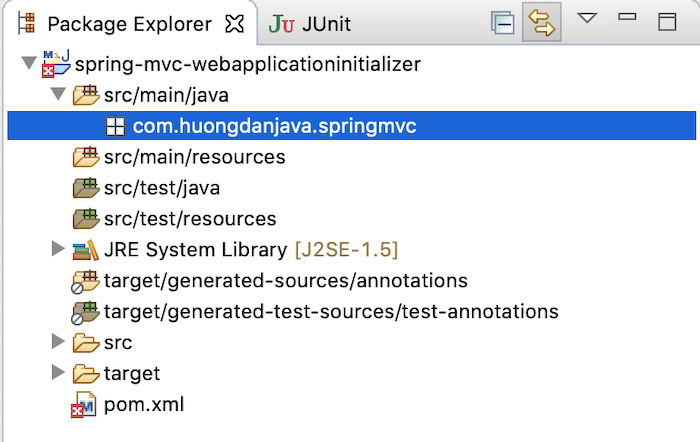
First, I will create a new Maven project with packaging as “war” for web applications as follows:
I will use Java 21 for this example application.:
|
1 2 3 4 |
<properties> <maven.compiler.target>21</maven.compiler.target> <maven.compiler.source>21</maven.compiler.source> </properties> |
We will declare the dependencies for Spring MVC as follows:
|
1 2 3 4 5 6 7 8 9 10 11 12 13 |
<dependency> <groupId>org.springframework</groupId> <artifactId>spring-webmvc</artifactId> <version>${org.springframework-version}</version> </dependency> <!-- Servlet --> <dependency> <groupId>jakarta.servlet</groupId> <artifactId>jakarta.servlet-api</artifactId> <version>${jakarta.servlet-api-version}</version> <scope>provided</scope> </dependency> |
with the version properties having the following values:
|
1 2 3 4 5 6 |
<properties> ... <org.springframework-version>6.2.2</org.springframework-version> <jakarta.servlet-api-version>6.1.0</jakarta.servlet-api-version> </properties> |
|
1 |
To run this web application, I will use the Maven Jetty Plugin as follows:
|
1 2 3 4 5 |
<plugin> <groupId>org.eclipse.jetty</groupId> <artifactId>jetty-maven-plugin</artifactId> <version>11.0.24</version> </plugin> |
OK, now we will go to the main part of this tutorial!
In a nutshell, the WebApplicationInitializer interface is used to define the configuration for the web application with the declaration for the DispatcherServlet and the Spring container. It used to replace that web.xml file!
The WebMvcConfigurer interface is used to declare Spring MVC related configurations like ViewResolver and beans needed for the application to run. We will also declare this class in the class implementing interface WebApplicationInitializer.
I will create a new class SpringConfiguration implementing the WebMvcConfigurer interface to define the Spring container first.
|
1 2 3 4 5 6 7 |
package com.huongdanjava.springmvc; import org.springframework.web.servlet.config.annotation.WebMvcConfigurer; public class SpringConfiguration implements WebMvcConfigurer { } |
You need to declare a Spring annotation of @EnableWebMvc to Spring import the default configuration from the WebMvcConfigurationSupport class to support Spring MVC. If you want to override any default configuration, you can override them in this SpringConfiguration class.
Here, I need to configure ViewResolver so I will use the addViewControllers() method to do this:
|
1 2 3 4 5 6 7 8 9 10 11 12 13 14 15 16 17 18 19 20 21 22 23 24 25 26 27 28 29 30 31 32 33 |
package com.huongdanjava.springmvc; import org.springframework.context.annotation.Bean; import org.springframework.context.annotation.ComponentScan; import org.springframework.context.annotation.Configuration; import org.springframework.web.servlet.ViewResolver; import org.springframework.web.servlet.config.annotation.EnableWebMvc; import org.springframework.web.servlet.config.annotation.ViewControllerRegistry; import org.springframework.web.servlet.config.annotation.WebMvcConfigurer; import org.springframework.web.servlet.view.InternalResourceViewResolver; import org.springframework.web.servlet.view.JstlView; @EnableWebMvc @Configuration public class SpringConfiguration implements WebMvcConfigurer { @Override public void addViewControllers(ViewControllerRegistry registry) { registry.addViewController("/").setViewName("index"); } @Bean public ViewResolver viewResolver() { InternalResourceViewResolver bean = new InternalResourceViewResolver(); bean.setViewClass(JstlView.class); bean.setPrefix("/WEB-INF/views/"); bean.setSuffix(".jsp"); return bean; } } |
Here, I declare a view name as “index” mapping with the request “/”. And, as you can see, I also added a bean for the ViewResolver section using InternalResourceViewResolver. We will have the .jsp files in the /WEB-INF/views directory to build the View in the MVC model as follows:
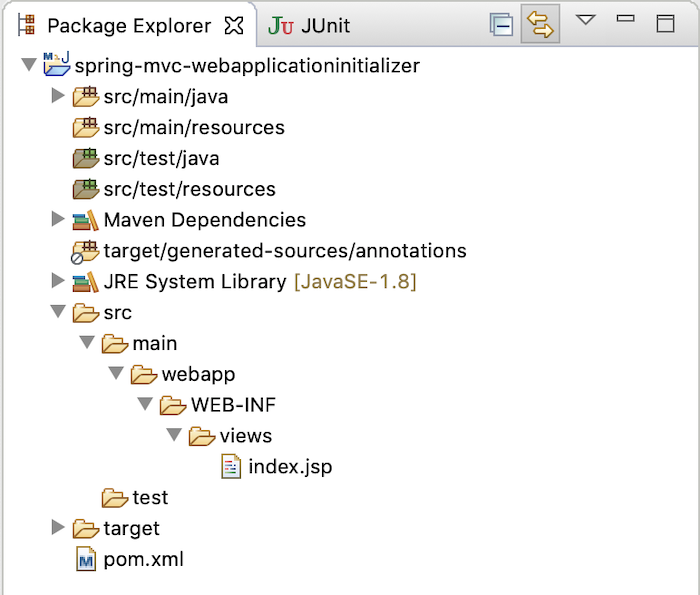
The content of my index.jsp file is as follows:
|
1 |
<label>Welcome to Huong Dan Java</label> |
Because we have declared the @Bean annotation in this class, you also need to add the @Configuration annotation for Spring to scan itself and create beans in its Spring container.
With the class WebApplicationInitializer, you can add a new class to implement it with the following content:
|
1 2 3 4 5 6 7 8 9 10 11 12 13 14 15 16 17 18 19 20 21 22 23 24 25 26 27 |
package com.huongdanjava.springmvc; import org.springframework.web.WebApplicationInitializer; import org.springframework.web.context.ContextLoaderListener; import org.springframework.web.context.support.AnnotationConfigWebApplicationContext; import org.springframework.web.context.support.GenericWebApplicationContext; import org.springframework.web.servlet.DispatcherServlet; import jakarta.servlet.ServletContext; import jakarta.servlet.ServletException; import jakarta.servlet.ServletRegistration; public class AppInitializer implements WebApplicationInitializer { @Override public void onStartup(ServletContext sc) throws ServletException { AnnotationConfigWebApplicationContext root = new AnnotationConfigWebApplicationContext(); root.scan("com.huongdanjava.mvc"); sc.addListener(new ContextLoaderListener(root)); ServletRegistration.Dynamic appServlet = sc.addServlet("appServlet", new DispatcherServlet(new GenericWebApplicationContext())); appServlet.setLoadOnStartup(1); appServlet.addMapping("/"); } } |
Here, we are using the AnnotationConfigWebApplicationContext class to configure how Spring will automatically create beans in its container using annotation. Spring will automatically scan the package “com.huongdanjava.springmvc” to do this.
We also initialized the DispatcherServlet and added it to the ServletContext. You can read this tutorial to understand how Spring will work with Java Servlet!
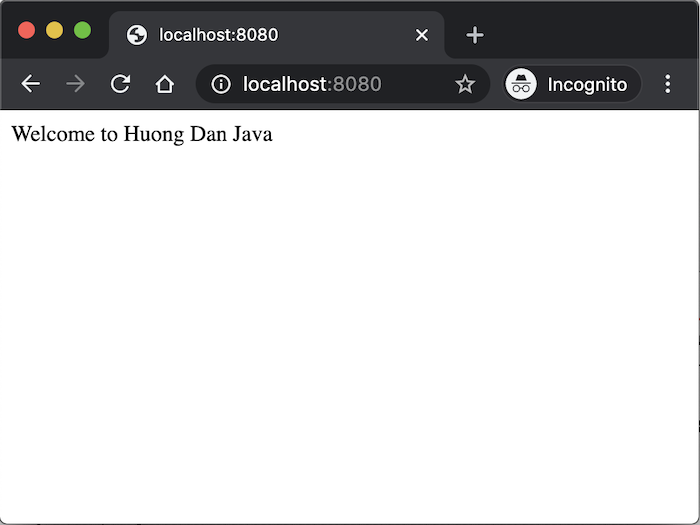
OK, now you can run our web application and go to http://localhost:8080 to check the results:
Mine is as follows: