Apache Tiles is an open source template engine used for web applications in Java. It allows us to reuse common elements between pages in our web application. In this tutorial, I will guide you to use Apache Tiles in your Spring MVC!
I will create a Spring MVC project as follows:
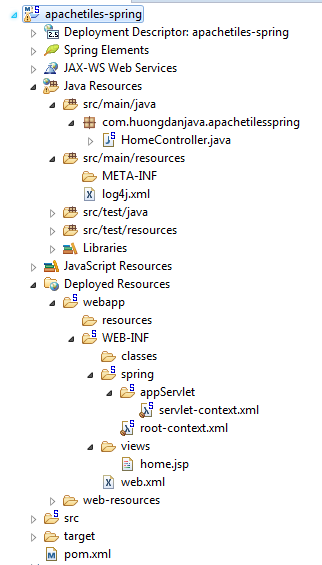
If someone does not know how to create Spring MVC project, you can refer to this tutorial!
Here, I upgraded the libraries version to the latest version.
|
1 2 3 4 5 6 |
<properties> <java-version>1.8</java-version> <org.springframework-version>4.3.3.RELEASE</org.springframework-version> <org.aspectj-version>1.8.9</org.aspectj-version> <org.slf4j-version>1.7.21</org.slf4j-version> </properties> |
Next, I will add the dependency of Apache Tiles to the project.
|
1 2 3 4 5 6 |
<!-- Apache Tiles --> <dependency> <groupId>org.apache.tiles</groupId> <artifactId>tiles-jsp</artifactId> <version>3.0.7</version> </dependency> |
Before I start, I will edit the home.jsp file in the src/main/webapp/WEB-INF/views folder so you can easily imagine the benefits of using Apache Tiles.
The contents of my home.jsp file are now as follows:
|
1 2 3 4 5 6 7 8 9 10 11 12 |
<%@ taglib uri="http://java.sun.com/jsp/jstl/core" prefix="c"%> <%@ page session="false"%> <html> <head> <title>Home</title> </head> <body> <h1>Apache Tiles and Spring Integration!!!</h1> <label>Content</label> <P>Copyright by Huong Dan Java</P> </body> </html> |
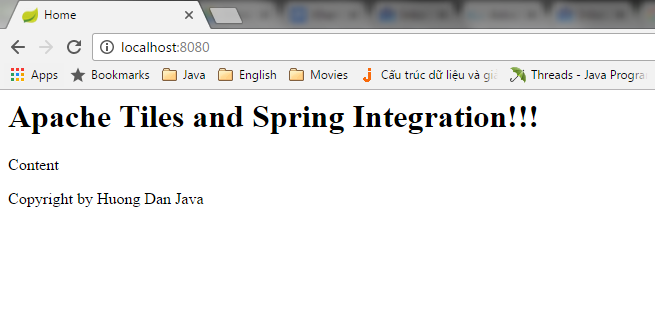
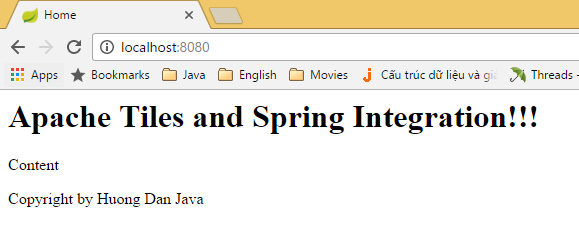
Now, I will run this application using the Maven Jetty Plugin, resulting in the following:
OK, now I’m starting to use Apache Tiles!
The requirement of the application is that we keep only the “Apache Tiles and Spring Integrations !!!” and the word “Copyright by Huong Dan Java”, while the content can change between the pages together. So what do we do now?
There are three steps we need to do in order to be able to use Apache Tiles in our application:
The first step is to define the layout for Apache Tiles.
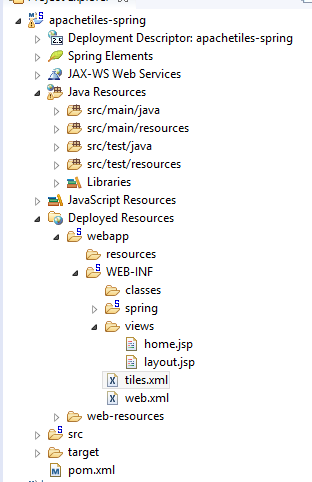
To do this, I will first edit the view directory in my project a little. I will create a new file named layout.jsp located in the src/main/webapp/WEB-INF/views folder with content similar to the content of the home.jsp file but with editing to use the properties of Apache Tiles. The contents of the layout.jsp file are as follows:
|
1 2 3 4 5 6 7 8 9 10 11 12 13 |
<%@ taglib uri="http://java.sun.com/jsp/jstl/core" prefix="c"%> <%@taglib uri="http://tiles.apache.org/tags-tiles" prefix="tiles"%> <%@ page session="false"%> <html> <head> <title>Home</title> </head> <body> <h1>Apache Tiles and Spring Integration!!!</h1> <tiles:insertAttribute name="content" /> <P>Copyright by Huong Dan Java</P> </body> </html> |
In the layout.jsp file, if you notice, you cal see that I have declared a taglib of Apache Tiles to be able to use the <tiles:insertAttribute> tag. This tab works depending on the page, the content of the file is declared with the name as the “content” that will be used to display the interface.
The layout.jsp file is like a frame depending on the page that will have different content but still have some same parts.
The home.jsp file, I will edit its content as follows:
|
1 |
<label>Content</label> |
OK, now I’m going to create a file to configure the layout for Apache Tiles. Create a file named tiles.xml located in the src/main/webapp/WEB-INF folder.
And add the content for the tiles.xml file as follows:
|
1 2 3 4 5 6 7 8 9 10 11 12 |
<?xml version="1.0" encoding="UTF-8" ?> <!DOCTYPE tiles-definitions PUBLIC "-//Apache Software Foundation//DTD Tiles Configuration 3.0//EN" "http://tiles.apache.org/dtds/tiles-config_3_0.dtd"> <tiles-definitions> <definition name="baselayout" template="/WEB-INF/views/layout.jsp"> <put-attribute name="content" value="" /> </definition> <definition name="home" extends="baselayout"> <put-attribute name="content" value="/WEB-INF/views/home.jsp" /> </definition> </tiles-definitions> |
You see, in this file I have defined a baselayout, which is the content of the layout.jsp file. And our home page will extends from this baselayout, with the content of the “content” attribute being derived from the contents of the home.jsp file.
Easy to understand, right?
OK, now we will move on to the second step.
In this second step, we will declare an Apache Tiles bean to load the configuration we just defined in the tiles.xml file.
Open the servlet-context.xml file and add the following lines:
|
1 2 3 4 5 6 7 |
<beans:bean id="tilesConfigurer" class="org.springframework.web.servlet.view.tiles3.TilesConfigurer"> <beans:property name="definitions"> <beans:list> <beans:value>/WEB-INF/tiles.xml</beans:value> </beans:list> </beans:property> </beans:bean> |
The final step is to replace the default ViewResolver with Apache Tiles ViewResolver.
You also open the servlet-context.xml file and replace:
|
1 2 3 4 5 |
<!-- Resolves views selected for rendering by @Controllers to .jsp resources in the /WEB-INF/views directory --> <beans:bean class="org.springframework.web.servlet.view.InternalResourceViewResolver"> <beans:property name="prefix" value="/WEB-INF/views/" /> <beans:property name="suffix" value=".jsp" /> </beans:bean> |
to
|
1 2 3 |
<beans:bean class="org.springframework.web.servlet.view.UrlBasedViewResolver"> <beans:property name="viewClass" value="org.springframework.web.servlet.view.tiles3.TilesView" /> </beans:bean> |
OK, so we finished using Apache Tiles in Spring MVC. Now, if you run again you will also see the same interface.
Now, to add a new login page, I just follow these steps:
– Add a request URL in the HomeController class.
|
1 2 3 4 |
@RequestMapping(value = "/login", method = RequestMethod.GET) public String login() { return "login"; } |
– Add the login.jsp file in the src/main/webapp/WEB-INF/views directory with the following content:
|
1 |
<label>Login</label> |
– Add configuration to login page in Apache Tiles configuration file:
|
1 2 3 |
<definition name="login" extends="baselayout"> <put-attribute name="content" value="/WEB-INF/views/login.jsp" /> </definition> |
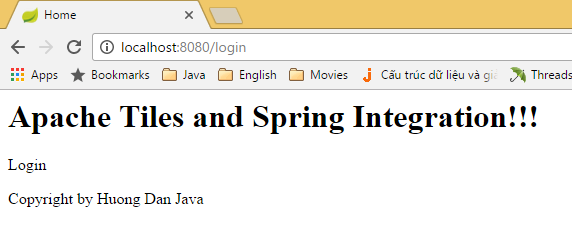
Result: