Spring Cloud Stream is a module of the Spring Framework, a high-level abstraction for building event-driven microservices. Simply put, event-driven microservices are designed where services communicate by publishing and consuming events instead of communicating directly with each other.
Spring Cloud Stream supports various message brokers, such as Apache Kafka, RabbitMQ, etc., using binders. You can easily change message broker vendors without significantly altering your code. In this tutorial, I will guide you through the basics of using Spring Cloud Stream with an example using RabbitMQ.
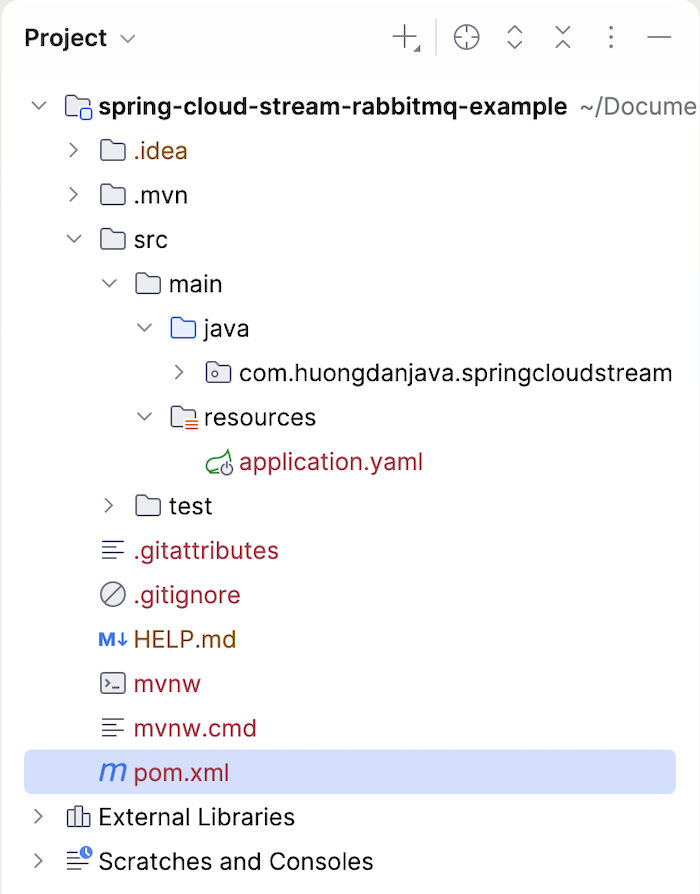
First, I will create a new Spring Boot project with the Cloud Stream dependency as an example:
To work with RabbitMQ using Spring Cloud Stream, you need to declare the Spring Cloud Stream Rabbit Starter dependency as follows:
|
1 2 3 4 |
<dependency> <groupId>org.springframework.cloud</groupId> <artifactId>spring-cloud-starter-stream-rabbit</artifactId> </dependency> |
To work with RabbitMQ, start a RabbitMQ server, then configure this RabbitMQ server information for our Spring Boot application using the following properties:
|
1 2 3 4 5 6 |
spring: rabbitmq: host: localhost port: 5672 username: guest password: guest |
If you’re in development, you can run RabbitMQ using Docker Compose, as I’m doing. You can find more instructions here.
To send messages to a queue in RabbitMQ using Spring Cloud Stream with binding, first, you can define beans in the Spring container for the consumer and producer using Java’s Consumer and Supplier interfaces, for example:
|
1 2 3 4 5 6 7 8 9 10 11 |
@Bean public Supplier<String> sendSupplier() { return () -> "Hello World"; } @Bean public Consumer<String> receiveConsumer() { return message -> { System.out.println("Received: " + message); }; } |
For the producer, we use the Supplier interface to define the message we want to send to RabbitMQ, and the Consumer interface will be responsible for receiving this message!
Then, declare and use the following properties:
|
1 2 3 4 5 6 7 8 9 10 11 |
spring: cloud: function: definition: sendSupplier;receiveConsumer stream: bindings: sendSupplier-out-0: destination: message.exchange receiveConsumer-in-0: destination: message.exchange group: huongdanjava |
Spring automatically generates logical binding names (in simpler terms, these are binding names unique to Spring, not yet found in RabbitMQ or Apache Kafka) and automatically binds these logical binding names to the exchange and queue in RabbitMQ.
Spring Cloud Stream uses Spring Cloud Functions, so with the bean declarations for the Supplier and Consumer interfaces above and the property:
|
1 2 3 4 |
spring: cloud: function: definition: sendSupplier;receiveConsumer |
so, when you run the application, Spring will automatically generate the following logical binding names:
- sendSupplier-out-0
- receiveConsumer-in-0
These properties:
|
1 2 3 4 5 6 7 8 9 |
spring: cloud: stream: bindings: sendSupplier-out-0: destination: message.exchange receiveConsumer-in-0: destination: message.exchange group: huongdanjava |
will ask Spring to automatically bind these logical binding names to the exchanges and queues in RabbitMQ. The property name will be spring.cloud.stream.bindings.<logical-binding-name>.destination and spring.cloud.stream.bindings.<logical-binding-name>.group, respectively.
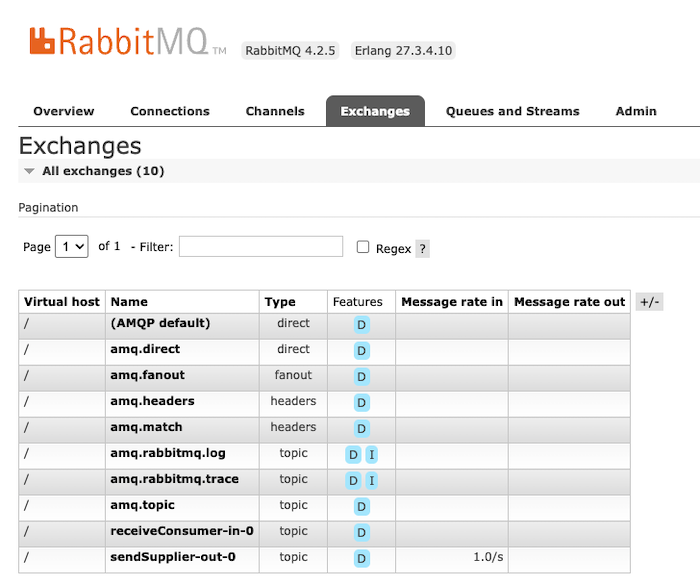
After binding, Spring Cloud Stream will also automatically create these exchanges or queues if they don’t already exist in RabbitMQ. For example, when you run it, you will see the exchanges sendSupplier-out-0 and receiveConsumer-in-0 created in RabbitMQ as follows:
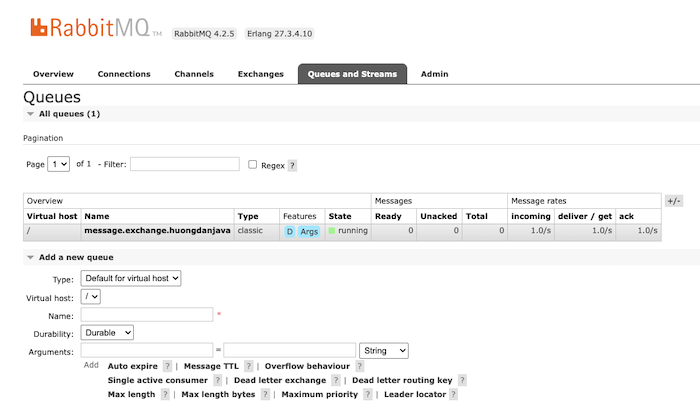
A new queue with a name combined from the destination and group properties will also be created in RabbitMQ as follows:
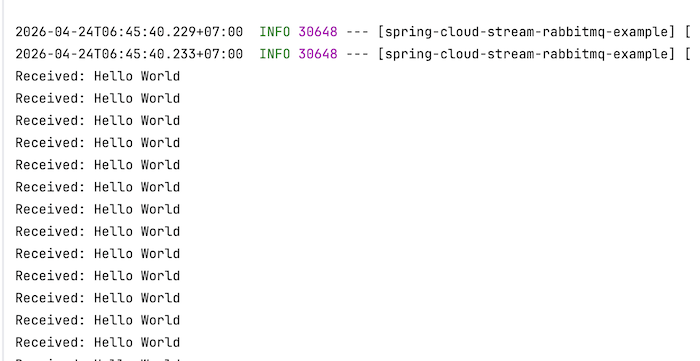
Now, when you run my example application, you’ll see a message continuously being published to RabbitMQ, and my application will receive that message and print out the following text:
Continuously publishing messages to RabbitMQ only happens when using the Supplier interface! When using Supplier, Spring Cloud Stream will by default call the Supplier every 1 second to publish messages. You can change this default configuration using the following properties:
|
1 2 3 4 5 6 |
spring: cloud: stream: poller: fixed-delay: 2000 max-messages-per-poll: 1 |
So, with just a few simple lines of code, we can easily publish and receive messages from RabbitMQ using Spring Cloud Stream.