In real projects, you may encounter some cases where the application needs to use two different login methods depending on the user’s role, for example, there are applications that will need normal users to login using tokens or QR code, and admin login using username and password. How to implement multiple login pages using Spring Security? I will guide you in this tutorial.
Example application
First, I will create a new Spring Boot project with Spring Security Starter, Spring Web Starter, Thymeleaf Starter:
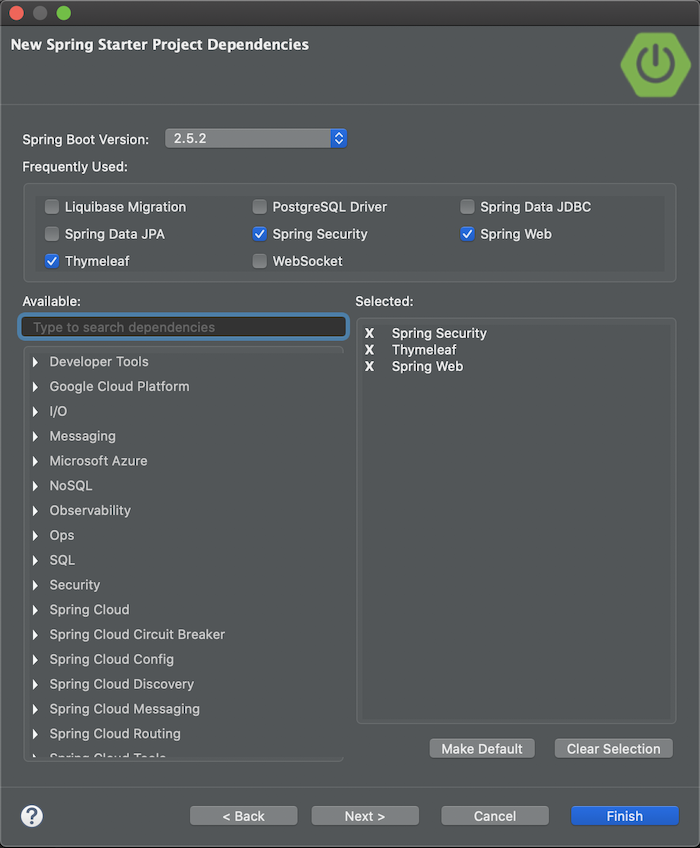
and WebJars with Bootstrap dependency for example as follows:
|
1 2 3 4 5 6 7 8 9 |
<dependency> <groupId>org.webjars</groupId> <artifactId>webjars-locator-core</artifactId> </dependency> <dependency> <groupId>org.webjars</groupId> <artifactId>bootstrap</artifactId> <version>5.0.2</version> </dependency> |
Result:
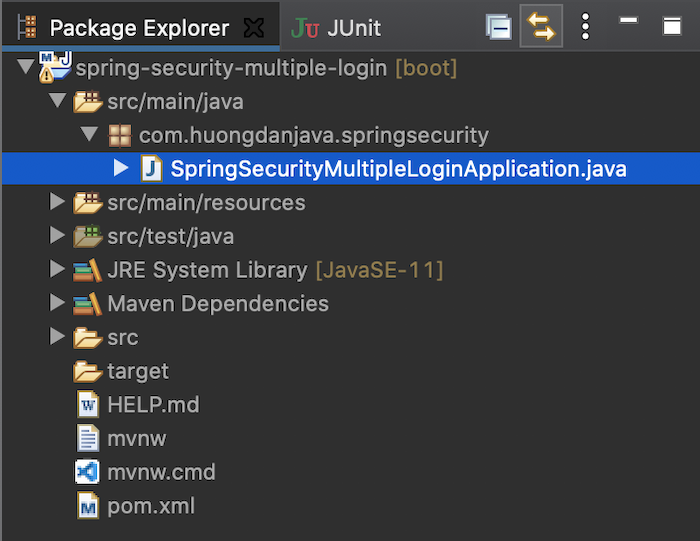
To demonstrate the need we are trying to solve, I will create a controller to expose 2 pages, one only for the user with the USER role and the other only for the user with the ADMIN role. As follows:
|
1 2 3 4 5 6 7 8 9 10 11 12 13 14 15 16 17 18 19 |
package com.huongdanjava.springsecurity; import org.springframework.stereotype.Controller; import org.springframework.web.bind.annotation.GetMapping; @Controller public class ApplicationController { @GetMapping("/user/view") public String userView() { return "user"; } @GetMapping("/admin/view") public String adminView() { return "admin"; } } |
The Thymeleaf template for these pages is as follows:
admin.html:
|
1 2 3 4 5 6 7 8 9 10 11 12 13 14 15 16 |
<!DOCTYPE html> <html lang="en" xmlns:th="http://www.thymeleaf.org"> <head> <meta charset="utf-8"> <meta name="viewport" content="width=device-width, initial-scale=1, shrink-to-fit=no"> <meta name="description" content=""> <meta name="author" content=""> <title>Spring Security Example</title> <link href="/webjars/bootstrap/dist/css/bootstrap.min.css" rel="stylesheet"> </head> <body> <div class="container"> <h2 class="form-signin-heading">Hello Admin</h2> </div> </body> </html> |
user.html:
|
1 2 3 4 5 6 7 8 9 10 11 12 13 14 15 16 |
<!DOCTYPE html> <html lang="en" xmlns:th="http://www.thymeleaf.org"> <head> <meta charset="utf-8"> <meta name="viewport" content="width=device-width, initial-scale=1, shrink-to-fit=no"> <meta name="description" content=""> <meta name="author" content=""> <title>Spring Security Example</title> <link href="/webjars/bootstrap/dist/css/bootstrap.min.css" rel="stylesheet"> </head> <body> <div class="container"> <h2 class="form-signin-heading">Hello User</h2> </div> </body> </html> |
Now, if you run the application and request to these two pages, the default login page of Spring Security will always be displayed.
I will use Spring Security’s default login page for user “admin” with username and password, and for normal user “user”, I will use a custom login page with username and password, similar to what I did in Custom login page using Bootstrap and Thymeleaf in Spring Security.
The login-user.html page code for normal users to log in is as follows:
|
1 2 3 4 5 6 7 8 9 10 11 12 13 14 15 16 17 18 19 20 21 22 23 24 25 26 27 28 29 30 31 32 33 34 35 |
<!DOCTYPE html> <html lang="en" xmlns:th="http://www.thymeleaf.org"> <head> <meta charset="utf-8"> <meta name="viewport" content="width=device-width, initial-scale=1, shrink-to-fit=no"> <meta name="description" content=""> <meta name="author" content=""> <title>Spring Security Example</title> <link href="/webjars/bootstrap/css/bootstrap.min.css" rel="stylesheet"> </head> <body> <div class="container"> <h2 class="form-signin-heading">Welcome to Huong Dan Java, please login</h2> <div th:if="${param.error}" class="alert alert-danger"> Invalid username and password. </div> <div th:if="${param.logout}" class="alert alert-success"> You have been logged out. </div> <form class="form-signin" method="POST" th:action="@{/login}"> <p> <label for="username" class="sr-only">Username</label> <input type="text" id="username" name="username" class="form-control" placeholder="Username" required autofocus> </p> <p> <label for="password" class="sr-only">Password</label> <input type="password" id="password" name="password" class="form-control" placeholder="Password" required> </p> <button class="btn btn-lg btn-primary btn-block" type="submit">Login</button> </form> </div> </body> </html> |
Expose this login page in the ApplicationController class as follows:
|
1 2 3 4 |
@GetMapping("/user-login") public String userLoginView() { return "login-user"; } |
Now I will configure Spring Security for requests to these 2 sites.
Spring Security Configuration
First, I will configure information about the user who will log in to the example application.
As I said above, we will have 2 users, “user” and “admin” with roles “USER” and “admin” respectively ADMIN”. Both of these users will use the same source for authentication, which means they are stored in the same place, in this tutorial, we will use the source as in memory.
I will create a bean for the UserDetailsService object containing the information of these two users as follows:
|
1 2 3 4 5 6 7 8 9 10 11 12 13 14 15 16 17 18 19 20 21 22 23 24 25 26 27 28 29 30 31 32 33 34 35 36 37 38 39 40 41 42 |
package com.huongdanjava.springsecurity; import org.springframework.boot.SpringApplication; import org.springframework.boot.autoconfigure.SpringBootApplication; import org.springframework.context.annotation.Bean; import org.springframework.security.core.userdetails.User; import org.springframework.security.core.userdetails.UserDetailsService; import org.springframework.security.crypto.bcrypt.BCryptPasswordEncoder; import org.springframework.security.crypto.password.PasswordEncoder; import org.springframework.security.provisioning.InMemoryUserDetailsManager; @SpringBootApplication public class SpringSecurityMultipleLoginApplication { public static void main(String[] args) { SpringApplication.run(SpringSecurityMultipleLoginApplication.class, args); } @Bean public UserDetailsService userDetailsService() throws Exception { InMemoryUserDetailsManager manager = new InMemoryUserDetailsManager(); manager.createUser(User .withUsername("user") .password(encoder().encode("user")) .roles("USER") .build()); manager.createUser(User .withUsername("admin") .password(encoder().encode("admin")) .roles("ADMIN") .build()); return manager; } @Bean public static PasswordEncoder encoder() { return new BCryptPasswordEncoder(); } } |
Next, we will configure Spring Security.
Here, because we need to handle the request for the user with the role “USER”, we will display the custom login page and the user with the “ADMIN” role will display the default login page of Spring Security, so I will define multiple class extends abstract class WebSecurityConfigurerAdapter with the following order:
|
1 2 3 4 5 6 7 8 9 10 11 12 13 14 15 16 17 18 19 20 21 22 23 24 25 26 27 28 29 30 31 32 33 34 35 36 37 38 39 40 41 42 43 44 45 46 47 48 49 50 51 52 53 54 |
package com.huongdanjava.springsecurity; import org.springframework.context.annotation.Configuration; import org.springframework.core.annotation.Order; import org.springframework.security.config.Customizer; import org.springframework.security.config.annotation.web.builders.HttpSecurity; import org.springframework.security.config.annotation.web.builders.WebSecurity; import org.springframework.security.config.annotation.web.configuration.EnableWebSecurity; import org.springframework.security.config.annotation.web.configuration.WebSecurityConfigurerAdapter; @EnableWebSecurity public class SpringSecurityConfiguration { @Configuration @Order(1) public class UserSpringSecurityConfiguration extends WebSecurityConfigurerAdapter { @Override protected void configure(HttpSecurity http) throws Exception { // @formatter:off http.antMatcher("/user/**") .authorizeRequests() .anyRequest().hasRole("USER") .and() .formLogin() .loginPage("/user-login") .failureUrl("/user-login?error") .permitAll(); // @formatter:on } } @Configuration public class AdminSpringSecurityConfiguration extends WebSecurityConfigurerAdapter { @Override protected void configure(HttpSecurity http) throws Exception { // @formatter:off http .authorizeRequests() .antMatchers("/user-login/**").permitAll() .anyRequest().hasRole("ADMIN") .and() .formLogin(Customizer.withDefaults()); // @formatter:on } @Override public void configure(WebSecurity web) throws Exception { web.ignoring().antMatchers("/webjars/**"); } } } |
Here, I am declaring to handle the request of a normal user using the UserSpringSecurityConfiguration class and the admin user does the rest. I just declare the @Order annotation for the UserSpringSecurityConfiguration class so that it is called first to handle any request, if the antMatcher() condition is not met for it to handle that request, the AdminSpringSecurityConfiguration class will handle the request.
As you can see, for requests that start with “/user”, if the user does not have the “USER” role, I configure our example application to redirect to the “/user-login” page so that the user can log in, now the AdminSpringSecurityConfiguration class will handle this “/user-login” request. In the AdminSpringSecurityConfiguration class, I have configured for the request that starts with “/user-login”, we will permitAll(). The “/user-login” page will now be displayed. If the login is successful and the user has the “USER” role, our application will automatically redirect to the page starting with “/user” that we requested.
Run the application and request to http://localhost:8080/user/view, you will see the custom login page displayed as follows:
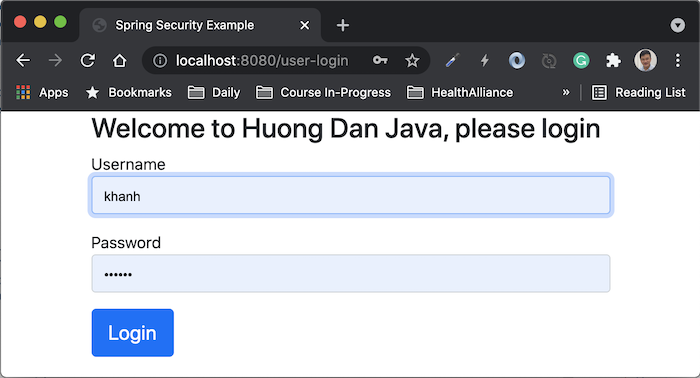
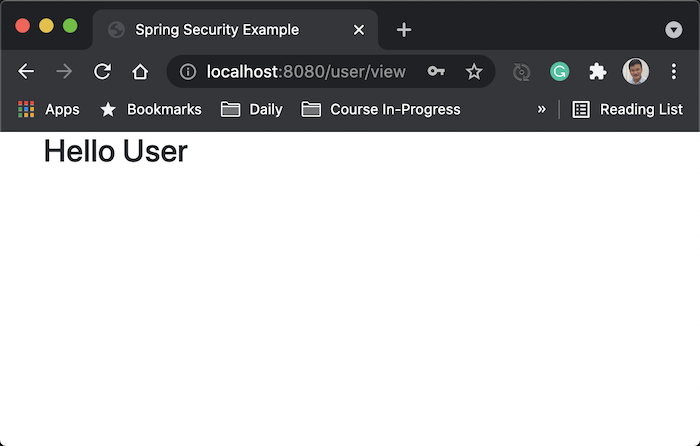
Log in with user “user” and password as “user”, you will see the following results:
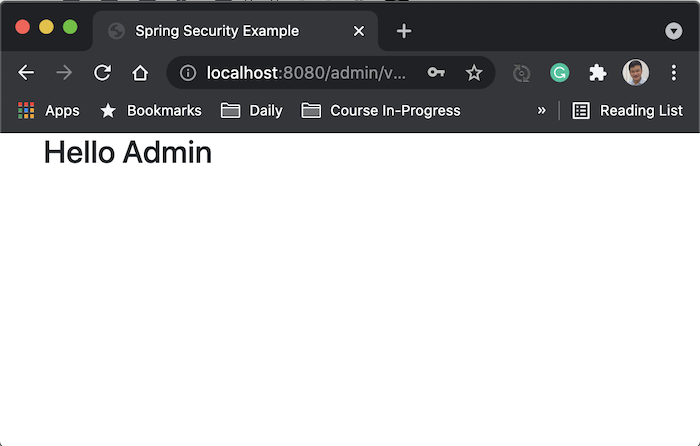
And if you request to http://localhost:8080/admin/view, you will see Spring Security’s default login page displayed. Login with user “admin” and password “admin”, you will see the following results:
In the AdminSpringSecurityConfiguration class, I have configured for the remaining requests, except for the “/user/**” request, the user must have the role of “ADMIN”.
Remember that, to configure for a specific request URL, we will use the antMatcher() method of the HttpSecurity object with the value starting with the request URL we need. For the remaining requests, do not declare the @Order annotation with the configuration class, so that it is always in the highest order.


