In the previous tutorial, you learned how to install and run the ActiveMQ server. In this tutorial, I will guide you all how to add new Queue in ActiveMQ.
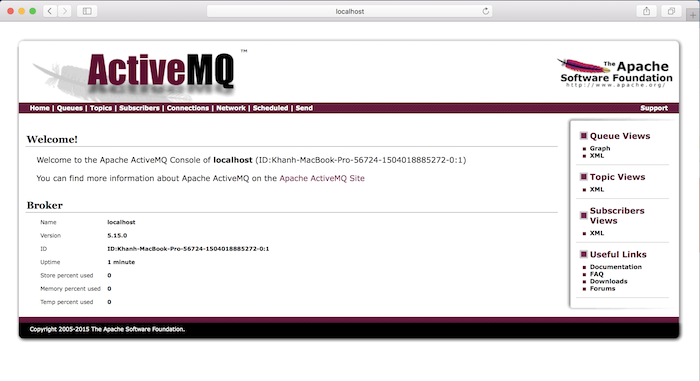
First, I must say that adding a new Queue in ActiveMQ cannot be easier. You just launch the ActiveMQ, log on to its management site at http://localhost:8161/admin/.
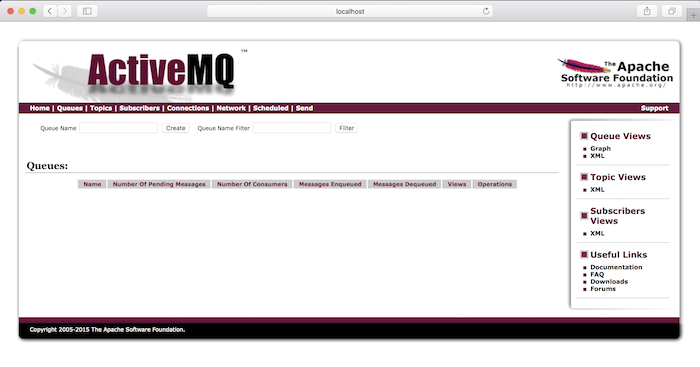
On the main menu of this management page, you can see that the Queues link allows us to go to the Manage Queues page in ActiveMQ. Let click into this link.

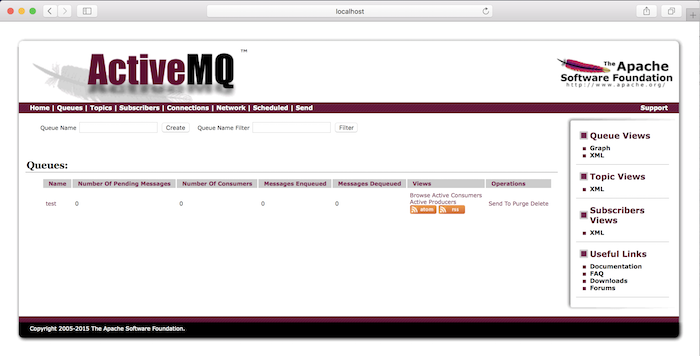
In this new page, you can see that a Queue Name field allows us to enter the name of the Queue that we want to add and the Create button for us to perform this action. Let try creating a new one for you! Here, I add a new Queue called “test”.
Result:


