Boostrapping is a term used to refer to the process itself without the need for external input from an application. In this tutorial, I will talk about bootstrapping of an Angular application.
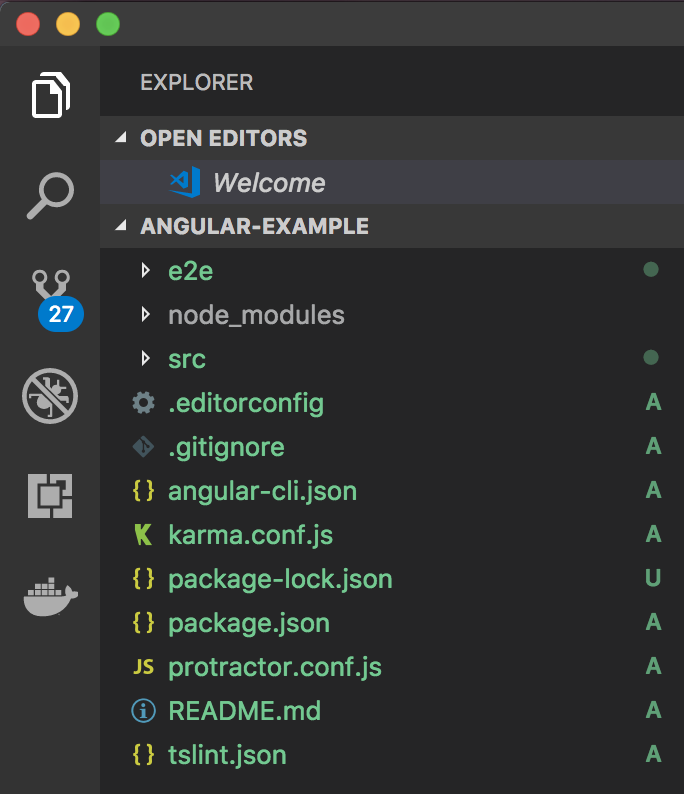
First, I will create an Angular application using the Angular CLI as follows:
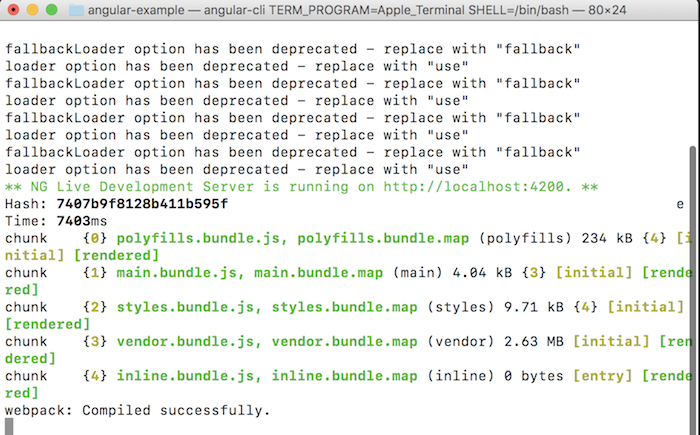
 then run this application:

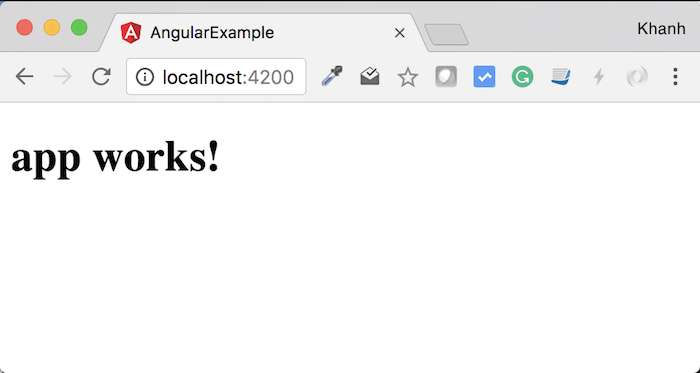
Our access to http://localhost:4200 is only accessible to the index.html file of the Angular application, but if you look at the contents of this file, you will understand that there are many things that have happened inside Angular, not just Angular will get the contents of this index.html file to return. Because the content of the index.html file is as simple as:
|
1 2 3 4 5 6 7 8 9 10 11 12 13 14 |
<!doctype html> <html> <head> <meta charset="utf-8"> <title>AngularExample</title> <base href="/"> <meta name="viewport" content="width=device-width, initial-scale=1"> <link rel="icon" type="image/x-icon" href="favicon.ico"> </head> <body> <app-root>Loading...</app-root> </body> </html> |
How is it in details?
The first thing you need to know is that when you start the application using the “serve” command, Angular CLI will process the files polyfills.bundle.js, main.bundle.js, styles.bundle.js, vendor.bundle.js, inline.bundle.js:

To add them to the index.html file. Now, right-click on the browser window and select View Page Source (I am using Google Chrome, you use other browsers are the same), you will see the contents of the file index.html now looks like this:
|
1 2 3 4 5 6 7 8 9 10 11 12 13 14 |
<!doctype html> <html> <head> <meta charset="utf-8"> <title>AngularExample</title> <base href="/"> <meta name="viewport" content="width=device-width, initial-scale=1"> <link rel="icon" type="image/x-icon" href="favicon.ico"> </head> <body> <app-root>Loading...</app-root> <script type="text/javascript" src="inline.bundle.js"></script><script type="text/javascript" src="polyfills.bundle.js"></script><script type="text/javascript" src="styles.bundle.js"></script><script type="text/javascript" src="vendor.bundle.js"></script><script type="text/javascript" src="main.bundle.js"></script></body> </html> |
As you can see, the content of the index.html file has now been added to the .js file that I mentioned above.
In these files, the file main.bundle.js is the file that will process the request within Angular. It is built from the contents of the main.ts file in our source code. In Angular, the main.ts file is the main entry point of the application, which processes and builds the content into the <app-root> tag in the index.html file to return to the user. The contents of this main.ts file are as follows:
|
1 2 3 4 5 6 7 8 9 10 |
import { platformBrowserDynamic } from '@angular/platform-browser-dynamic'; import { enableProdMode } from '@angular/core'; import { environment } from './environments/environment'; import { AppModule } from './app/app.module'; if (environment.production) { enableProdMode(); } platformBrowserDynamic().bootstrapModule(AppModule); |
In Angular, we have two concepts: Module and Component. A component allows us to create a portion of an HTML page of the Angular application. A Module is a synthesis of different components including Components, different Modules to create the Angular application.
In the main.ts file, as you can see, the first four lines are used to import the necessary dependencies into our application, especially the platformBrowserDynamic and AppModule. The platformBrowserDynamic object is used to tell Angular what modules are being loaded to build our Angular application. The AppModule object is our main module in this example.
After checking whether our environment is running is production or not, Angular will use the platformBrowserDynamic() method to process our AppModule. And in our example application, the AppModule object is the object that rendered the result to the user!
The AppModule class is declared in the file /src/app/app.module.ts with the following contents:
|
1 2 3 4 5 6 7 8 9 10 11 12 13 14 15 16 17 18 19 20 |
import { BrowserModule } from '@angular/platform-browser'; import { NgModule } from '@angular/core'; import { FormsModule } from '@angular/forms'; import { HttpModule } from '@angular/http'; import { AppComponent } from './app.component'; @NgModule({ declarations: [ AppComponent ], imports: [ BrowserModule, FormsModule, HttpModule ], providers: [], bootstrap: [AppComponent] }) export class AppModule { } |
As mentioned above, the AppModule class will aggregate other modules together with the components to make our Angular application. It is declared using a decorator named @NgModule with some basic attributes that have the following meaning:
- declarations: This is used to declare a list of the components and the directive that we will use to build our Angular application. Directives are attributes that we or Angular define for HTML tags to serve the purposes of the Angular application.
- imports: Used to declare other modules we need to use in our AppModule.
- providers: used to declare classes to inject to use
- bootstrap: defines a component that will be boostrapped when the Angular application is bootstrapped.
In our example, the component AppComponent is the component that will be called by our Angular application when it bootstrapping. This component is defined in the src/app/app.component.ts file as follows:
|
1 2 3 4 5 6 7 8 9 10 |
import { Component } from '@angular/core'; @Component({ selector: 'app-root', templateUrl: './app.component.html', styleUrls: ['./app.component.css'] }) export class AppComponent { title = 'app works!'; } |
Like the AppModule class, the AppComponent class is also declared with a decorator named @Component. This is the decorator that marks a class as a Component. Some of the required attributes of the @Component decorator are:
- selector: This is the name of the HTML tag that Component after the successful build of HTML content will drop that content
- templateUrl: is the path to the HTML template file that will be used to build HTML content for the component.
- styleUrls: Declares the path to CSS files to styles for HTML in the component.
In our example, the app-root tag in the index.html file will be where AppComponent after the build to HTML will drop the content. The contents of the app.component.html file are as follows:
|
1 2 3 |
<h1> {{title}} </h1> |
Here we have declared a placeholder as the title variable in the AppComponent class. Angular will automatically take the value of this variable to replace the placeholder {{title}}, so when you run you will see the results as above.


