In the previous tutorial, I had a basic explanation of what a Component in Angular is, what its functions. In this tutorial, I will go more about Component in Angular.
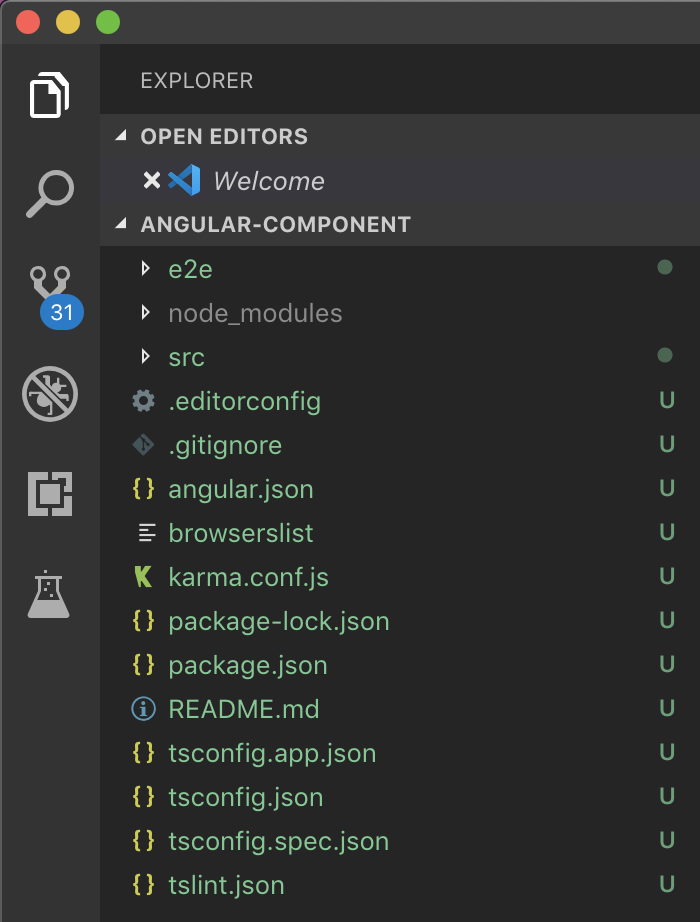
First, I will create an Angular project as an example:
In Angular, a component is an HTML part of the entire HTML content that we need to build for our application.
For example, you have an HTML page like this:
|
1 2 3 4 5 6 7 8 |
<div id="container"> <div> <h1>Welcome to Huong Dan Java</h1> </div> <div> <p>This is an example about Angular Component</p> </div> </div> |
then you can build a Component for this entire page, or split it into multiple components for each <div> tag.
In the project I just created, the AppComponent class in the src/app/app.component.ts file is a Component in Angular. The content of this class is as follows:
|
1 2 3 4 5 6 7 8 9 10 |
import { Component } from '@angular/core'; @Component({ selector: 'app-root', templateUrl: './app.component.html', styleUrls: ['./app.component.css'] }) export class AppComponent { title = 'angular-component'; } |
A Component class in Angular will be declared with @Component decorator and has two important attributes among the three attributes of this decorator, required to be selector and templateUrl.
The selector attribute is used to declare the HTML tag that this Component will replace the content in our Angular application.
We have 3 ways to declare this selector attribute. The first way is, by default, you will define an HTML tag and declare the value of that tag in the selector attribute. The second way is that we will define the class attribute of an HTML tag with the value of this class attribute declared in the selector attribute of the @Component decorator. For example, I can modify the selector attribute of @Component decorator in AppComponent as follows:
|
1 2 3 4 5 6 7 8 9 10 |
import { Component } from '@angular/core'; @Component({ selector: '.app-root', templateUrl: './app.component.html', styleUrls: ['./app.component.css'] }) export class AppComponent { title = 'angular-component'; } |
Then, I need to edit the index.html file in the project’s home directory as follows:
|
1 2 3 4 5 6 7 8 9 10 11 12 13 14 15 16 |
<!doctype html> <html lang="en"> <head> <meta charset="utf-8"> <title>AngularComponent</title> <base href="/"> <meta name="viewport" content="width=device-width, initial-scale=1"> <link rel="icon" type="image/x-icon" href="favicon.ico"> </head> <body> <div class="app-root"> Loading... </div> </body> </html> |
The results are still the same.
The third way that you can do is declare a new attribute for any HTML tag and declare that attribute in @Component decorator’s selector attribute with square brackets as follows:
index.html:
|
1 2 3 4 5 6 7 8 9 10 11 12 13 14 15 16 |
<!doctype html> <html> <head> <meta charset="utf-8"> <title>AngularExample</title> <base href="/"> <meta name="viewport" content="width=device-width, initial-scale=1"> <link rel="icon" type="image/x-icon" href="favicon.ico"> </head> <body> <div app-root> Loading... </div> </body> </html> |
app.component.ts:
|
1 2 3 4 5 6 7 8 9 10 |
import { Component } from '@angular/core'; @Component({ selector: '[app-root]', templateUrl: './app.component.html', styleUrls: ['./app.component.css'] }) export class AppComponent { title = 'angular-component'; } |
The templateUrl attribute will define the path to the HTML content that this Component will build.
If you are building this Component with little HTML content, you can use the template attribute instead of templateUrl to define this HTML content directly into the Component.
Eg:
|
1 2 3 4 5 6 7 8 9 10 11 12 13 14 |
import { Component } from '@angular/core'; @Component({ selector: '[app-root]', template: ` <h1> {{title}} </h1> `, styleUrls: ['./app.component.css'] }) export class AppComponent { title = 'angular-component'; } |
If you only declare one line for HTML content, let declare them inside the single quotes “‘”, if you declare multiple lines, we will use the “`” instead of the single quotes “‘” to declare HTML content!
The styleUrls attribute in our example is used to define CSS files to edit the style for this Component.
It is not required because we can define a common CSS file for the entire Angular application.
You can also define CSS in Component’s file too, using styles attribute instead of styleUrls attribute. For example, I can define the style for the <h1> tag in the app.component.html file as follows:
|
1 2 3 4 5 6 7 8 9 10 11 12 13 14 15 16 17 18 |
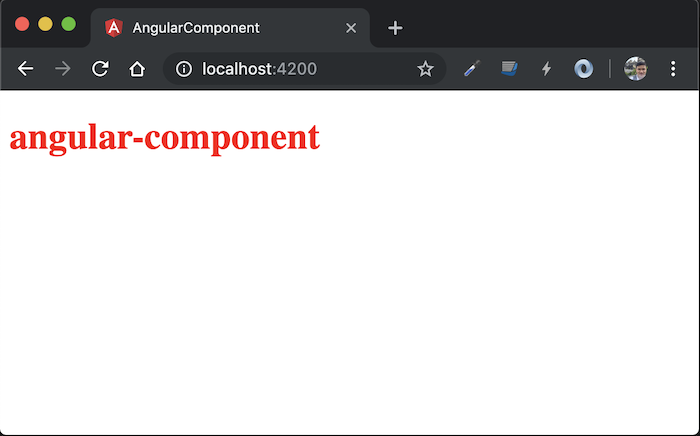
import { Component } from '@angular/core'; @Component({ selector: '[app-root]', template: ` <h1> {{title}} </h1> `, styles: [` h1 { color: red; } `] }) export class AppComponent { title = 'angular-component'; } |
Result:
In the AppComponent class, as you can see, it defines a title variable.
This variable at the beginning is used to replace the placeholder {{title}} in the app.component.html file:
|
1 2 3 4 5 6 7 8 9 10 11 12 13 14 15 16 17 18 19 |
<!--The content below is only a placeholder and can be replaced.--> <div style="text-align:center"> <h1> Welcome to {{ title }}! </h1> <img width="300" alt="Angular Logo" src="data:image/svg+xml;base64,PHN2ZyB4bWxucz0iaHR0cDovL3d3dy53My5vcmcvMjAwMC9zdmciIHZpZXdCb3g9IjAgMCAyNTAgMjUwIj4KICAgIDxwYXRoIGZpbGw9IiNERDAwMzEiIGQ9Ik0xMjUgMzBMMzEuOSA2My4ybDE0LjIgMTIzLjFMMTI1IDIzMGw3OC45LTQzLjcgMTQuMi0xMjMuMXoiIC8+CiAgICA8cGF0aCBmaWxsPSIjQzMwMDJGIiBkPSJNMTI1IDMwdjIyLjItLjFWMjMwbDc4LjktNDMuNyAxNC4yLTEyMy4xTDEyNSAzMHoiIC8+CiAgICA8cGF0aCAgZmlsbD0iI0ZGRkZGRiIgZD0iTTEyNSA1Mi4xTDY2LjggMTgyLjZoMjEuN2wxMS43LTI5LjJoNDkuNGwxMS43IDI5LjJIMTgzTDEyNSA1Mi4xem0xNyA4My4zaC0zNGwxNy00MC45IDE3IDQwLjl6IiAvPgogIDwvc3ZnPg=="> </div> <h2>Here are some links to help you start: </h2> <ul> <li> <h2><a target="_blank" rel="noopener" href="https://angular.io/tutorial">Tour of Heroes</a></h2> </li> <li> <h2><a target="_blank" rel="noopener" href="https://angular.io/cli">CLI Documentation</a></h2> </li> <li> <h2><a target="_blank" rel="noopener" href="https://blog.angular.io/">Angular blog</a></h2> </li> </ul> |
Suppose we now need to build an HTML page:
|
1 2 3 4 5 6 7 8 |
<div id="container"> <div> <h1>Welcome to Huong Dan Java</h1> </div> <div> <p>This is an example about Angular Component</p> </div> </div> |
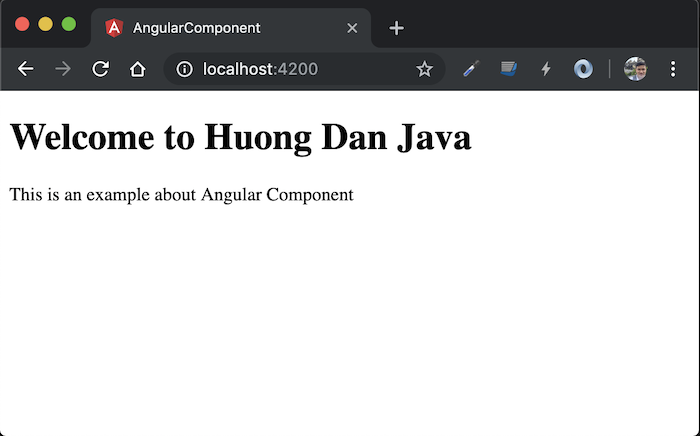
I will replace the content of the app.component.html file into the above content and revert to AppComponent as follows:
|
1 2 3 4 5 6 7 8 9 10 |
import { Component } from '@angular/core'; @Component({ selector: '[app-root]', templateUrl: './app.component.html', styleUrls: ['./app.component.css'] }) export class AppComponent { title = 'angular-component'; } |
Then run the application, I will see the results as follows:
Now, I want to split the content into 2 different components. One for:
|
1 2 3 |
<div> <h1>Welcome to Huong Dan Java</h1> </div> |
and one for:
|
1 2 3 |
<div> <p>This is an example about Angular Component</p> </div> |
I will do the following:
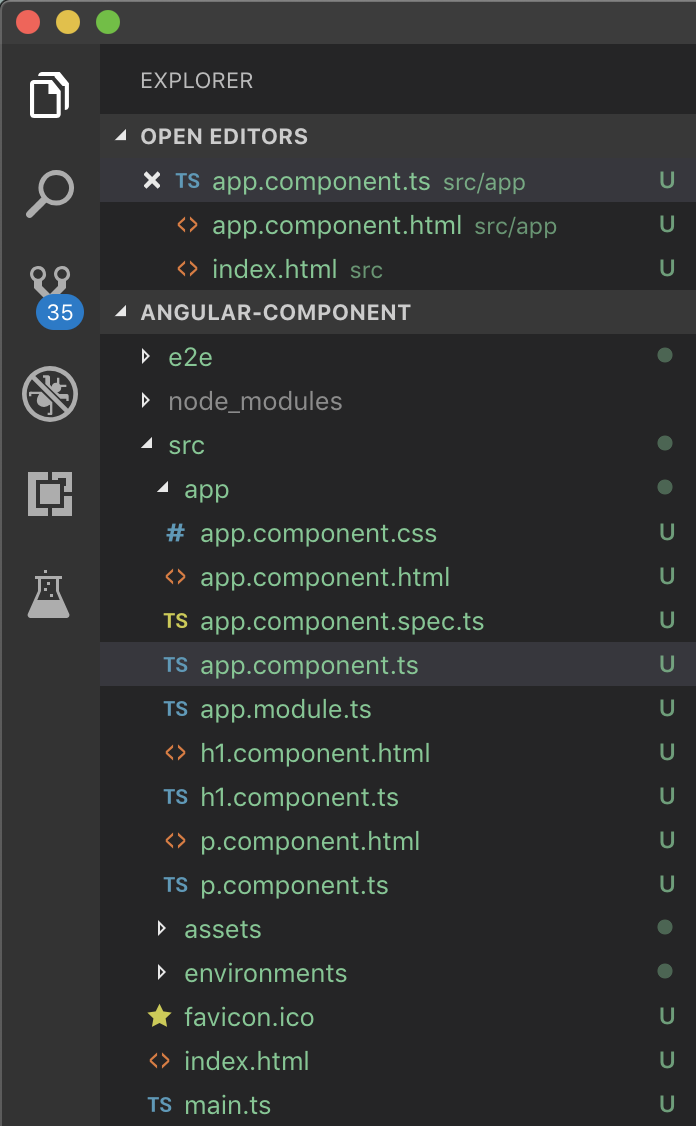
First, I will create 4 files named h1.component.html, h1.component.ts, p.component.html, and p.component.ts in the src/app directory as follows:
The contents of the h1.component.html file will be retrieved from the app.component.html file as follows:
|
1 2 3 |
<div> <h1>Welcome to Huong Dan Java</h1> </div> |
The contents of the p.component.html file will look like this:
|
1 2 3 |
<div> <p>This is an example about Angular Component</p> </div> |
The content of the app.component.html file at this time we will replace with the selector as follows:
|
1 2 3 4 |
<div id="container"> <app-h1></app-h1> <app-p></app-p> </div> |
Now, we will add 2 Component class as PComponent and H1Component in the files p.component.ts and h1.component.ts. Their contents are as follows:
PComponent:
|
1 2 3 4 5 6 7 8 |
import { Component } from "@angular/core"; @Component({ selector: 'app-p', templateUrl: './p.component.html' }) export class PComponent { } |
H1Component:
|
1 2 3 4 5 6 7 8 |
import { Component } from "@angular/core"; @Component({ selector: 'app-h1', templateUrl: './h1.component.html' }) export class H1Component { } |
Then, we need to declare these two components to the AppModule:
|
1 2 3 4 5 6 7 8 9 10 11 12 13 14 15 16 17 18 19 20 |
import { BrowserModule } from '@angular/platform-browser'; import { NgModule } from '@angular/core'; import { AppComponent } from './app.component'; import { PComponent } from './p.component'; import { H1Component } from './h1.component'; @NgModule({ declarations: [ AppComponent, PComponent, H1Component ], imports: [ BrowserModule ], providers: [], bootstrap: [AppComponent] }) export class AppModule { } |
Run the application again, you also see the same results.