I have shown you how to configure JDK and Apache Maven in Jenkins in previous posts, now we can use these configurations to build a Maven project. In this tutorial, I will walk you through the basic steps needed to build a Maven project in Jenkins.
As an example for this tutorial, I’m going to use Maven project spring-helloworld in the tutorial hello world. This project was pushed to the huongdanjava.com repository using my GitHub account at https://github.com/huongdanjavacom/huongdanjava.com.
The steps to build spring-helloworld project are as follows:
First, log in to Jenkins using the admin account, then select New Item.
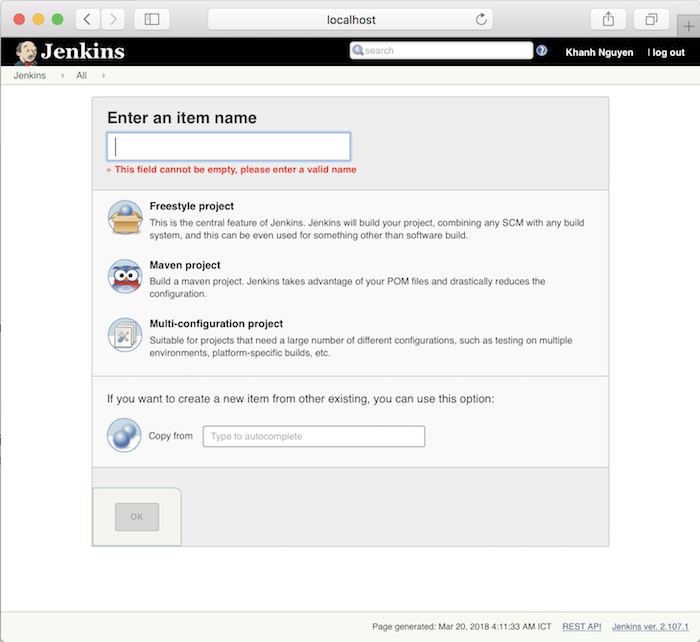
As you can see, in this step, we will select the type of project we want to build with Jenkins. There are many different options, but in this tutorial, we just focus on Maven project, so after entering the name, called Jenkins job, in the Enter an item name field, then select the Maven project.
Myself as follows:
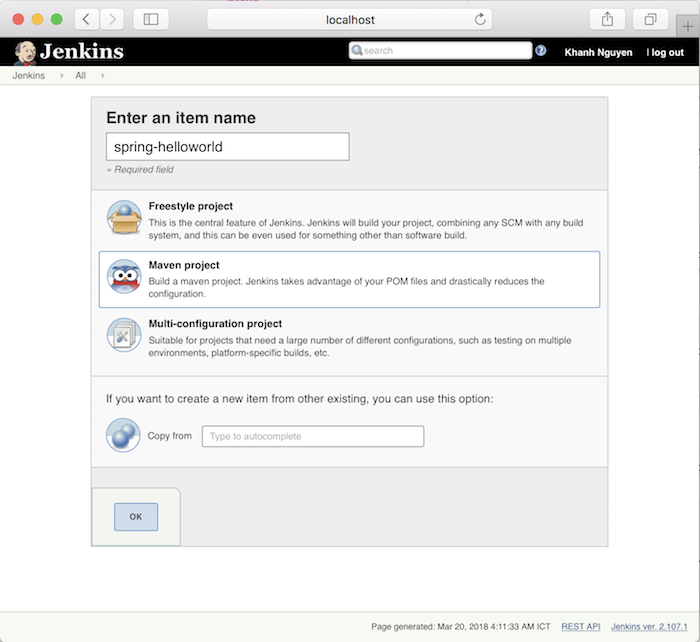
Click OK to continue.
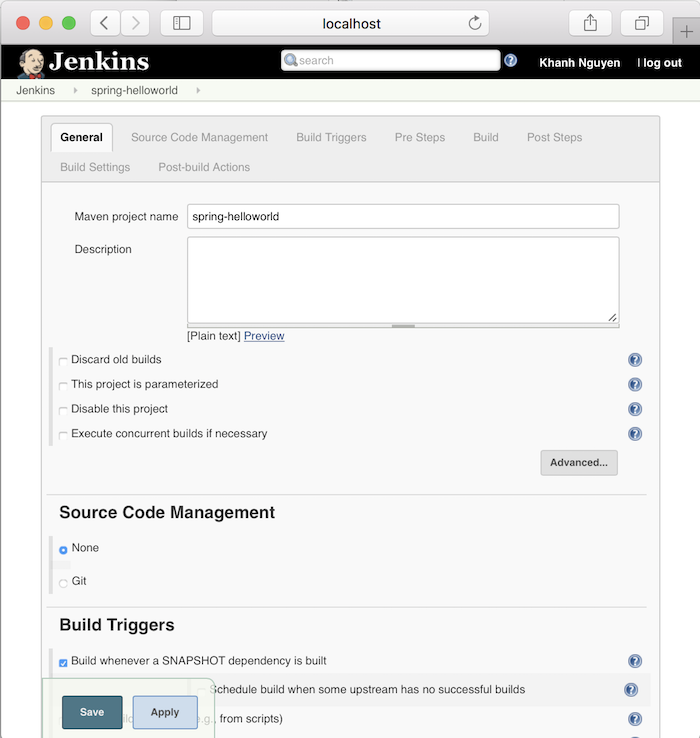
Next step, we will configure Git SCM information.
This step allows Jenkins to clone the code from Git systems.
Go to the Source Code Management and click on Git as follows:
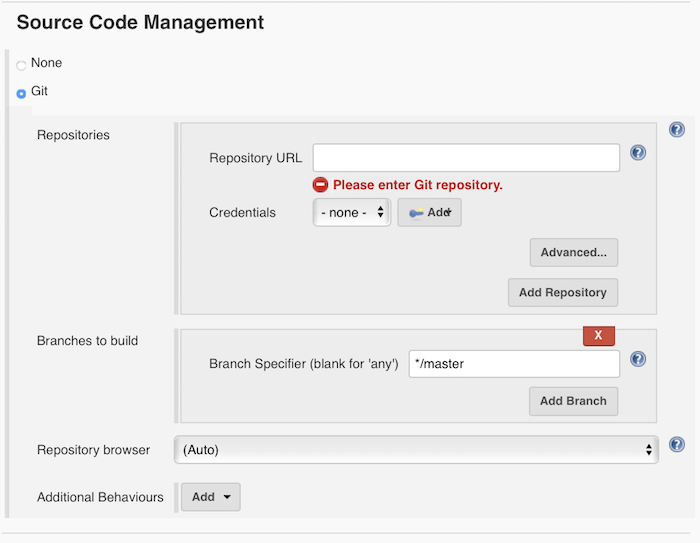
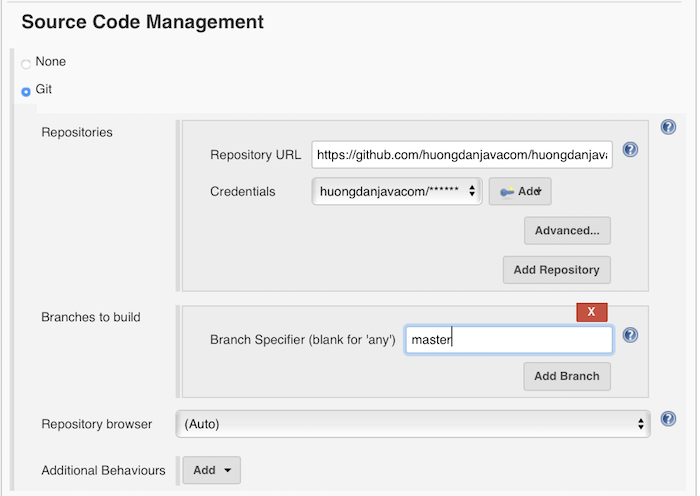
There are 3 things we need to configure for this Git SCM:
- The first is the URL to clone the code in the Repository URL section
- Second is the credentials login to the Git system we have declared in the Repository URL
- And finally, the Git branch we want to build.
In the Credentials login information, please click the Add button
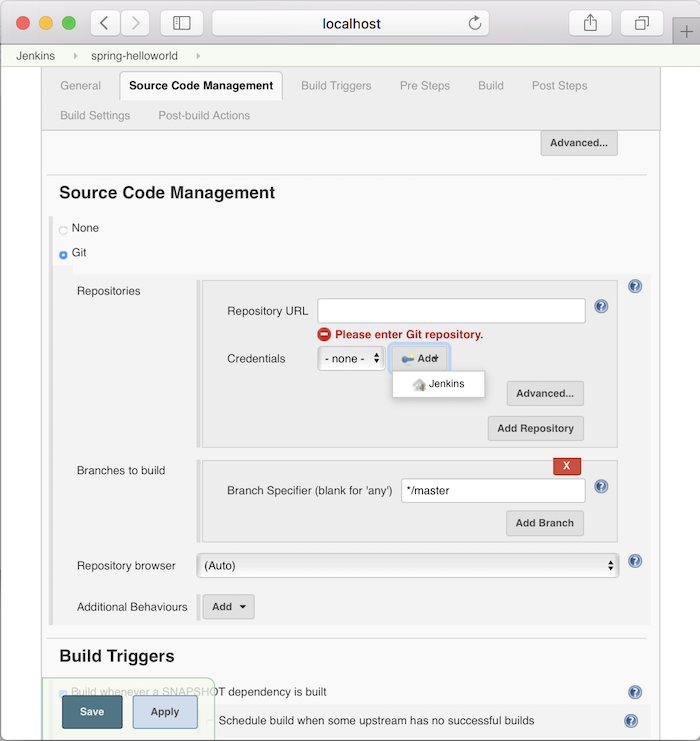
then select Jenkins
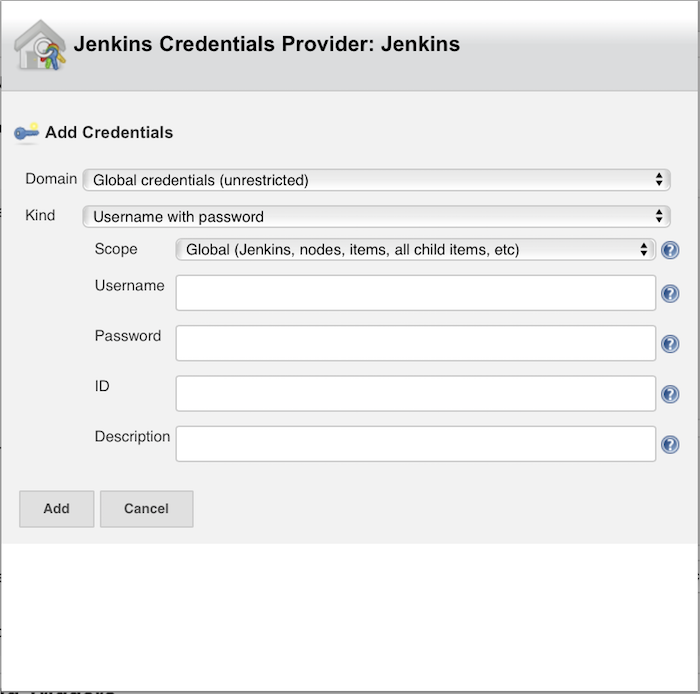
to add information about username and password.
In the window above, you only need to enter Username, Password and then click the Add button is okay.
Then the credentials login information will appear information about the Username that we just added.
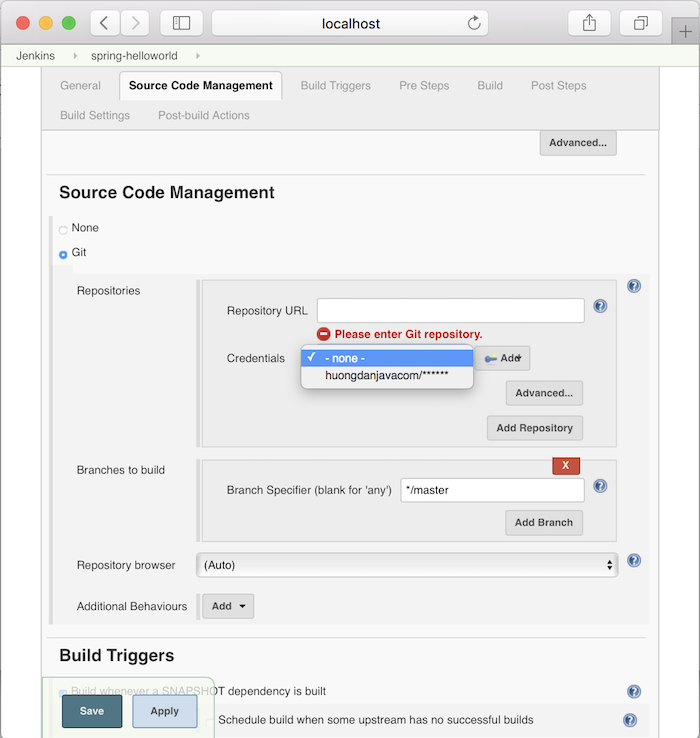
My configuration for this Git SCM is as follows:
The last thing we need to do is to configure the pom.xml file and the Maven statement that we want to run when our build project.
Please go to the Build section:

Root POM is the location of the pom.xml file. Let’s imagine when the clone code comes in, we will have a directory containing all our code. The path of the pom.xml file will start from this directory.
In our example, when clone code returns, in order to get to the pom.xml file of the spring-helloworld project, we have to go through the spring-hellworld directory first. Therefore, the location of the pom.xml file in this example will be spring-helloworld/pom.xml, right? 🙂
The Goals and options section is for configuring the Maven statement.
Here, I will configure the Build as follows:

That’s it. You can click Save or Apply button to save.
Now, let’s try to build the Maven project.
After you click Save, you will go to the current Jenkins job page.
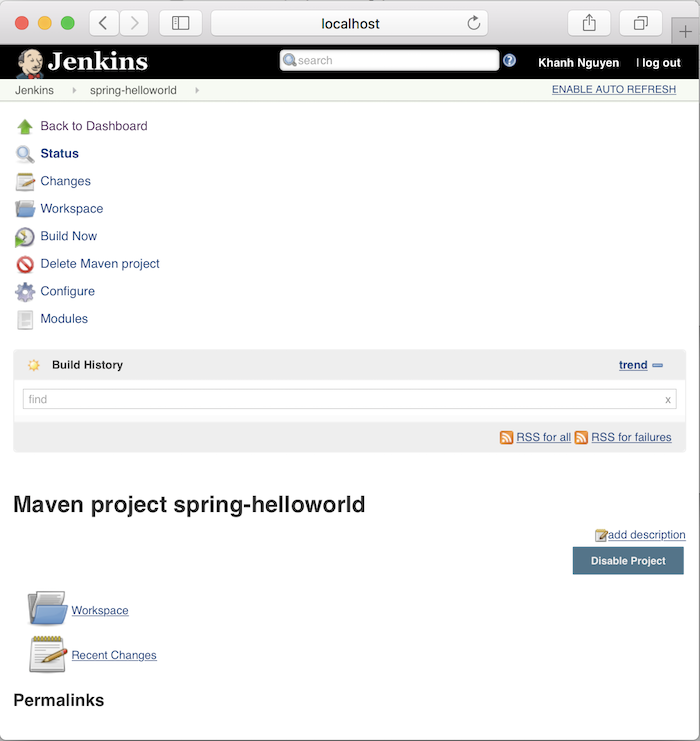
Now click the Build Now button to start building this project.
A Build History section will appear:

Build successful:

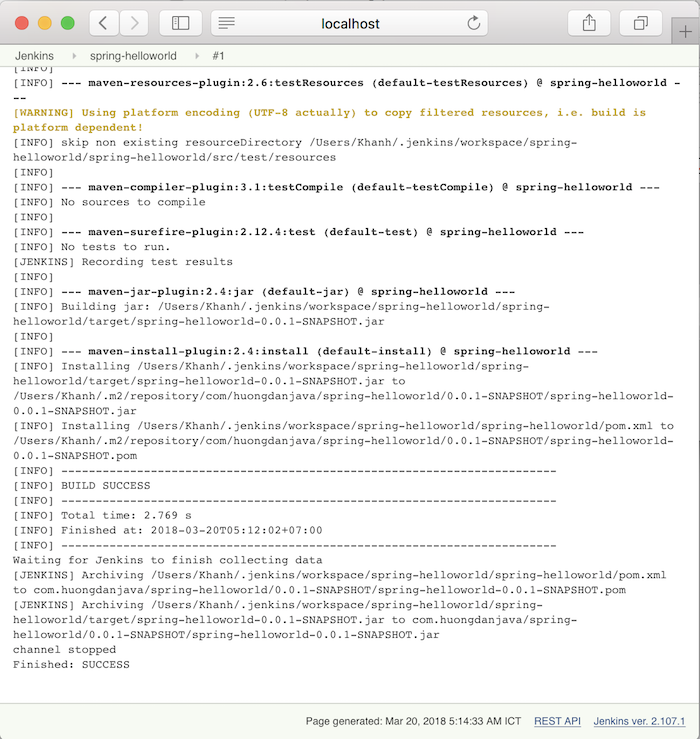
You can click on # 1 in the Build History section, then in the Console Output section to see how the build progresses.
Myself as follows:


Sathish
what is the difference between creating a freestyle project and maven project in jenkins job?