To deploy a Java web application to a Java Server Runtime, you need to know the Java version and Jakarta EE version that the Server Runtime with a specific version supports. Same with JBoss WildFly, it took me quite a while to determine which version of JBoss WildFly supports Java web applications with Spring framework 6.0, running Java 17 and Jakarta EE 9. You need to try and try, maybe the official document of Server Runtime is not true to that fact! In this tutorial, I will show you how to deploy a Java web application to JBoss WidlFly!
The application that I mentioned above is a Spring MVC application created by the Maven project using the Maven Archetype that I built. You can find out more here.
This application uses Spring framework 6.x with Java 17 or later and uses Jakarta EE version 9.
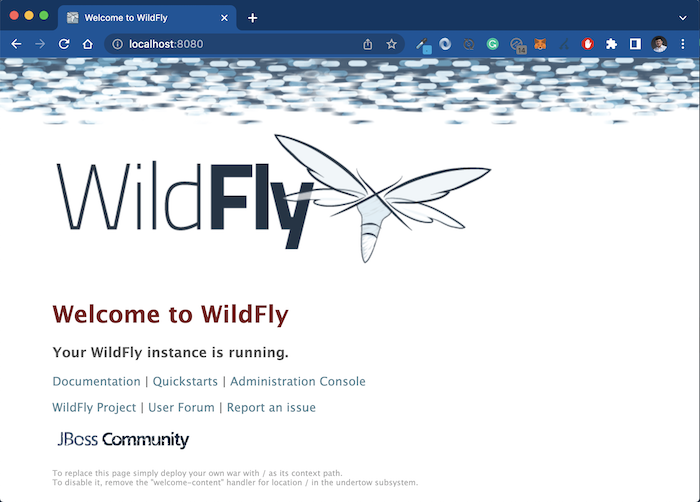
To deploy this application to JBoss WildFly, please install JBoss WildFly version wildfly-27.0.1.Final guys! Detailed installation instructions can be found here.
Mine is as follows:
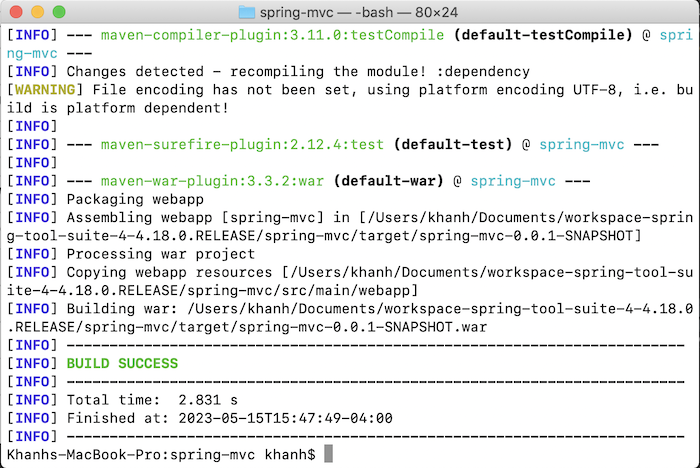
After creating a new project, I will use the command “mvn package” to build the source code of the application into a .war file.
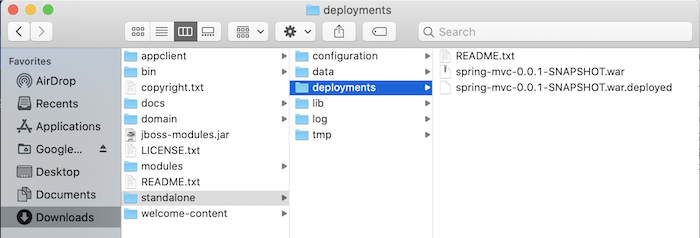
To deploy the example application, I will copy this spring-mvc-0.0.1-SNAPSHOT.war file into the standalone\deployments folder of the JBoss WildFly folder. You will see that JBoss WildFly creates new files spring-mvc-0.0.1-SNAPSHOT.war.isdeploying and then spring-mvc-0.0.1-SNAPSHOT.war.deployed to automatically deploy the application.
If you see a new file that starts with the same name as the file you copied and ends with .deployed, it means you have successfully deployed!
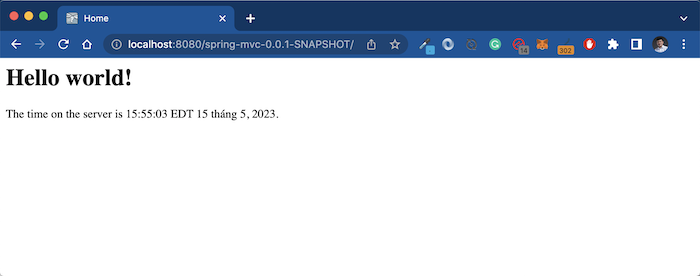
The default context path will be the name of the file! We can change this context path but currently, our example project does not have that configuration.
Now you can access the application you just deployed using the address http://localhost:8080/spring-mvc-0.0.1-SNAPSHOT/, my results are as follows: