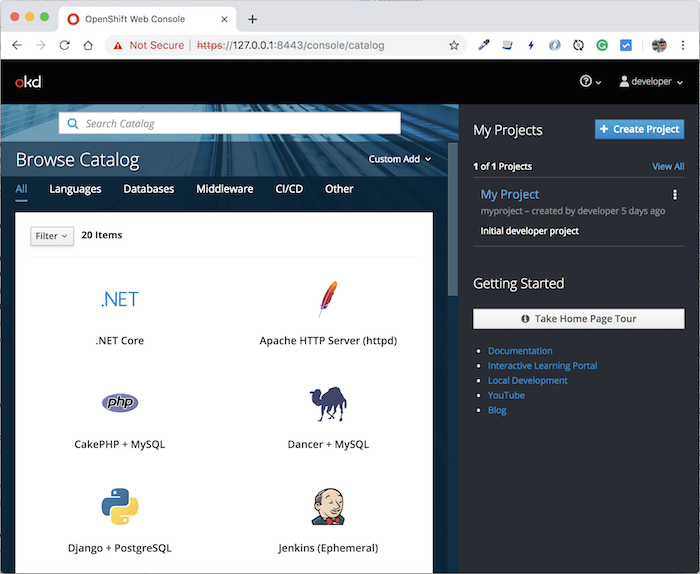
By default, after installing OpenShift, a project called “My Project” will be created. That is why when you login to OpenShift using client tool oc or web console, you will also see the project “My Project” here.

Or

To create a new project in OpenShift, you can use the client tool or web console.
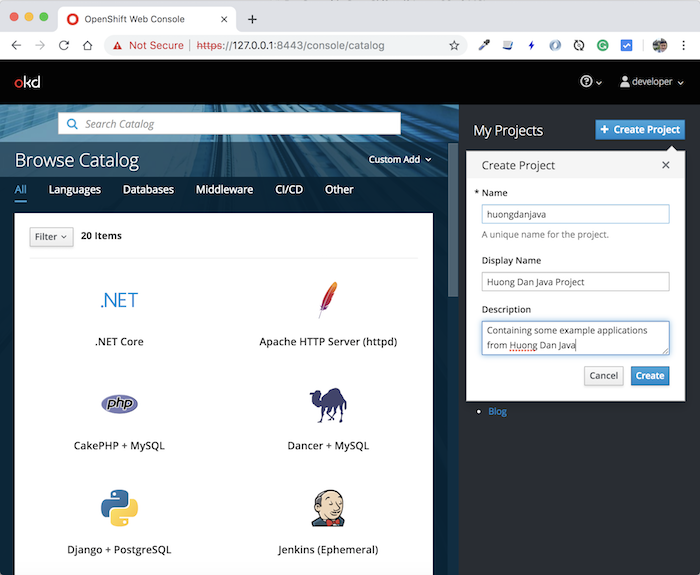
With the web console, please click Create Project button and fill in some information as follows:

Then press Create button to OpenShift create a new project for us.
With the client tool, you will use the command with the following syntax:
|
1 2 3 |
oc new-project <project_name> \ --description="<description>" \ --display-name="<display_name>" |
Therein:
- project_name is the name of the project
- description: the description of the project
- display_name is the name that will be displayed.
Similar to the use of the web console, right?
My example is as follows:
|
1 2 3 |
oc new-project huongdanjava \ --description="Containing some example applications from Huong Dan Java" \ --display-name="Huong Dan Java Project" |
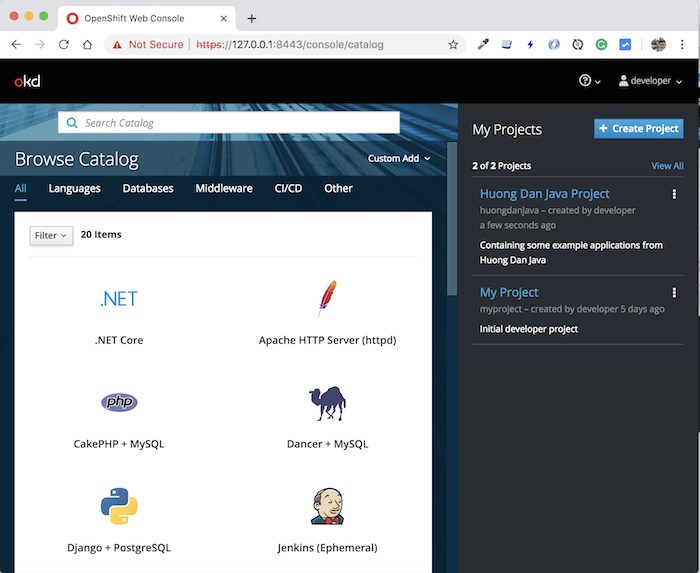
Result:

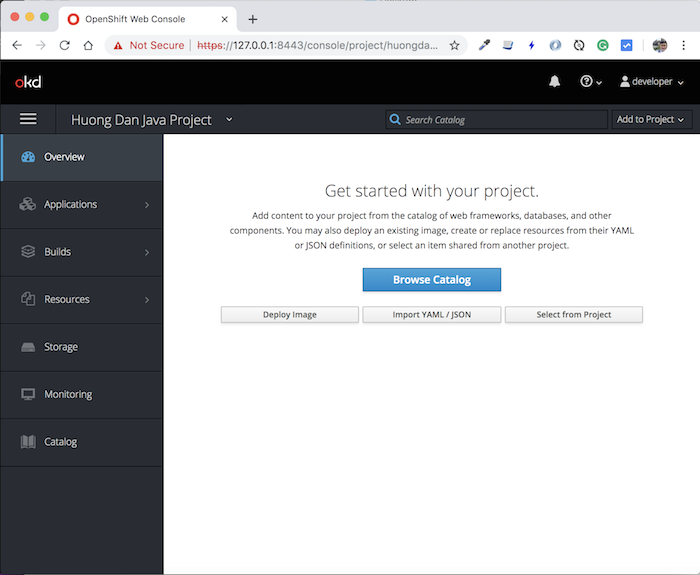
You can click on the Huong Dan Java Project link to see details about it:

Now, you can create new applications for yourself with OpenShift!


