On macOS, we have several ways to install Kubernetes, such as using the Minikube tool or using Docker. In this tutorial, I will introduce you all on how to install Kubernetes using Docker!
First of all, of course, we need to install Docker on macOS. I have a tutorial to do this, if you do not know, then you can refer to!
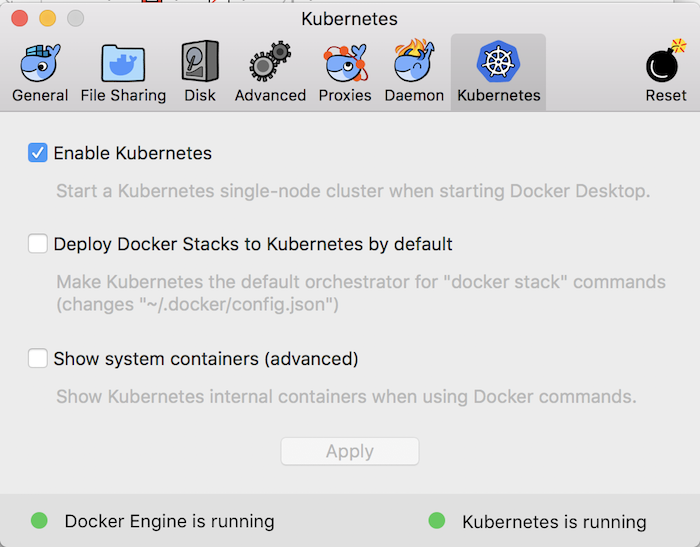
After installing Docker, please open Docker Desktop Dashboard and click on the Kubernetes tab!
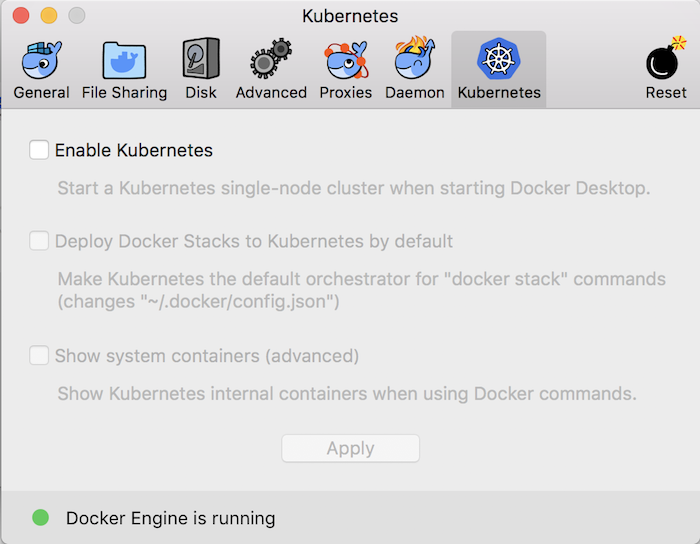
By default, Kubernetes is not enabled when we install Docker. So to install Kubernetes, click the Create cluster button:
There are 2 types of Cluster Type that you can create: using the Kubeadm tool or the kind tool. As you can see in the notes for each type, the Kubeadm tool will help us enable Kubernetes with a single node, while the kind tool allows us to create more nodes. Depending on your needs, choose the appropriate Cluster Type.
Here, I will choose to use the kind tool to create Kubernetes with only one node! Please choose to install the latest version of Kubernetes in the “Kubernetes version” box!
You can click Show system containers (advanced) in the Advanced Settings section if you want!
Then click the Create button.
A window will appear, asking us to install the Kubernetes cluster as follows:
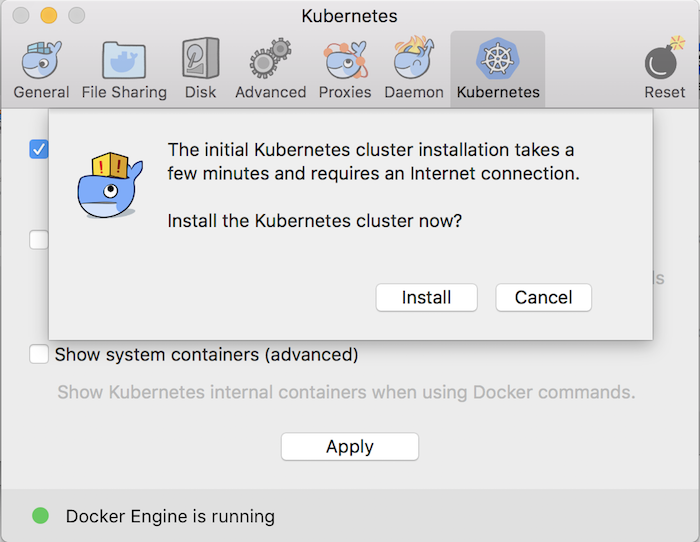
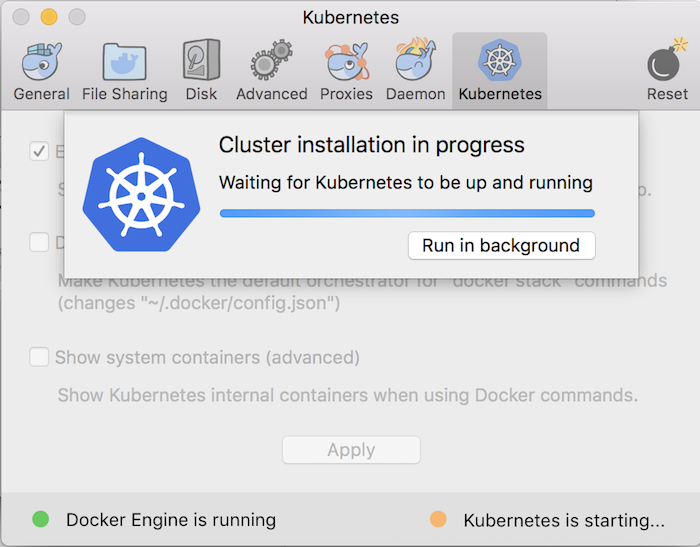
Please click the Install button to start installing Kubernetes cluster!
Finish:
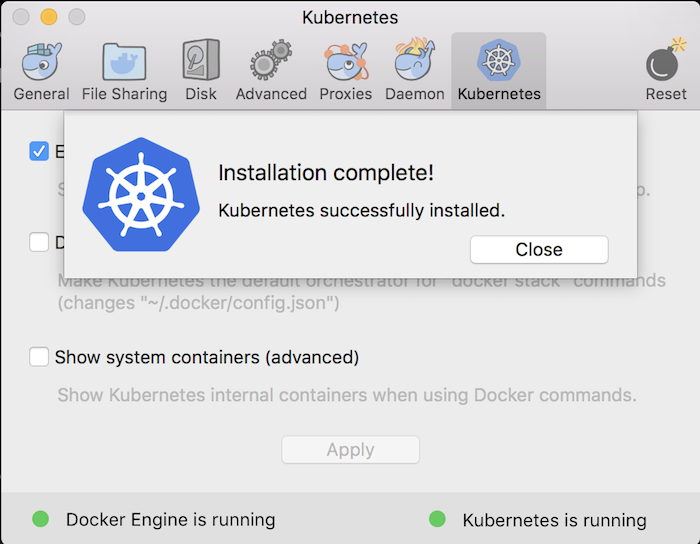
So we have successfully enabled Kubernetes using Docker Desktop!
Now, on our machine, we have a standalone Kubernetes server and client. Kubernetes cluster here is a single-node cluster!
You can use the kubectl tool (Kubernetes Controller, a command line tool to manage Kubernetes cluster) to check the version of Kubernetes:
|
1 |
kubectl version |