OpenShift from version 3 onwards allows us to work with it using Command Line Interface (CLI) called oc, web console or using JBoss tool. In this tutorial, I will show you how to install this CLI on macOS to work with OpenShift!
First, you need to go to https://github.com/openshift/origin/releases to download the latest version of CLI. oc tool supports all operating systems:

Depending on the operating system you are using, download the version accordingly.
I’m using macOS, so I will download the oc tool version for macOS.
Then extract it:
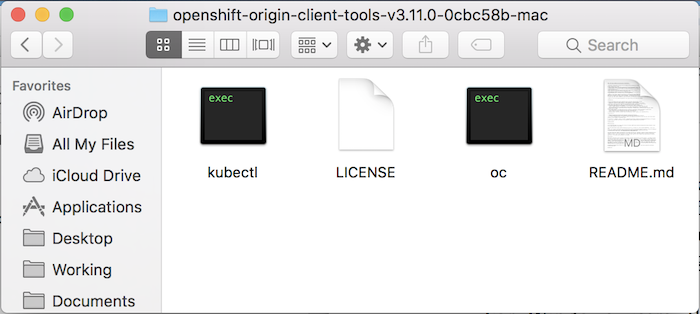
As you can see, in the unzipped folder we also have the kubectl tool to work with Kubernetes.
To be able to work with oc and kubectl tools anywhere in our machine, you need to add the path to the unzipped folder to the operating system’s PATH variable.
On macOS, I will do the following:
I will open Terminal and open the .bash_profile file in the user directory to add the following line to it:
|
1 |
export PATH=/Users/Khanh/Downloads/openshift-origin-client-tools-v3.11.0-0cbc58b-mac:$PATH |
with /Users/Khanh/Downloads/openshift-origin-client-tools-v3.11.0-0cbc58b-mac is the path to the decompressed folder of oc.
Save and run the following command to make our changes effect immediately:
|
1 |
. .bash_profile |
Now we can check the results using the command:
|
1 |
oc version |
My results are as follows:
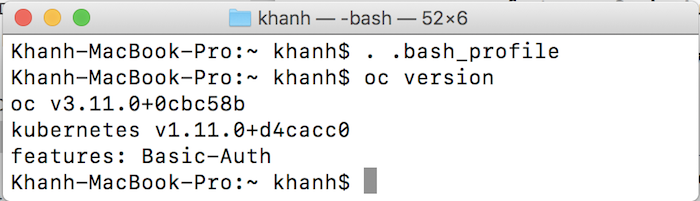
Based on the result information, we will know which version of OpenShift will be used when we install it using the oc tool, and we also know the version of Kubernetes!