I have shown you how to use JPA in the Spring framework in the previous tutorial. In this tutorial, I will continue to guide you all using JPA in Spring MVC.
First, I will also create a Maven project as an example:
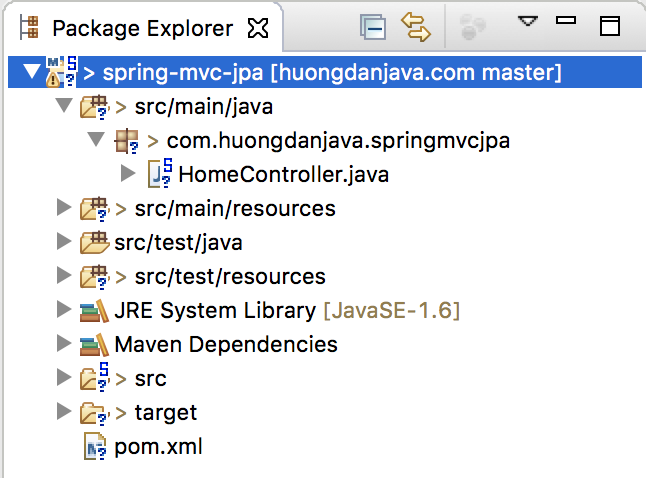
If someone does not know how to create, just follow the instructions of this tutorial.
The default dependencies have changed version as follows:
|
1 2 3 4 5 6 |
<properties> <java-version>1.8</java-version> <org.springframework-version>5.0.4.RELEASE</org.springframework-version> <org.aspectj-version>1.8.13</org.aspectj-version> <org.slf4j-version>1.7.25</org.slf4j-version> </properties> |
To work with JPA, we need to add spring-orm dependency:
|
1 2 3 4 5 |
<dependency> <groupId>org.springframework</groupId> <artifactId>spring-orm</artifactId> <version>${org.springframework-version}</version> </dependency> |
To work with JPA with Hibernate implementation, I also need to add Hibernate’s dependency as follows:
|
1 2 3 4 5 |
<dependency> <groupId>org.hibernate</groupId> <artifactId>hibernate-core</artifactId> <version>5.2.14.Final</version> </dependency> |
MySQL Connector:
|
1 2 3 4 5 |
<dependency> <groupId>mysql</groupId> <artifactId>mysql-connector-java</artifactId> <version>6.0.6</version> </dependency> |
I will use Project Lombok to avoid having to declare Getter or Setter methods.
|
1 2 3 4 5 6 |
<dependency> <groupId>org.projectlombok</groupId> <artifactId>lombok</artifactId> <version>1.16.20</version> <scope>provided</scope> </dependency> |
To run this project, I will use Maven Jetty Plugin:
|
1 2 3 4 5 |
<plugin> <groupId>org.eclipse.jetty</groupId> <artifactId>jetty-maven-plugin</artifactId> <version>9.4.8.v20171121</version> </plugin> |
In this example, I will create a small web application that allows users to query a student’s information.
We will organize the project model as: from Controller, want to manipulate the database, must through the Service class. The Service Class will act as an intermediary and database related things will not be used directly in the Controller.
To do this, we need to perform the following steps in turn:
First of all, we need to define a student database.
For the sake of simplicity, I will define a table containing student information with two columns:
|
1 2 3 4 5 |
CREATE TABLE `student` ( `id` bigint(20) NOT NULL AUTO_INCREMENT, `name` varchar(50) DEFAULT NULL, PRIMARY KEY (`id`) ) ENGINE=InnoDB AUTO_INCREMENT=2 DEFAULT CHARSET=latin1; |
Next, I will define the Student entity to represent the information of the student table.
In this entity, I will use Project Lombok’s @Data annotation to avoid declaring Getter, Setter, toString(), equals(), or hashCode() methods.
|
1 2 3 4 5 6 7 8 9 10 11 12 13 14 15 16 17 18 19 20 21 22 23 24 25 26 27 |
package com.huongdanjava.springmvcjpa.entity; import java.io.Serializable; import javax.persistence.Column; import javax.persistence.Entity; import javax.persistence.GeneratedValue; import javax.persistence.Id; import javax.persistence.Table; import lombok.Data; @Table(name = "student") @Entity @Data public class Student implements Serializable { private static final long serialVersionUID = 1L; @Id @GeneratedValue private Long id; @Column private String name; } |
To work with JPA, similar to the Spring framework, we also need a config file persistence.xml for it.
Let’s create a new file called persistence.xml located in /src/main/resources/META-INF.
The contents of this file are as follows:
|
1 2 3 4 5 6 7 8 9 10 11 12 13 14 15 16 17 18 19 |
<?xml version="1.0" encoding="UTF-8" standalone="no"?> <persistence version="2.1" xmlns="http://xmlns.jcp.org/xml/ns/persistence" xmlns:xsi="http://www.w3.org/2001/XMLSchema-instance" xsi:schemaLocation="http://xmlns.jcp.org/xml/ns/persistence http://xmlns.jcp.org/xml/ns/persistence/persistence_2_1.xsd"> <persistence-unit name="springPU" transaction-type="RESOURCE_LOCAL"> <provider>org.hibernate.jpa.HibernatePersistenceProvider</provider> <class>com.huongdanjava.springmvcjpa.entity.Student</class> <exclude-unlisted-classes /> <properties> <property name="hibernate.show_sql" value="true" /> <property name="hibernate.format_sql" value="false" /> <property name="hibernate.dialect" value="org.hibernate.dialect.MySQL5Dialect" /> <property name="hibernate.connection.driver_class" value="com.mysql.jdbc.Driver" /> <property name="javax.persistence.validation.mode" value="none" /> </properties> </persistence-unit> </persistence> |
Now we are going to declare EntityManagerFactory in the Spring container.
As in the Spring framework, I also use the LocalContainerEntityManagerFactory and declare it as follows in /src/main/webapp/WEB-INF/spring/appServlet/servlet-context.xml:
|
1 2 3 4 5 6 7 8 9 10 11 12 13 14 |
<beans:bean id="entityManagerFactory" class="org.springframework.orm.jpa.LocalContainerEntityManagerFactoryBean"> <beans:property name="dataSource" ref="dataSource" /> <beans:property name="persistenceUnitName" value="springPU" /> <beans:property name="jpaVendorAdapter"> <beans:bean class="org.springframework.orm.jpa.vendor.HibernateJpaVendorAdapter" /> </beans:property> </beans:bean> <beans:bean id="dataSource" class="org.springframework.jdbc.datasource.DriverManagerDataSource"> <beans:property name="driverClassName" value="com.mysql.cj.jdbc.Driver" /> <beans:property name="url" value="jdbc:mysql://localhost:3306/jpaexample" /> <beans:property name="username" value="root" /> <beans:property name="password" value="123456" /> </beans:bean> |
We will use the StudentDao interface and its implementation StudentDaoImpl to manipulate the database directly.
StudentDao interface’s content is as follows:
|
1 2 3 4 5 6 7 8 |
package com.huongdanjava.springmvcjpa.dao; import com.huongdanjava.springmvcjpa.entity.Student; public interface StudentDao { Student findById(Long id); } |
Class StudentDaoImpl implement StudentDao interface, that will be declared with the @Repository annotation (used to declare this Spring bean will work with the database). The content of this class is as follows:
|
1 2 3 4 5 6 7 8 9 10 11 12 13 14 15 16 17 18 19 20 21 22 |
package com.huongdanjava.springmvcjpa.dao.impl; import javax.persistence.EntityManager; import javax.persistence.PersistenceContext; import org.springframework.stereotype.Repository; import com.huongdanjava.springmvcjpa.dao.StudentDao; import com.huongdanjava.springmvcjpa.entity.Student; @Repository public class StudentDaoImpl implements StudentDao { @PersistenceContext private EntityManager em; @Override public Student findById(Long id) { return em.find(Student.class, id); } } |
In this class, I have injected the EntityManager object from the Spring container with the @PersistenceContext annotation. And we will use this EntityManager object to find students by ID.
For the controller to work with the database, I will create a new StudentService interface and its StudentServiceImpl implementation for the Controller to use.
The StudentService interface has the following contents:
|
1 2 3 4 5 6 7 8 9 |
package com.huongdanjava.springmvcjpa.service; import com.huongdanjava.springmvcjpa.web.entity.Student; public interface StudentService { Student findById(Long id); } |
And class implementation StudentServiceImpl:
|
1 2 3 4 5 6 7 8 9 10 11 12 13 14 15 16 17 18 19 20 21 22 23 24 25 26 27 28 29 30 |
package com.huongdanjava.springmvcjpa.service.impl; import org.springframework.beans.factory.annotation.Autowired; import org.springframework.stereotype.Service; import com.huongdanjava.springmvcjpa.dao.StudentDao; import com.huongdanjava.springmvcjpa.entity.Student; import com.huongdanjava.springmvcjpa.service.StudentService; @Service public class StudentServiceImpl implements StudentService { @Autowired private StudentDao studentDao; @Override public com.huongdanjava.springmvcjpa.web.entity.Student findById(Long id) { Student studentFromDb = studentDao.findById(id); if (studentFromDb == null) { return null; } com.huongdanjava.springmvcjpa.web.entity.Student student = new com.huongdanjava.springmvcjpa.web.entity.Student(); student.setName(studentFromDb.getName()); return student; } } |
Here, I have declared the StudentServiceImpl class using the @Service annotation, and I also injected the StudentDao bean into the StudentServiceImpl object to manipulate the database.
Here, I also use another Student object, used only in the Service level and Controller. The separation between the Student object for the database and the Student object for the Controller will make it easy to edit later.
The contents of class com.huongdanjava.springmvcjpa.web.entity.Student is as follows:
|
1 2 3 4 5 6 7 8 9 |
package com.huongdanjava.springmvcjpa.web.entity; import lombok.Data; @Data public class Student { private String name; } |
Now we will use the StudentService bean in the Controller so that it can use this object to manipulate with the database.
I will edit the class HomeController using StudentService to find student information by ID as follows:
|
1 2 3 4 5 6 7 8 9 10 11 12 13 14 15 16 17 18 19 20 21 22 23 24 25 26 27 28 29 30 31 32 33 34 35 36 37 38 39 40 41 42 43 44 45 46 |
package com.huongdanjava.springmvcjpa; import java.text.DateFormat; import java.util.Date; import java.util.Locale; import org.slf4j.Logger; import org.slf4j.LoggerFactory; import org.springframework.beans.factory.annotation.Autowired; import org.springframework.stereotype.Controller; import org.springframework.ui.Model; import org.springframework.web.bind.annotation.RequestMapping; import org.springframework.web.bind.annotation.RequestMethod; import com.huongdanjava.springmvcjpa.service.StudentService; /** * Handles requests for the application home page. */ @Controller public class HomeController { private static final Logger logger = LoggerFactory.getLogger(HomeController.class); @Autowired private StudentService studentService; /** * Simply selects the home view to render by returning its name. */ @RequestMapping(value = "/", method = RequestMethod.GET) public String home(Locale locale, Model model) { logger.info("Welcome home! The client locale is {}.", locale); Date date = new Date(); DateFormat dateFormat = DateFormat.getDateTimeInstance(DateFormat.LONG, DateFormat.LONG, locale); String formattedDate = dateFormat.format(date); model.addAttribute("serverTime", formattedDate ); model.addAttribute("student", studentService.findById(Long.valueOf(2))); return "home"; } } |
After the results, I will put it into the Model with the key “student” to display on the View as follows:
|
1 2 3 4 5 6 7 8 9 10 11 12 13 14 15 |
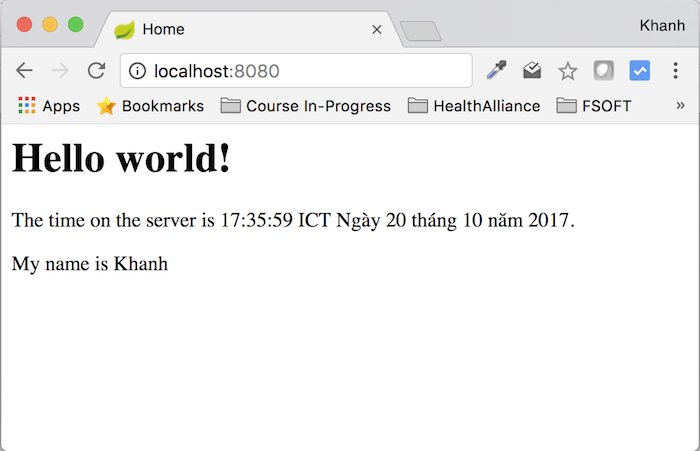
<%@ taglib uri="http://java.sun.com/jsp/jstl/core" prefix="c" %> <%@ page session="false" %> <html> <head> <title>Home</title> </head> <body> <h1> Hello world! </h1> <P> The time on the server is ${serverTime}. </P> My name is ${student.name} </body> </html> |
So we have completed the necessary steps. Now run up!
Assuming your database is having data like this:
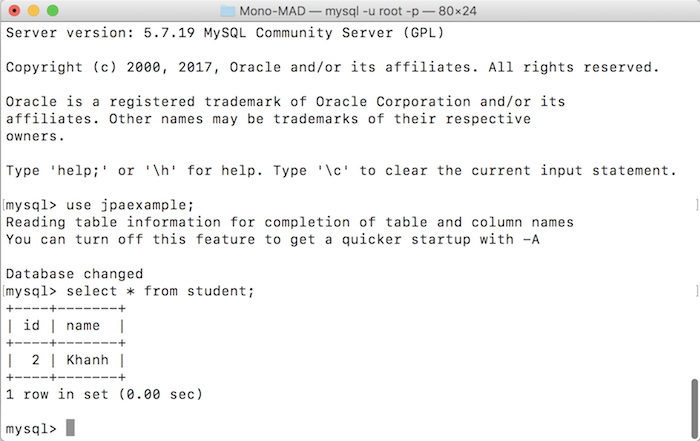
then the result will be as follows: