Trong bài viết trước, mình đã giới thiệu với các bạn cách hiện thực internationalization trong các ứng dụng Spring MVC. Đối với các ứng dụng Spring Boot thì cách hiện thực internationalization sẽ như thế nào? Mình sẽ hướng dẫn các bạn trong bài viết này, các bạn nhé!
Đầu tiên, mình sẽ tạo mới một Spring Boot project:
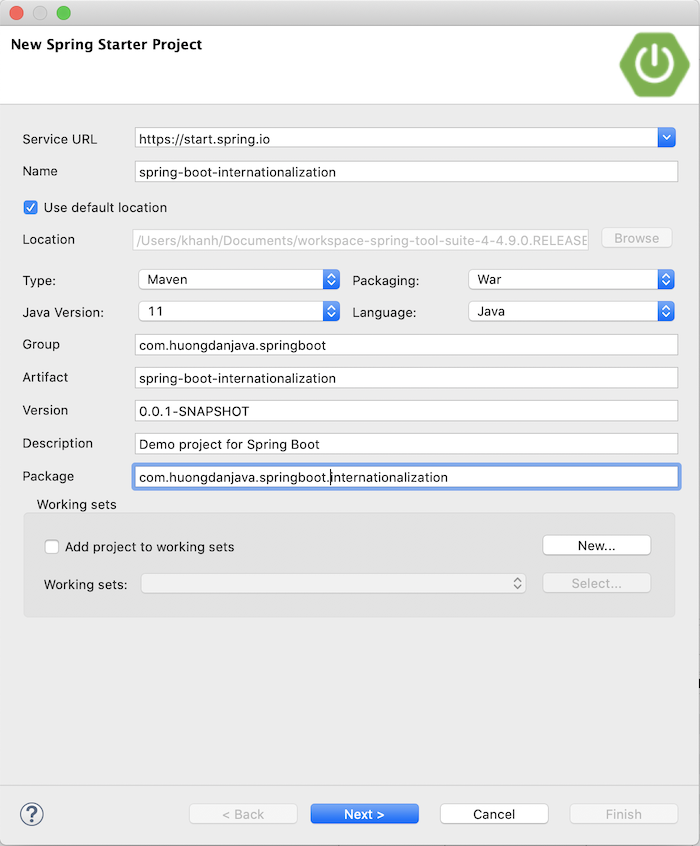
với Spring Web dependency:
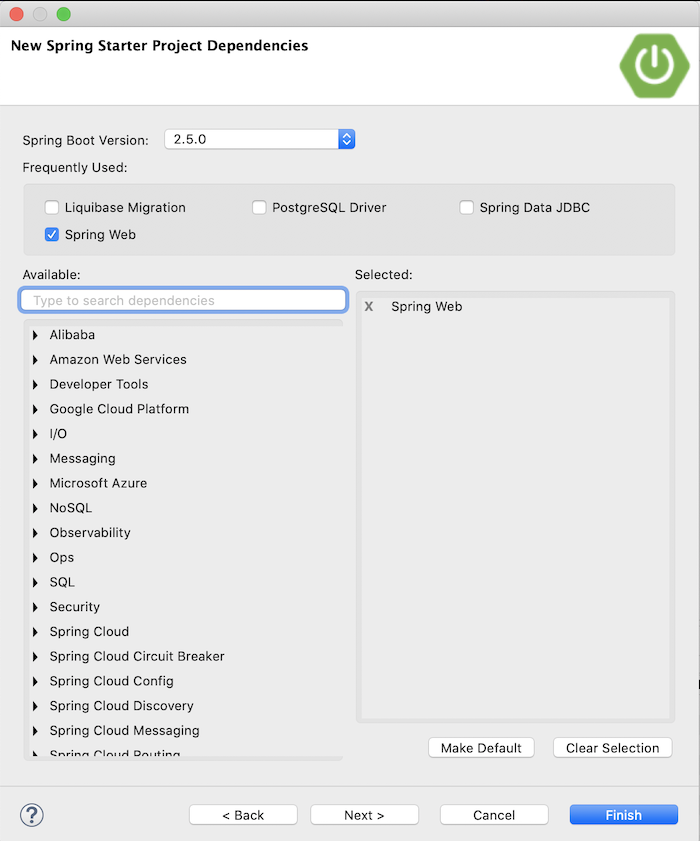
để làm ví dụ.
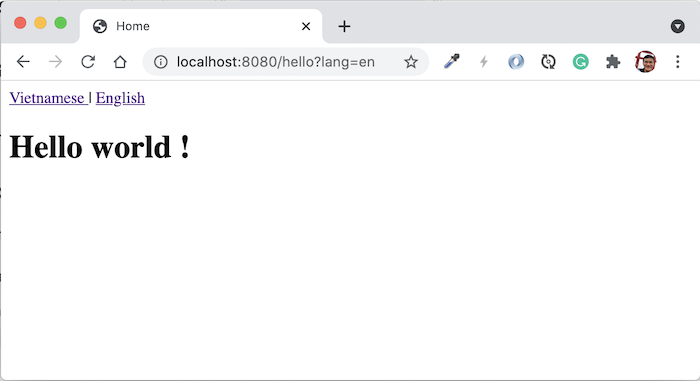
Kết quả:
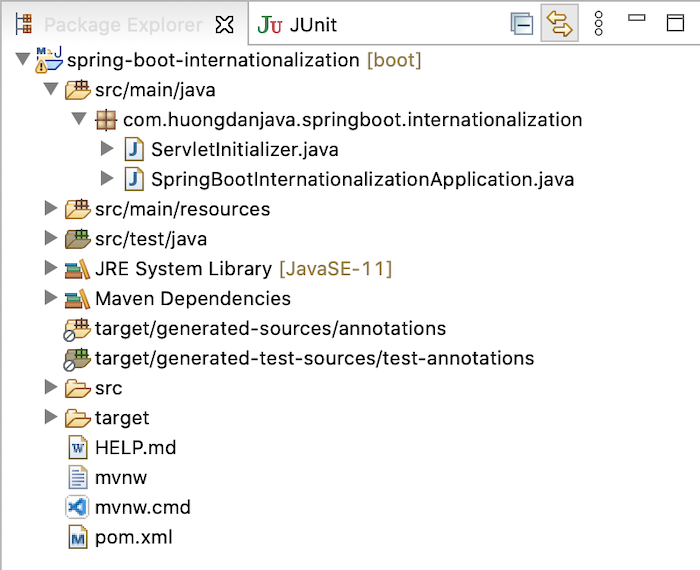
Mình sẽ cấu hình để sử dụng InternalResourceViewResolver trong ví dụ này.
Mình sẽ khai báo tomcat-embed-jasper dependency để render các tập tin JSP:
|
1 2 3 4 5 |
<dependency> <groupId>org.apache.tomcat.embed</groupId> <artifactId>tomcat-embed-jasper</artifactId> <scope>provided</scope> </dependency> |
và JSTL dependency để làm việc với trang JSP:
|
1 2 3 4 |
<dependency> <groupId>javax.servlet</groupId> <artifactId>jstl</artifactId> </dependency> |
Tiếp theo, mình sẽ tạo mới HelloControler:
|
1 2 3 4 5 6 7 8 9 10 11 12 13 |
package com.huongdanjava.springboot.internationalization; import org.springframework.stereotype.Controller; import org.springframework.web.bind.annotation.RequestMapping; @Controller public class HelloController { @RequestMapping("/hello") public String home() { return "home"; } } |
để hiển thị tập tin view home.jsp nằm trong thư mục src/main/webapp/WEB-INF/views với nội dung như sau:
|
1 2 3 4 5 6 7 8 9 10 11 12 13 14 15 16 17 18 19 20 |
<%@ taglib uri="http://java.sun.com/jsp/jstl/core" prefix="c"%> <%@ taglib uri="http://www.springframework.org/tags" prefix="spring"%> <%@ page session="false" contentType="text/html; charset=UTF-8" %> <html> <head> <title>Home</title> </head> <body> <a href="<c:url value="?lang=vi"/>"> <spring:message code="app.lang.vi" /> </a> | <a href="<c:url value="?lang=en"/>"> <spring:message code="app.lang.en" /> </a> <h1> <spring:message code="app.welcome" /> ! </h1> </body> </html> |
Ở đây, mình đã khai báo sử dụng <spring:message /> để làm việc với internationalization trong Spring framework. Các bạn xem thêm bài viết Internationalization trong Spring MVC để hiểu thêm về nó nhé!
Mặc định, Spring Boot sẽ dùng Tomcat server để chạy nên các bạn để ý là để hiển thị đúng ngôn ngữ, chúng ta cần khai báo contentType với charset encoding UTF-8 nhé:
|
1 |
<%@ page session="false" contentType="text/html; charset=UTF-8" %> |
Có vẻ như các runtime server khác thì không cần!
Và mình cũng cần khai báo trong tập tin application.properties như sau:
|
1 2 |
spring.mvc.view.prefix=/WEB-INF/views/ spring.mvc.view.suffix=.jsp |
Bây giờ, chúng ta sẽ khai báo các bean cần thiết của Spring cho internationalization: messageSource, localeResolver và localeChangeInterceptor các bạn nhé!
Để cấu hình cho messageSource, mình sẽ tạo mới 2 tập tin messages.properties và messages_vi.properties trong thư mục src/main/resources/i18n với nội dung của mỗi tập tin như sau:
messages.properties:
|
1 2 3 |
app.lang.vi=Vietnamese app.lang.en=English app.welcome=Hello world |
messages_vi.properties
|
1 2 3 |
app.lang.vi=Ti\u1EBFng Vi\u1EC7t app.lang.en=Ti\u1EBFng Anh app.welcome=Xin chào |
Spring Boot hỗ trợ auto configuration cho messageSource với ResourceBundleMessageSource implementation. Các bạn có thể khai báo một số properties sau:
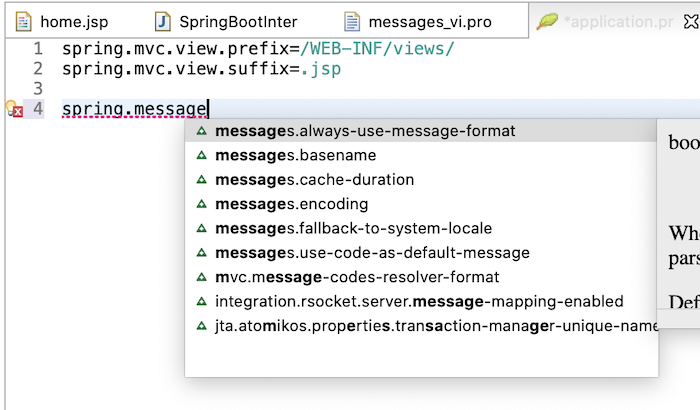
để sử dụng cấu hình mặc định của Spring Boot.
Ví dụ như mình có thể khai báo property:
|
1 |
spring.messages.basename=classspath:i18n/messages |
để khai báo messageSource cho ứng dụng ví dụ của mình.
Ở đây, mình sẽ không sử dụng cấu hình mặc định mà sẽ khai báo bean để sử dụng class ReloadableResourceBundleMessageSource như sau:
|
1 2 3 4 5 6 7 |
@Bean public MessageSource messageSource() { ReloadableResourceBundleMessageSource messageSource = new ReloadableResourceBundleMessageSource(); messageSource.setBasename("classpath:i18n/messages"); return messageSource; } |
Đối với localResolver mình cũng sẽ sử dụng CookieLocalResolver:
|
1 2 3 4 |
@Bean public LocaleResolver localeResolver() { return new CookieLocaleResolver(); } |
Còn localeChangeInterceptor sẽ được cấu hình như sau:
|
1 2 3 4 5 6 7 8 9 10 11 12 13 14 15 16 17 18 19 20 21 22 23 24 |
package com.huongdanjava.springboot.internationalization; import org.springframework.context.annotation.Bean; import org.springframework.stereotype.Component; import org.springframework.web.servlet.config.annotation.InterceptorRegistry; import org.springframework.web.servlet.config.annotation.WebMvcConfigurer; import org.springframework.web.servlet.i18n.LocaleChangeInterceptor; @Component public class InterceptorConfiguration implements WebMvcConfigurer { @Override public void addInterceptors(InterceptorRegistry registry) { registry.addInterceptor(localeChangeInterceptor()); } @Bean public LocaleChangeInterceptor localeChangeInterceptor() { LocaleChangeInterceptor lci = new LocaleChangeInterceptor(); lci.setParamName("lang"); return lci; } } |
Ở đây, mình đang sử dụng WebMvcConfigurer để add LocaleChangeInterceptor vào ứng dụng của mình.
Chạy ứng dụng và click giữa các ngôn ngữ để xem kết quả nhé các bạn!
Của mình như sau:
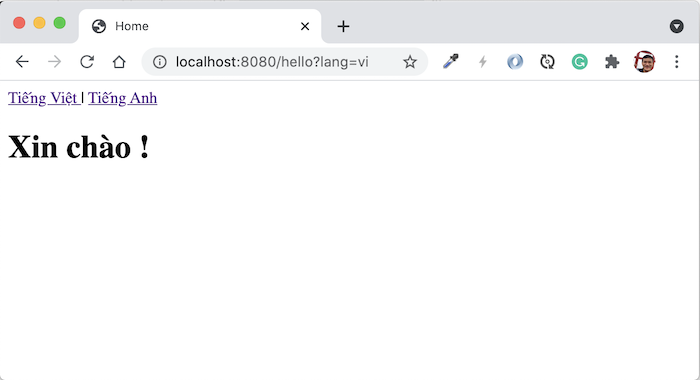
và:
