Giống như RAML, Swagger specification hay còn gọi là OpenAPI specification là một đặc tả dùng để định nghĩa các API của RESTful Web Service. Springfox là một thư viện được sử dụng để tạo ra các RESTful API document trong Spring, implement Swagger specification. Trong bài viết này, chúng ta hãy cùng nhau tìm hiểu cách tạo RESTful API document sử dụng Springfox cho Swagger trong Spring Boot các bạn nhé!
Đầu tiên, chúng ta cần một Spring Boot project để làm ví dụ:
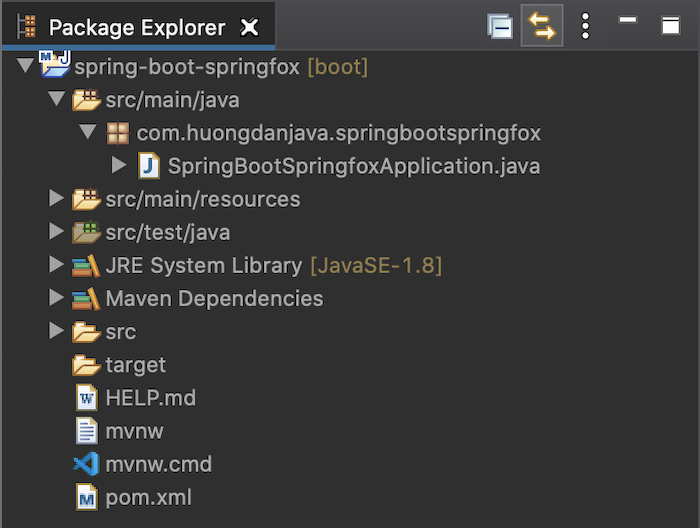
Để làm việc với Springfox cho Spring Boot, các bạn chỉ cần thêm springfox-boot-starter dependency như sau:
|
1 2 3 4 5 |
<dependency> <groupId>io.springfox</groupId> <artifactId>springfox-boot-starter</artifactId> <version>3.0.0</version> </dependency> |
Giả sử bây giờ mình có một controller định nghĩa một API để quản lý thông tin sinh viên đơn giản
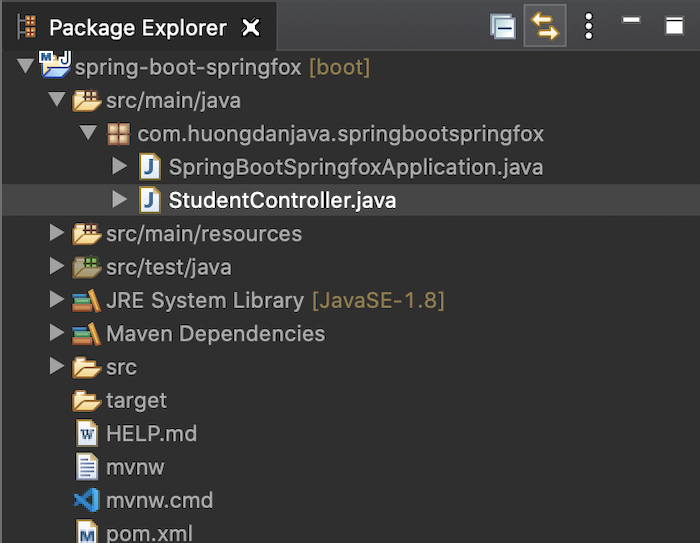
như sau:
|
1 2 3 4 5 6 7 8 9 10 11 12 13 14 15 |
package com.huongdanjava.springbootspringfox; import org.springframework.web.bind.annotation.GetMapping; import org.springframework.web.bind.annotation.RequestMapping; import org.springframework.web.bind.annotation.RestController; @RestController @RequestMapping(value = "/student") public class StudentController { @GetMapping(value = "findById") public String findById(int id) { return "Khanh"; } } |
Mặc định, nếu bây giờ các bạn chạy ứng dụng Spring Boot này lên rồi truy cập tới địa chỉ http://localhost:8080/swagger-ui/index.html, các bạn sẽ thấy kết quả như sau:
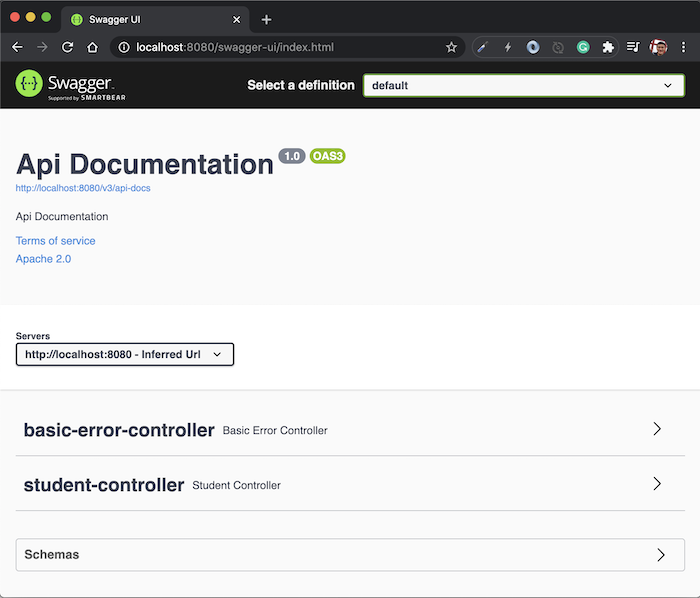
Như các bạn thấy, mặc định Springfox sẽ scan hết tất cả các controller có trong ứng dụng của chúng ta để generate document cho những API được định nghĩa. BasicErrorController là controller có sẵn của Spring Boot còn StudentController là controller mà mình đang định nghĩa.
Để custom controller nào, request URL nào sẽ được Springfox generate RESTful API document, các bạn có thể định nghĩa bean của class Docket của Springfox. Springfox Docket là một đối tượng dùng để cấu hình cho việc tạo RESTful API document sử dụng Springfox sẽ như thế nào?
Cho ví dụ này, mình sẽ thêm cấu hình cho class Springfox Docket như sau:
|
1 2 3 4 5 6 7 8 9 10 11 12 13 14 15 16 17 18 19 20 21 22 23 24 25 26 27 |
package com.huongdanjava.springbootspringfox; import org.springframework.boot.SpringApplication; import org.springframework.boot.autoconfigure.SpringBootApplication; import org.springframework.context.annotation.Bean; import springfox.documentation.builders.PathSelectors; import springfox.documentation.builders.RequestHandlerSelectors; import springfox.documentation.spi.DocumentationType; import springfox.documentation.spring.web.plugins.Docket; @SpringBootApplication public class SpringBootSpringfoxApplication { public static void main(String[] args) { SpringApplication.run(SpringBootSpringfoxApplication.class, args); } @Bean public Docket studentAPI() { return new Docket(DocumentationType.OAS_30) .select() .apis(RequestHandlerSelectors.basePackage("com.huongdanjava.springbootspringfox")) .paths(PathSelectors.regex("/student.*")) .build(); } } |
Ở đây, mình định nghĩa Docket với OpenAPI specification 3.0.
Phương thức select() trả về cho chúng ta đối tượng ApiSelectorBuilder, giúp chúng ta có thể sử dụng đối tượng ApiSelectorBuilder này với các phương thức apis() và paths() để filter những controller nào, những phương thức nào cần được sử dụng để tạo RESTful API document.
Như các bạn thấy, trong phương thức path(), mình đã sử dụng đối tượng PathSelectors với phương thức regex() để filter việc tạo RESTful document chỉ cho request URL “/student”.
Bây giờ, nếu các bạn chạy lại ứng dụng Spring Boot này và request tới URL http://localhost:8080/swagger-ui/index.html, các bạn sẽ thấy kết quả như sau:
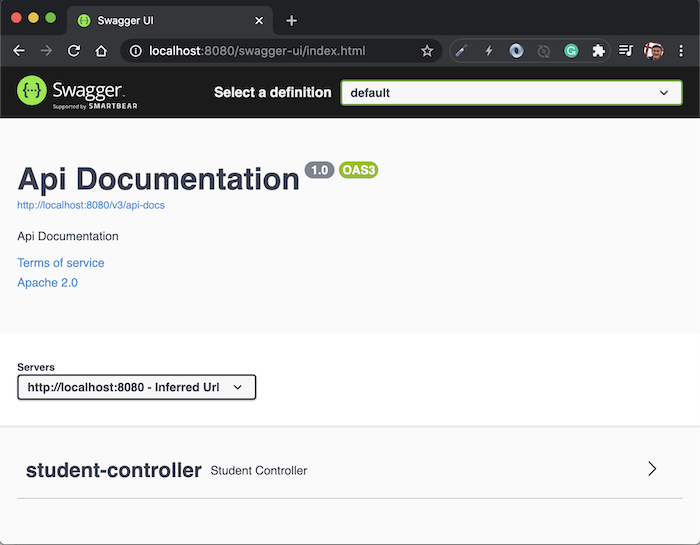
Như các bạn thấy, ở đây Springfox chỉ tạo một document với thông tin về StudentController của chúng ta.
Nếu các bạn click vào request GET “/student/findById” của student-controller thì các bạn sẽ thấy kết quả như sau:
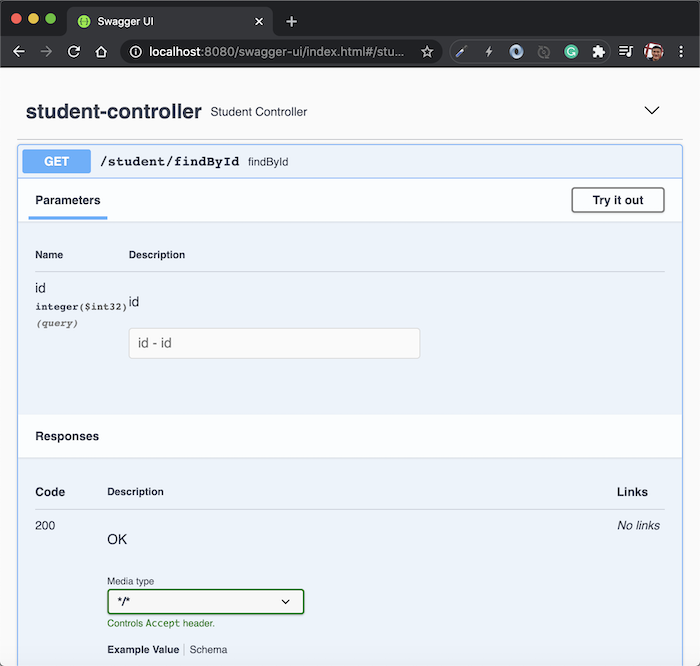
Như các bạn thấy Springfox đã sử dụng một số các giá trị mặc định để tạo document cho StudentController của chúng ta theo chuẩn của Swagger.
Ngoài những giá trị mặc định mà Springfox đã generate, Springfox còn hỗ trợ cho phép chúng ta còn có thể customize RESTful API document của chúng ta.
Chúng ta có thể thêm một số thông tin khác về các API của chúng ta, ví dụ như thông tin về thông tin liên lạc như sau:
|
1 2 3 4 5 6 7 8 9 10 11 12 13 14 15 16 17 18 19 20 21 22 23 24 25 26 27 28 29 30 31 32 33 34 35 36 37 38 39 |
package com.huongdanjava.springbootspringfox; import org.springframework.boot.SpringApplication; import org.springframework.boot.autoconfigure.SpringBootApplication; import org.springframework.context.annotation.Bean; import springfox.documentation.builders.ApiInfoBuilder; import springfox.documentation.builders.PathSelectors; import springfox.documentation.builders.RequestHandlerSelectors; import springfox.documentation.service.ApiInfo; import springfox.documentation.service.Contact; import springfox.documentation.spi.DocumentationType; import springfox.documentation.spring.web.plugins.Docket; @SpringBootApplication public class SpringBootSpringfoxApplication { public static void main(String[] args) { SpringApplication.run(SpringBootSpringfoxApplication.class, args); } @Bean public Docket studentAPI() { return new Docket(DocumentationType.OAS_30) .select() .apis(RequestHandlerSelectors.basePackage("com.huongdanjava.springbootspringfox")) .paths(PathSelectors.regex("/student.*")) .build() .apiInfo(metaData()); } private ApiInfo metaData() { return new ApiInfoBuilder() .title("Spring Boot Swagger") .description("An example about Spring Boot and Springfox for Swagger") .contact(new Contact("Huong Dan Java", "huongdanjava.com", "huongdanjava.com@gmail.com")) .build(); } } |
Trong ví dụ trên, mình đã thêm một số thông tin như title, description và contact cho document của chúng ta.
Kết quả:
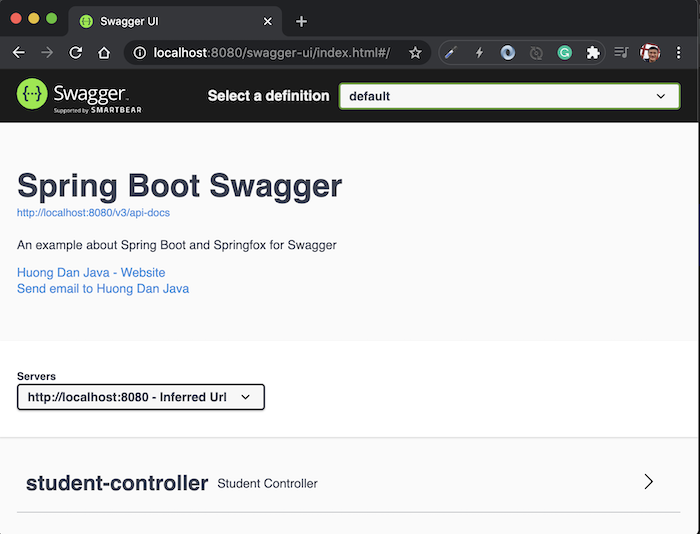
Chúng ta còn có thể customize document cho các API bằng cách thêm một số description về nó, các dữ liệu trả về.
Chúng ta làm điều này bằng cách modify StudentController sử dụng các annotation @ApiOperation, @ApiResponse của Swagger, ví dụ như sau:
|
1 2 3 4 5 6 7 8 9 10 11 12 13 14 15 16 17 18 19 20 21 22 23 24 25 |
package com.huongdanjava.springbootspringfox; import org.springframework.web.bind.annotation.GetMapping; import org.springframework.web.bind.annotation.RequestMapping; import org.springframework.web.bind.annotation.RestController; import io.swagger.annotations.ApiOperation; import io.swagger.annotations.ApiResponse; import io.swagger.annotations.ApiResponses; @RestController @RequestMapping(value = "/student") public class StudentController { @GetMapping(value = "findById") @ApiOperation(value = "Find student by id") @ApiResponses(value = { @ApiResponse(code = 200, message = "Success", response = String.class), @ApiResponse(code = 422, message = "Student not found"), @ApiResponse(code = 417, message = "Exception failed") }) public String findById(int id) { return "Khanh"; } } |
Kết quả:
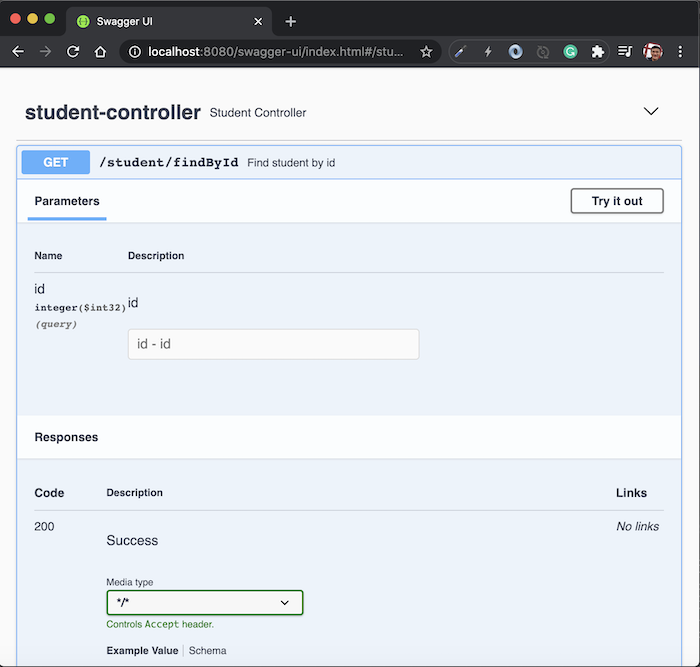
và
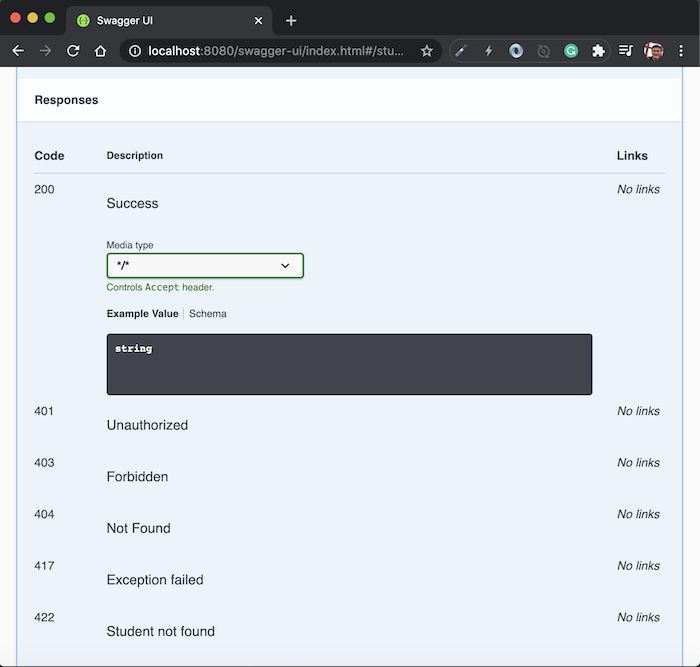


nguyenviet
Bài hướng dẫn thật sự basic, có chú thích dễ hiều, phù hợp cho người mới học như em. Thanks admin rất nhiều!