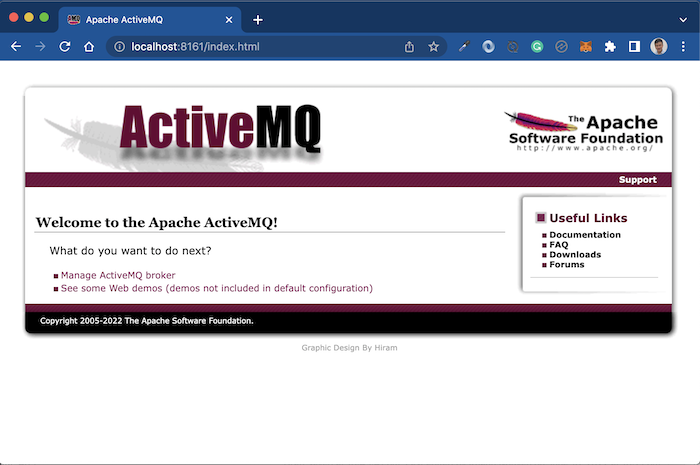
Apache ActiveMQ không có official Docker Image nên các bạn có thể sử dụng một Docker Image ở địa chỉ https://hub.docker.com/r/symptoma/activemq. Docker Image này đã được cập nhập tới latest version của Apache ActiveMQ!
Nội dung của tập tin docker-compose.yaml của chúng ta để cài đặt ActiveMQ với Docker Compose sẽ như sau:
1 2 3 4 5 6 7 8 9 10 11 |
version: '3.9' services: activemq: image: symptoma/activemq:latest container_name: 'activemq' ports: - 61616:61616 volumes: - ~/Documents/data/activemq/data:/data/activemq - ~/Documents/data/activemq/log:/var/log/activemq |
Một lưu ý với các bạn là từ phiên bản 5.16.0, mặc định thì WebConsole của ActiveMQ không được expose cho bên ngoài access, nên ở đây mình chỉ expose port 61616 của ActiveMQ server mà thôi! 2 thư mục bên trong container của ActiveMQ cũng được mount ra các thư mục bên ngoài để chúng ta dễ dàng làm việc với nó.
Kết quả khi chạy command “docker compose up” trong thư mục chứa tập tin docker-compose.yaml với nội dung trên như sau:
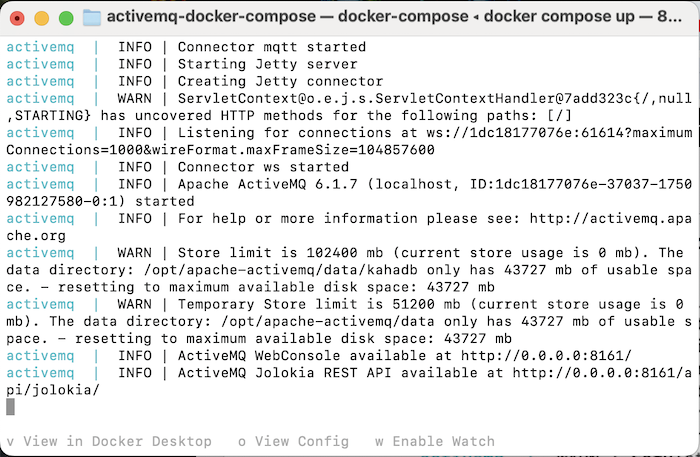
Như vậy là chúng ta đã start được một ActiveMQ server cùng với WebConsole rồi đó các bạn!
Nếu các bạn muốn expose WebConsole cho bên ngoài access thì có thể customize tập tin Dockerfile tại https://github.com/symptoma/activemq/blob/master/Dockerfile. Đây là Dockerfile được sử dụng để build Docker Image mà mình đang sử dụng ở trên.
Trước tiên, các bạn hãy download latest version của ActiveMQ tại địa chỉ https://activemq.apache.org/components/classic/download/. Extract tập tin download ra, tìm dòng sau trong tập tin /conf/jetty.xml trong thư mục đã extract:
1 2 3 4 5 |
<bean id="jettyPort" class="org.apache.activemq.web.WebConsolePort" init-method="start"> <!-- the default port number for the web console --> <property name="host" value="127.0.0.1"/> <property name="port" value="8161"/> </bean> |
đổi giá trị của property host thành 0.0.0.0:
1 2 3 4 5 |
<bean id="jettyPort" class="org.apache.activemq.web.WebConsolePort" init-method="start"> <!-- the default port number for the web console --> <property name="host" value="0.0.0.0"/> <property name="port" value="8161"/> </bean> |
sau đó thì copy tập tin jetty.xml này vào cùng thư mục với tập tin Dockerfile trên.
Đối với tập tin Dockerfile thì các bạn hãy thêm dòng sau để override tập tin jetty.xml của ActiveMQ trong Docker Container khi chạy nó lên:
1 2 3 4 5 6 7 8 9 10 11 12 13 14 15 16 17 18 19 20 21 22 23 24 25 26 |
FROM bellsoft/liberica-openjdk-alpine:13 LABEL maintainer="Thomas Lutz <lutz@symptoma.com>" ENV ACTIVEMQ_VERSION 5.17.1 ENV ACTIVEMQ apache-activemq-$ACTIVEMQ_VERSION ENV ACTIVEMQ_HOME /opt/activemq RUN apk add --update curl && \ rm -rf /var/cache/apk/* && \ mkdir -p /opt && \ curl -s -S https://archive.apache.org/dist/activemq/$ACTIVEMQ_VERSION/$ACTIVEMQ-bin.tar.gz | tar -xvz -C /opt && \ mv /opt/$ACTIVEMQ $ACTIVEMQ_HOME && \ addgroup -S activemq && \ adduser -S -H -G activemq -h $ACTIVEMQ_HOME activemq && \ chown -R activemq:activemq $ACTIVEMQ_HOME && \ chown -h activemq:activemq $ACTIVEMQ_HOME ADD jetty.xml $ACTIVEMQ_HOME/conf EXPOSE 1883 5672 8161 61613 61614 61616 USER activemq WORKDIR $ACTIVEMQ_HOME CMD ["/bin/sh", "-c", "bin/activemq console"] |
rồi chạy Docker build command để build Docker Image từ tập tin Dockerfile này:
1 |
docker build -t activemq:0.0.1 . |
Kết quả:
Sau khi đã có Docker Image, chúng ta sẽ modify tập tin docker-compose.yaml ở trên để change Docker Image name và expose port của WebConsole như sau:
1 2 3 4 5 6 7 8 9 10 11 12 |
version: '3.9' services: activemq: image: activemq:0.0.1 container_name: 'activemq' ports: - 61616:61616 - 8161:8161 volumes: - ~/Documents/data/activemq/data:/data/activemq - ~/Documents/data/activemq/log:/var/log/activemq |
và chạy lại command “docker compose up”:
Bây giờ thì các bạn có thể access tới ActiveMQ WebConsole sử dụng địa chỉ http://localhost:8161/:
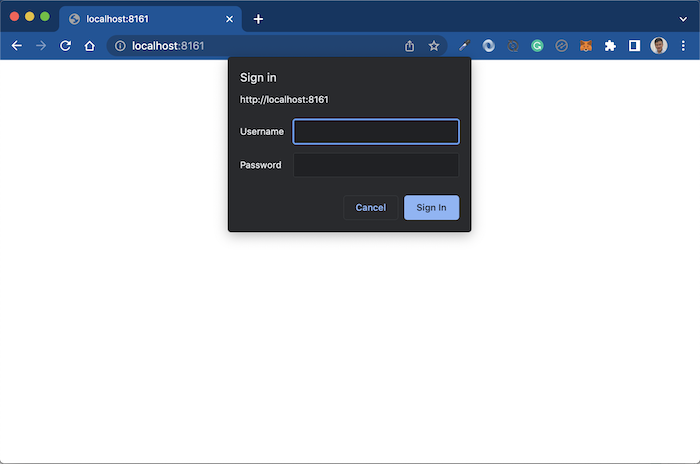
Đăng nhập với username và password là admin, các bạn sẽ thấy kết quả như sau: